Easy Overnight Brioche
Buttery, soft, crispy exterior with a super soft middle, brioche is eating bread that tastes like a croissant…with a lot less work. It is a rich, decadent bread that is perfect for toasting, slathering with jam or eating plain. I was accustomed to picking up a loaf of grocery store brioche to make french toast for my family on special occasions, but with this recipe, those grocery store brioche days are in my past. With just a little planning and the work of a stand mixer, you can have some amazing loaves of bread and will never go back to the grocery store stuff again. Promise!

Make this Easy Overnight Brioche with a Stand Mixer
A little disclaimer: This recipe really needs the use of a stand mixer. Brioche dough is very, very soft and unlike other dough that you may have worked with before. I would not try to hand-knead this dough. It kneads for a very long time as it incorporates all the butter. My hands are also usually warm and warm hands trying to incorporate butter will end in a melty mess. Do yourself a favor and pull out a stand mixer. I recommend a Bosch mixer ($20 OFF with AMYBAKESBREAD) or Ankarsrum mixer for long kneading times. KitchenAid is a great mixer, but is not meant to be used for such long kneading.


Brioche Dough Can Feel Wet and Sticky
The first time I ever mixed up a batch of brioche, I was a bit overconfident. It didn’t take long for me to realize that this dough was definitely different than dough I had worked with in the past. I thought I had ruined the dough because it was so sticky, wet and taking forever to incorporate the butter. I now know that this is the normal process of brioche. It feels sticky as it mixes together, especially as it incorporates the butter. But, once it reaches windowpane, it comes together and the overnight refrigeration makes the dough easier to handle.

How to Mix Easy Overnight Brioche Dough
To make brioche, we first have to develop the gluten strands in the dough before we add in the butter. Once the butter is added, it coats the gluten strands, making it more difficult for the strands to connect and develop. To help with this process, we do an initial mix of all of the ingredients except the butter; adding the butter in after the dough is kneaded.
- Mixing: Add all the brioche ingredients together except for the unsalted butter. Turn the mixer on and knead for 5-7 minutes until a strong and cohesive dough is formed.
- Adding in butter: Once that dough has formed, begin adding in the butter. Butter should be added small chunks at a time until all the butter (three sticks of it) are incorporated. At this point, the dough is going to feel very slack and loose. When you take a pinch of it and pull up, it will break apart. Continue kneading the dough upwards of 20-30 minutes (you need a powerful mixer for this dough) until the dough has strengthened considerably and can pass the windowpane test. During this time, if the dough gets too hot from the friction of the mixer, take a break. Stick the dough in the refrigerator to cool it down and then continue mixing a few minutes later.
Windowpane Test: Stop the mixer. Pull up on a portion of the dough. The dough will stretch thinly and not tear and you will see light coming through the dough, like a windowpane. If it tears, the dough needs to mix longer.

Why Should I Refrigerate Brioche Dough?
After mixing the brioche dough and reaching windowpane, the dough will turn shiny and be sticky. Transfer the wet dough to a large bowl. You may think, “this can’t be right!” but it is! Cover the dough with plastic wrap and stick it in the fridge overnight (or up to 8 hours). While in the fridge the cold air helps solidify the butter and makes the dough more workable in the morning. The dough should be left in the fridge for 8 hours or up to 2 days. This long refrigeration time not only makes the dough easier to handle and shape but improves the flavor. Win-win!
How to Shape Brioche
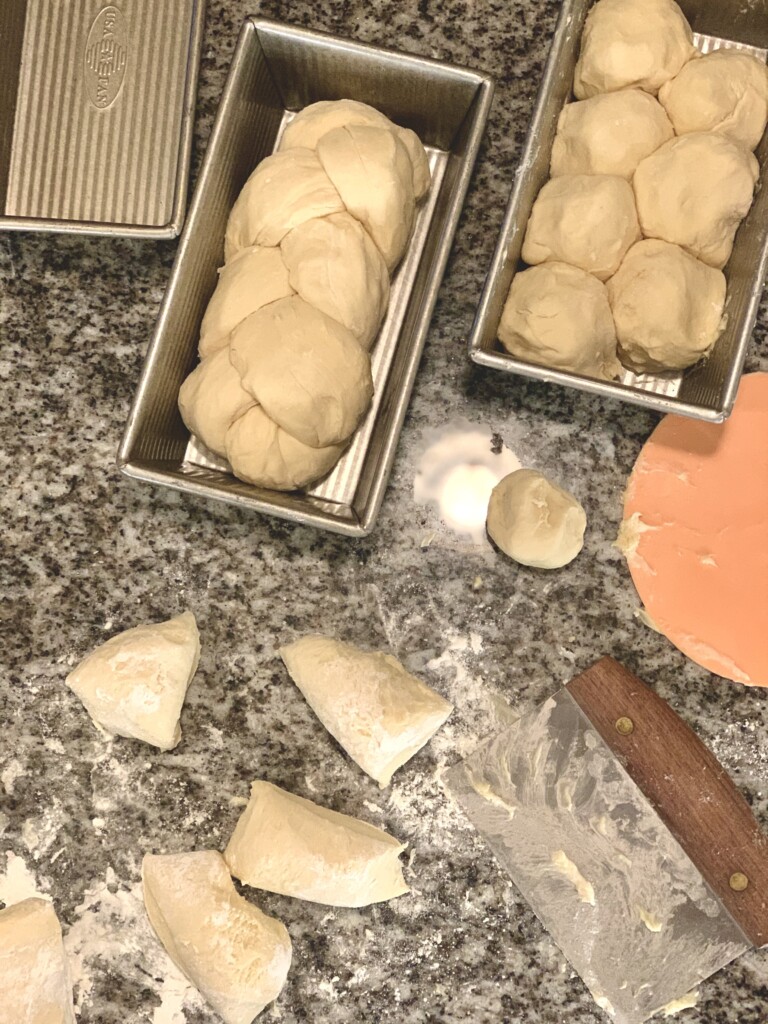
Once you pull your dough out of the refrigerator, cut the dough into two loaves and then decide how to shape your bread. Add a little bit of flour (not more than a Tablespoon) to the countertop and place the cold dough on top. Work the flour in a bit and shape it. Some of my favorite shapes for brioche are pictured below:
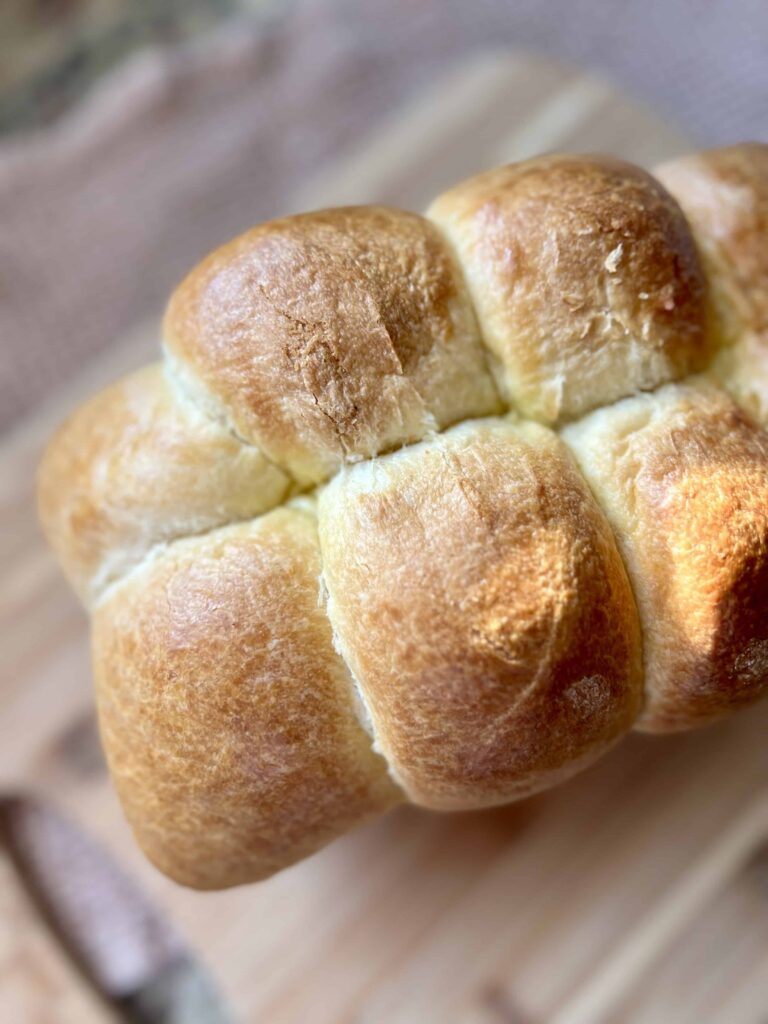
Alternate balls of brioche bread in a loaf pan

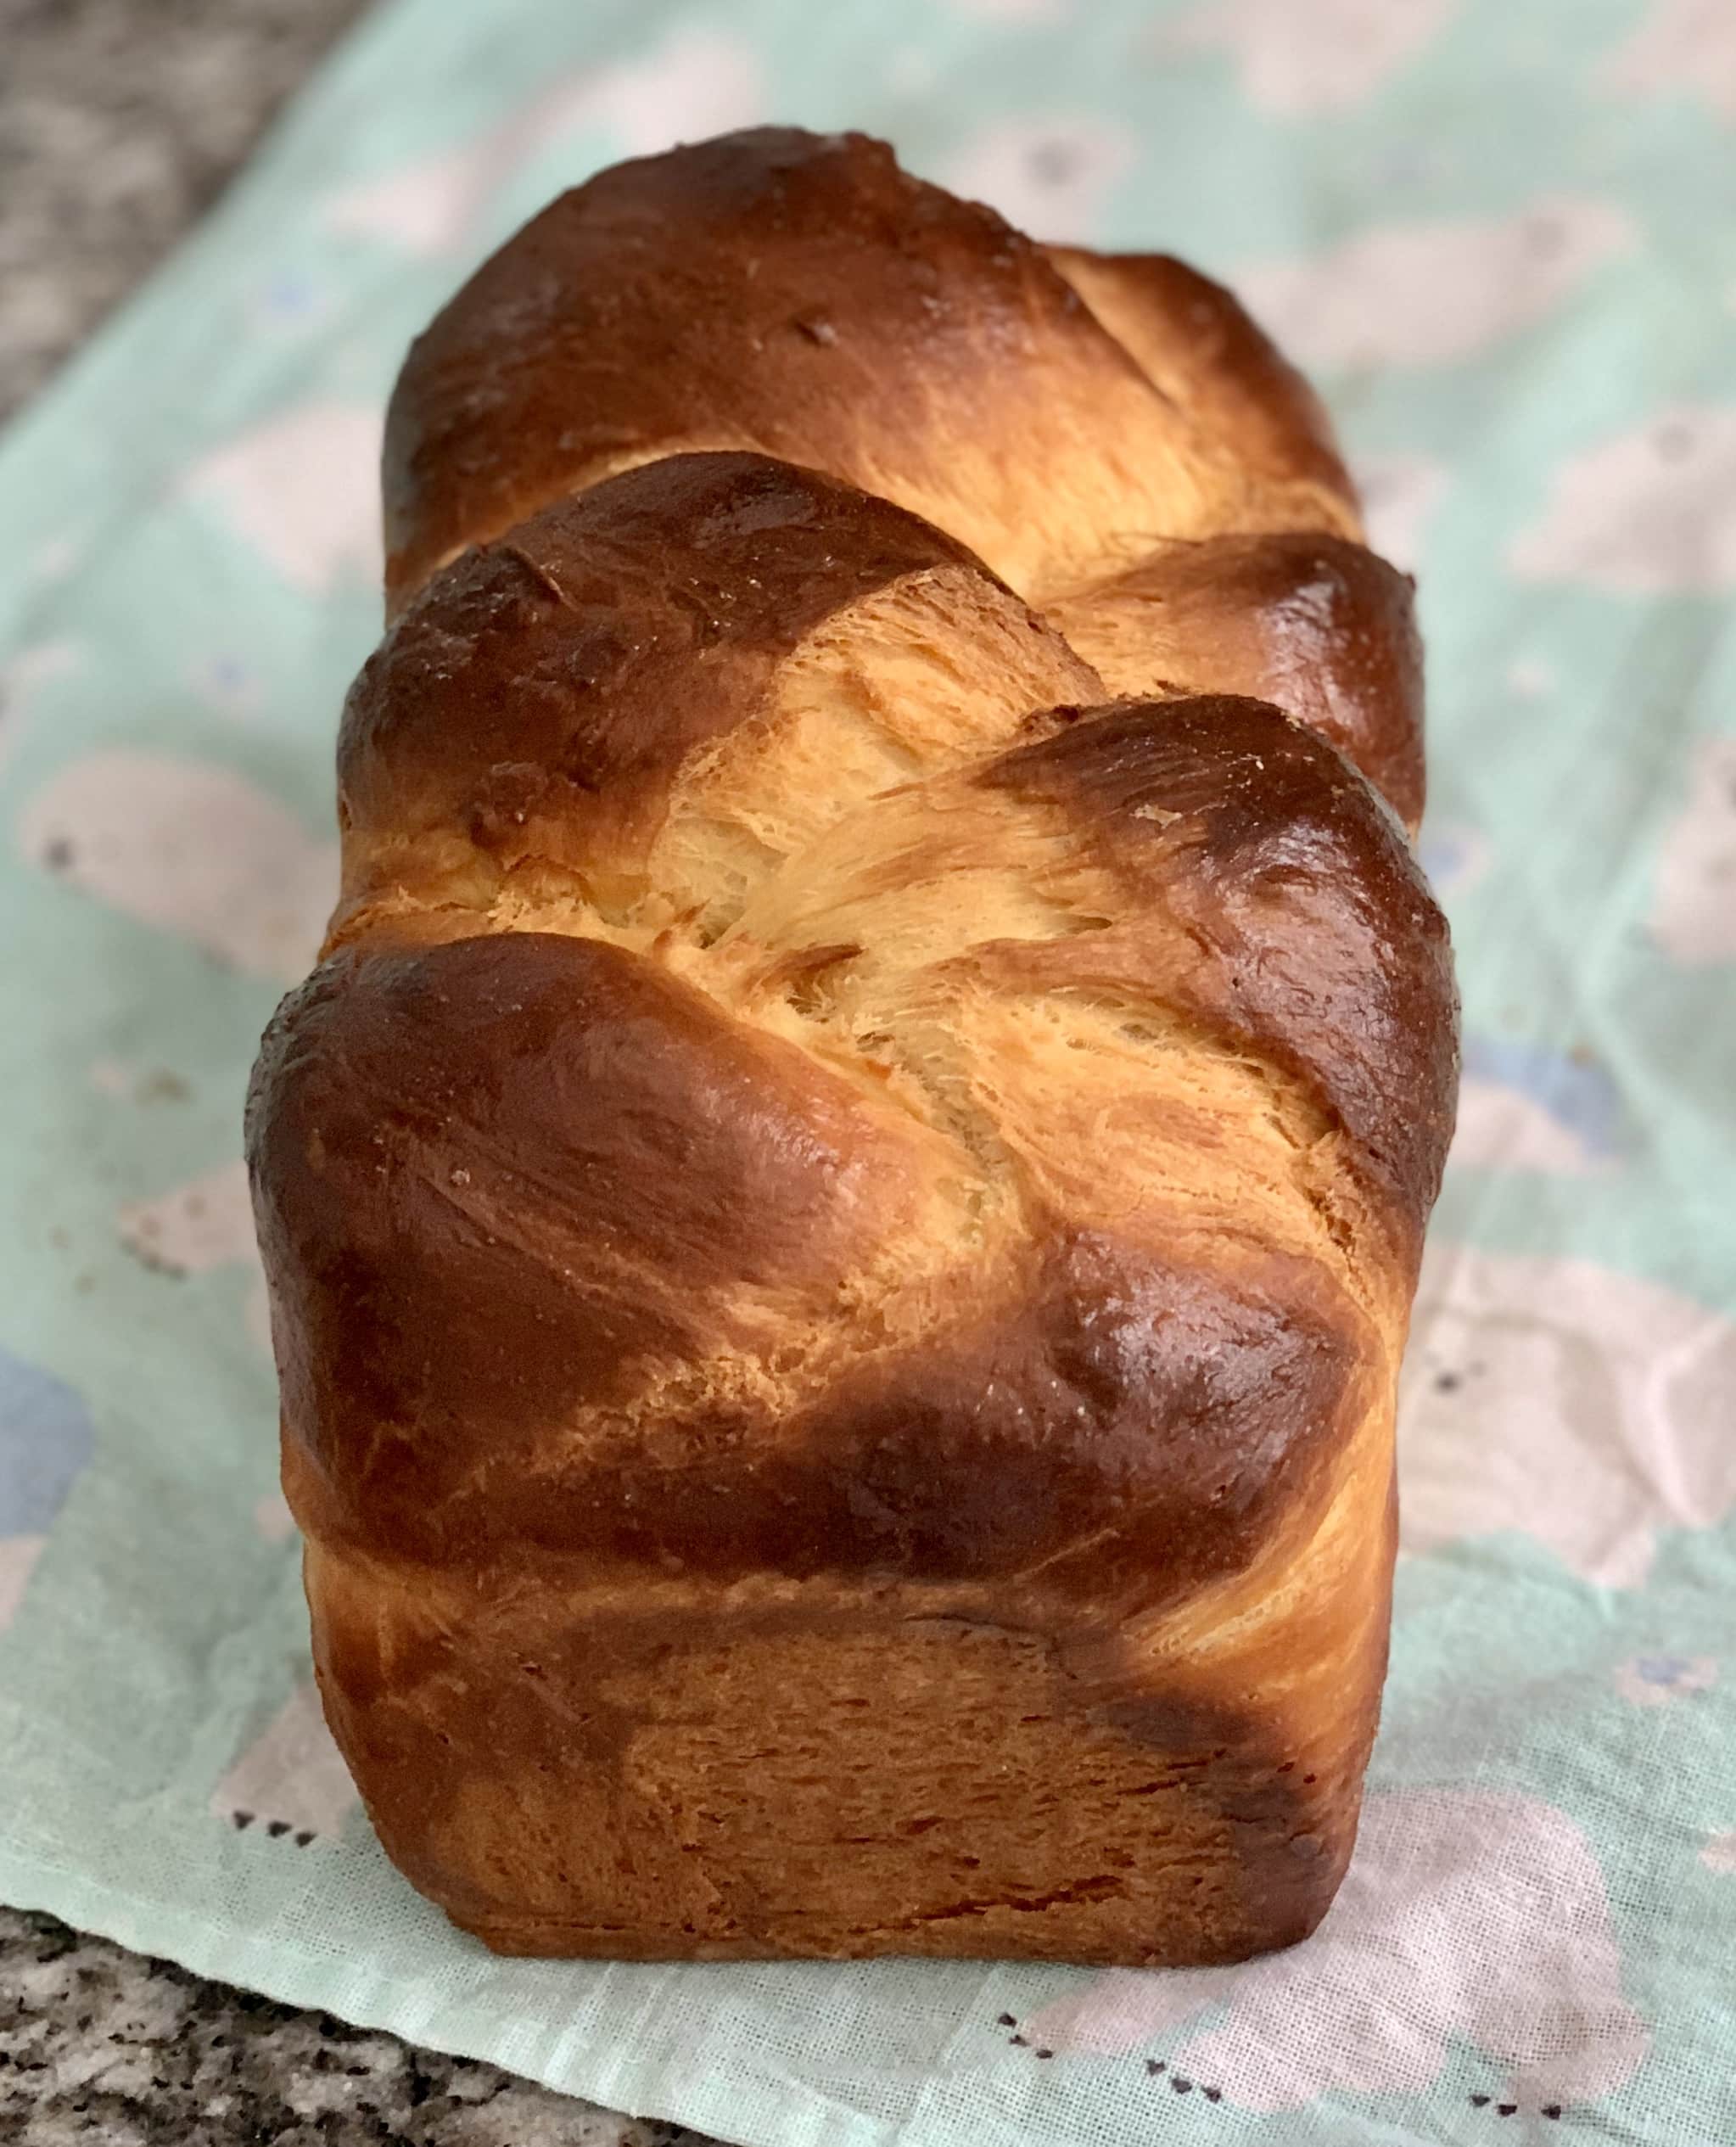
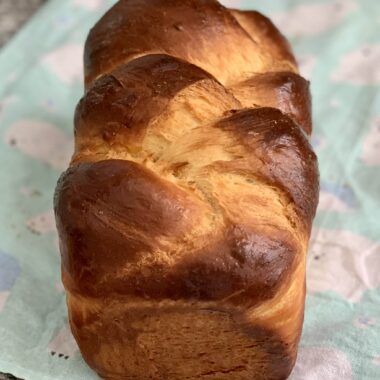
Cut into three pieces, roll into three long strips and braid

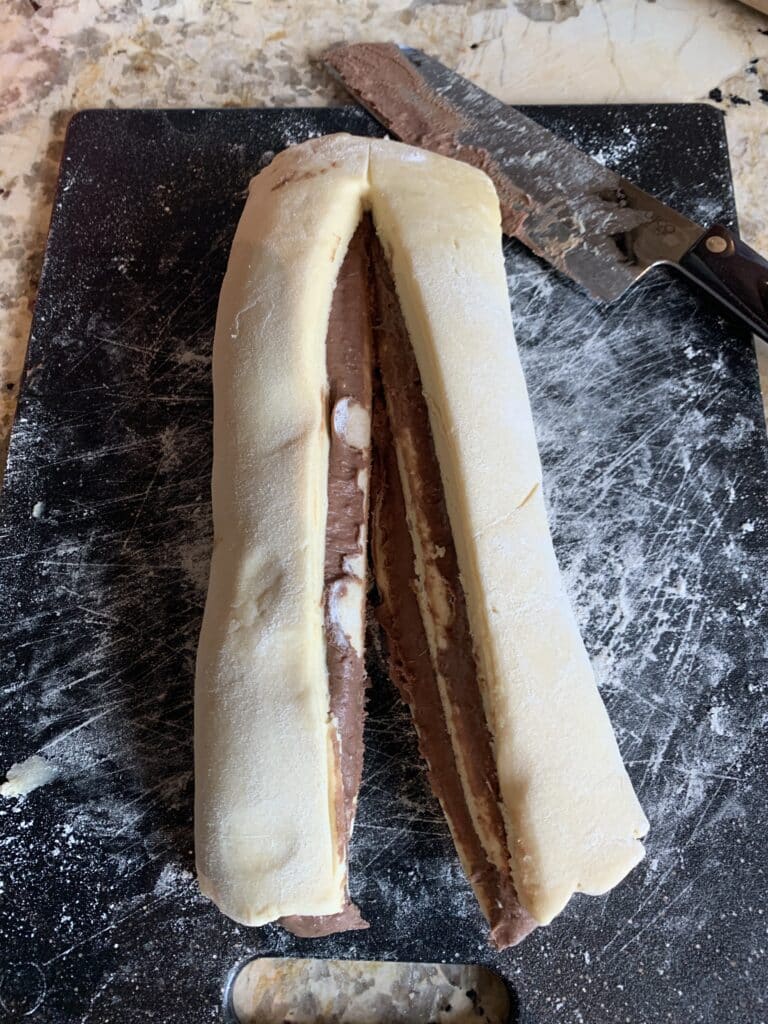
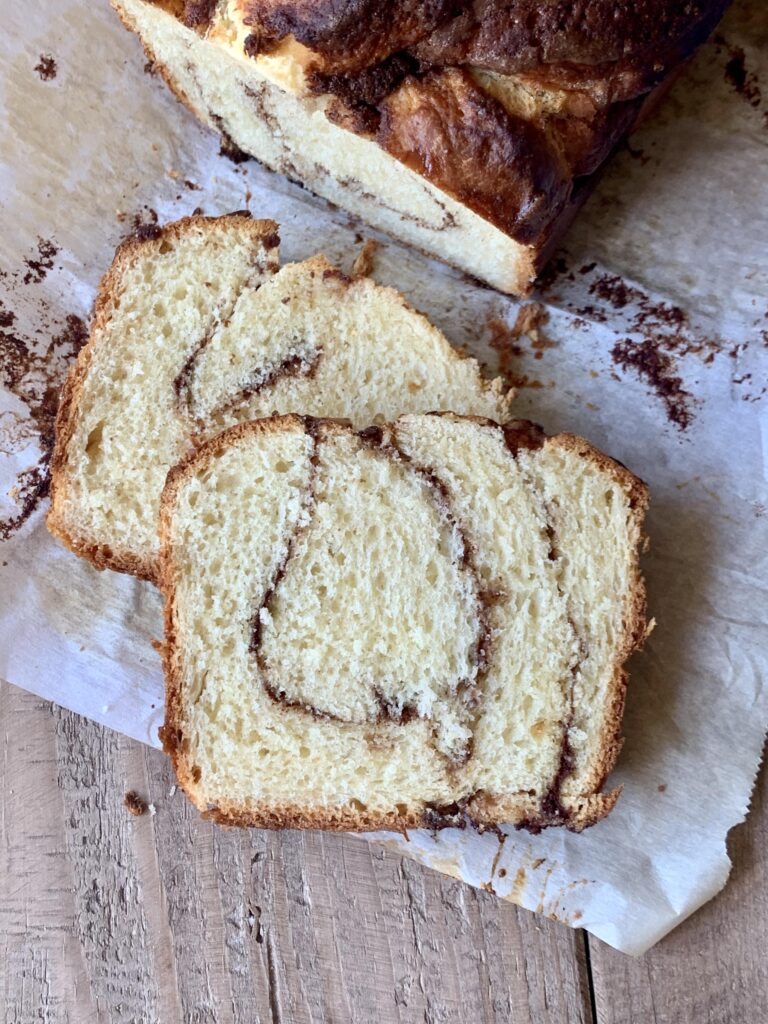
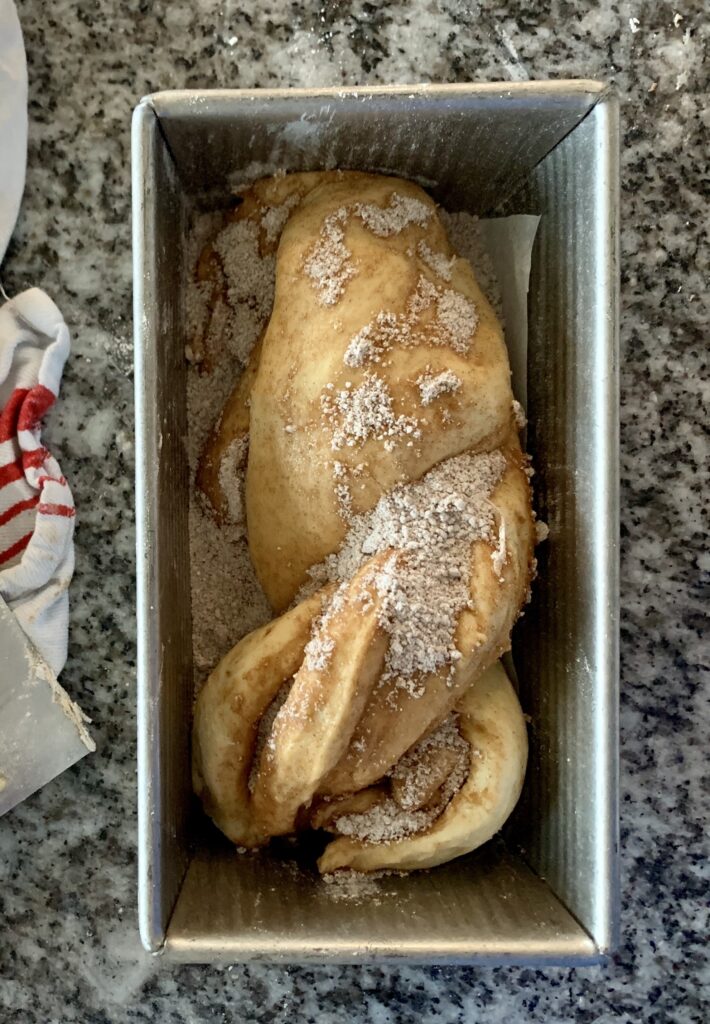
Fill with cinnamon sugar (or other filling), roll up cinnamon-roll style, cut and twist. Filling recipes here.
Make 6-8 buns out of one loaf of dough, shape into balls and flatten with hand
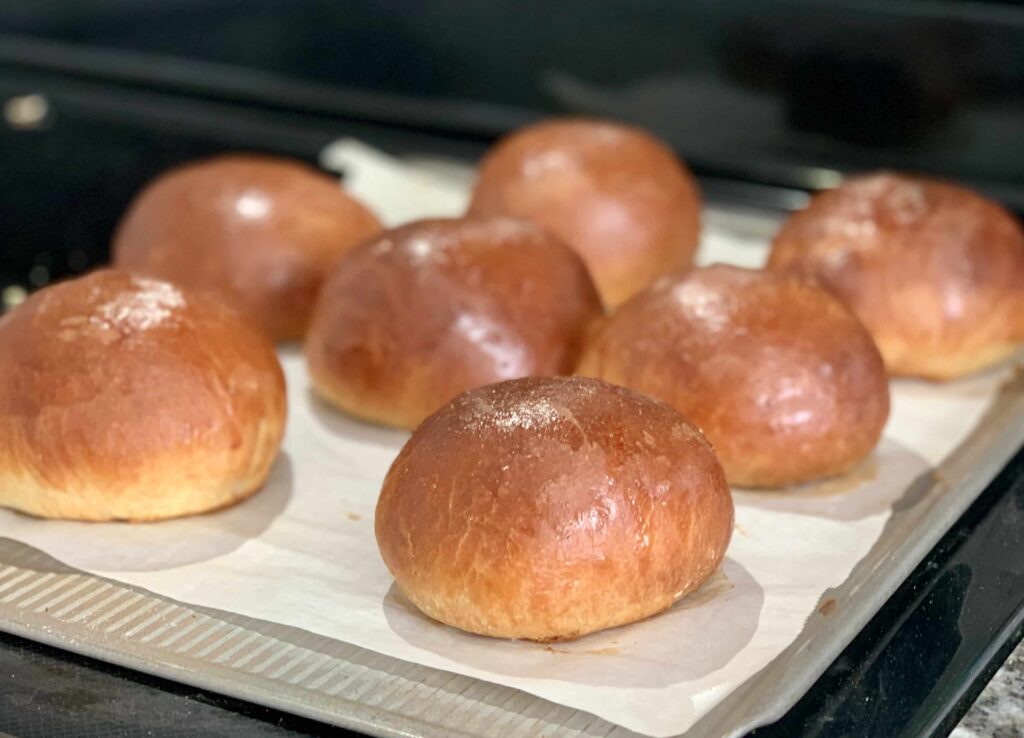
I do have a very good brioche burger bun recipe on my blog already, but I often will make burger buns out of whatever brioche dough I am making. In the case of this recipe, instead of shaping another loaf, I shape 6-8 buns out of the dough even if we won’t be using them immediately. If I’m going to take the time to make brioche, I may as well make some extra buns! The buns freeze so well, toast up beautifully and are ready to pull out anytime we decide to throw some burgers on the grill. Bake buns at 375 degrees for about 15 minutes.
Brioche Has a Longer Shelf Life
Due to the high amounts of egg and butter, brioche has a bit of a longer shelf life than traditional bread. After a few days if we have brioche left over, I like to slice the remaining loaf and freeze it. When we want a piece, we will pull a slice out and toast it. We also use leftover brioche to make amazing french toast if the bread has been left out for a few days without being eaten. I usually have to reserve a loaf specifically for french toast because it doesn’t happen very often that we have leftover brioche.


Plan Ahead for Delicious Overnight Brioche
Brioche takes more of a time investment than a traditional loaf of bread. I don’t find it difficult, just something to plan around. This recipe makes two loaves of bread. If you’re going to take the time, you might as well get two loaves out of it! Often I will double this recipe, giving me enough dough to shape some of my brioche into burger buns, some into loaves of plain brioche and gives one or two loaves of cinnamon swirl brioche. I always end up sharing a loaf too. This brioche freezes wonderfully so we can enjoy the loaves for a few weeks. I hope you love it too!
If you liked this recipe, you may also like: Light and Fluffy Sandwich Bread / Fluffy Potato Bread / Honey Oatmeal Bread / Honey Whole Wheat Bread / Hearty Molasses Brown Bread / Sourdough Brioche
Easy Overnight Brioche
Ingredients
- ½ cup milk, warmed whole
- 2 Tablespoons instant yeast
- 6 Tablespoons granulated sugar
- 2 teaspoons salt
- 6 large eggs
- 5 ½ – 6 cups all purpose flour
- 1 ¼ cup unsalted butter 20 Tablespoons
- 1 large egg for egg wash
- splash of water for egg wash
Instructions
Day 1
- To the bowl of a stand mixer fitted with a dough hook, add the warm milk, instant yeast and sugar. Check to make sure the yeast is activating. It will look a little bubbly and smell yeasty within a minute or two. Add the salt and cold eggs.
- With the dough hook running, begin adding the flour a cup at a time into the mixer. Depending on the size of your eggs, you will need a little more or less flour. The dough should be a little sticky and clear the sides of the mixing bowl. Mix well until all the flour is incorporated. Knead for 5 minutes.
- While the mixer is kneading, cut the butter into Tablespoon-sized chunks. Butter should be cool but soft, so when you stick your finger into it, it leaves an indentation.
- Add the butter a cube at a time into the mixer, trying to place the butter right near the dough hook in the center of the bowl. Continue mixing throughout this process. Once all the butter has been added, knead the dough for 15-20 minutes.
- As the dough kneads, the butter will incorporate into the dough and the dough will become glossy and smooth. It will also be sticky and a little wet looking.
- Continue kneading the dough on medium speed until the dough passes the windowpane test. To check for windowpane: Stop the mixer. Take your hands and pull up on a portion of the dough. At the beginning stages of kneading the dough, the dough will break as soon as your start to stretch it. As the dough kneads and the gluten strands develop, the dough will stretch thinly without tearing. You will know the dough is finished kneading when the dough does not tear when pulled and you can see light through the dough, like a windowpane.
- Transfer the dough to a large bowl (with enough room for the dough to double in size in the fridge). Cover the bowl with plastic wrap and stick in the fridge overnight or at least 8 hours to rise. You can leave the dough in the fridge for up to 2 days.
Day 2
- Pull the dough out of the fridge. Lightly flour a countertop surface and turn the brioche dough out onto the floured surface.
- Cut the dough in half and set one half to the side for the second loaf. Prepare two loaf pans (my favorite here, affiliate link). Line with parchment paper if your pans are not non-stick.
- Shape the brioche as desired; braided, into balls or twisted into a swirled loaf.
- Cover the loaves and let rise in a warm place (not hot or the butter in the dough will melt). I like to choose a window or place the dough under a light to rise. Let brioche rise for about 3 hours until puffed up and doubled in size. Do not bake the brioche until it has fully proofed.
- Preheat the oven to 400ºF. In a small bowl, crack an egg. Add a teaspoon of water and whip together with a fork. Use a pastry brush to brush the egg wash gently over the risen brioche.
- Bake for 10 minutes at 400 degrees. After 10 minutes, reduce the temperature to 350 degrees and bake for another 30-35 minutes. Check on the brioche in the middle of baking. If it is browning too quickly, cover the tops of the loaves with a piece of foil to prevent further browning.
- Brioche should bake until the internal temperature registers 190-195ºF. Allow the loaves to cool before slicing into them. Enjoy!


You are correct!! This brioche is so very delicious! We love the cinnamon swirl and the burger buns! Thank you for sharing the process AND the product!! 🙌🏻🍞😋❤️🙏🏻
How long do you bake your burger buns, and do you change the temperature on them also?
I would bake them at 375 for about 15 minutes. Thanks for the question I will add that info to the recipe.
So brioche wasn’t invented until after the stand mixer?
Oh no! Brioche has been around since the 1700s – and some would say even earlier. You don’t have to have a stand mixer and can make this by hand but it is going to be more difficult and isn’t something I would recommend for most home bakers. But you can definitely give it a try!