Hearty Bread Bowls
I think one of my all-time favorite foods when I was growing up was clam chowder in a bread bowl. I spent my teenage years in the San Francisco area and I loved the delicious seafood and sourdough, especially the chowder in a bread bowl. Recently, my daughter planned to make soup for dinner and I decided to whip out these bread bowls to complement our soup. While they are not sourdough like the bread bowls of my childhood, they definitely gave me a nostalgic feel for my favorite hearty and chewy bread bowls that stand their own against a delicious soup.

The Best Hearty Bread Bowl for Soup
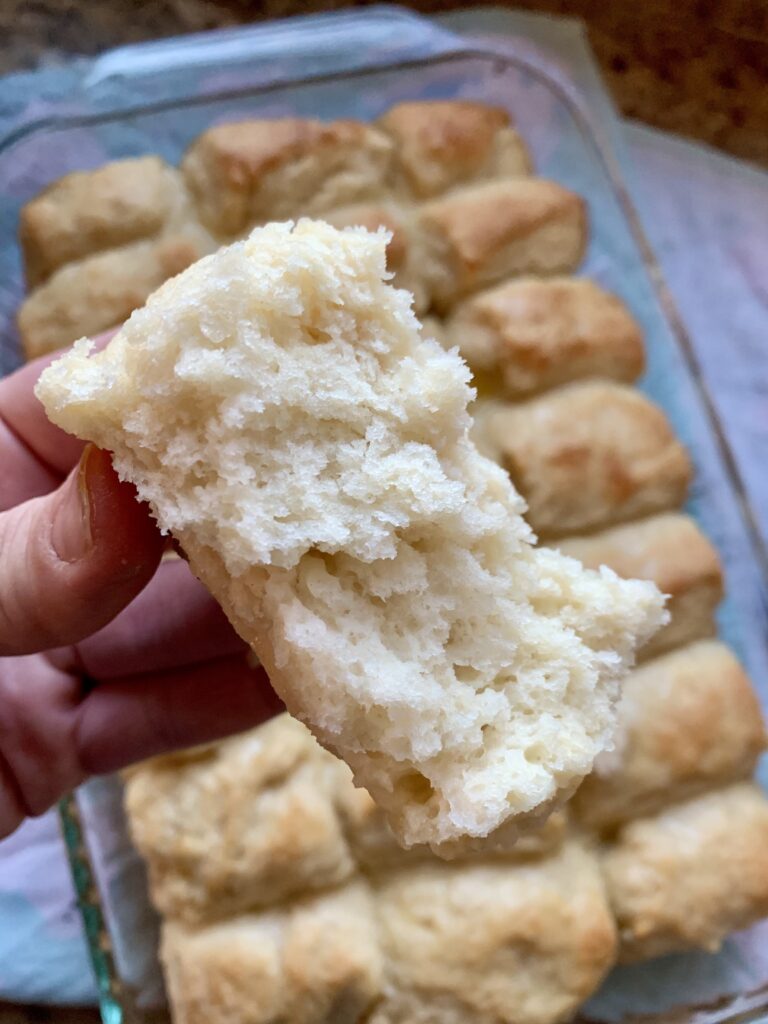
These hearty bread bowls are perfect to hold a delicious soup. I wouldn’t recommend this recipe as a normal roll recipe. They have a bit more flour than I normally like and are not quite as light and tender as a regular roll. Light and tender is actually not what you want when making a bread bowl because they will tend to disintegrate into the soup leaving you with gummy bread in your soup. That is NOT this recipe. The combination of whole wheat flour and bread flour makes these bowls extra hearty and perfect to stand up to a cup of soup. The soup softens the bread a little and makes for the perfect bite of soup with bread. The bowl itself doesn’t get soggy and has the perfect crumb and chewy exterior which complement the soup so well.


Refrigerated or Overnight Rise
If I know ahead of time that I want bread bowls for soup, I will mix up the dough in the morning and then stick the dough in the fridge to rise throughout the day. This extra refrigeration step adds flavor to the bowl, promotes a chewier crumb (which is perfect for bread bowls) and has a better color crust. If you don’t have time to refrigerate the dough, you can proceed with the recipe but for best results, refrigerate for the first rise for 8-12 hours. Then shape the bowls, let them rise again and bake them.


Shaping Hearty Bread Bowls
This recipe makes six good-sized bread bowls. I shape my bread bowls in a similar way to how I shape rolls. I take the dough and push the edges down around the center, pinching them together and then circling the dough on the counter to form a tight, round shape. You can watch a video of that here.


Scoring and Cutting the Top of the Bowl
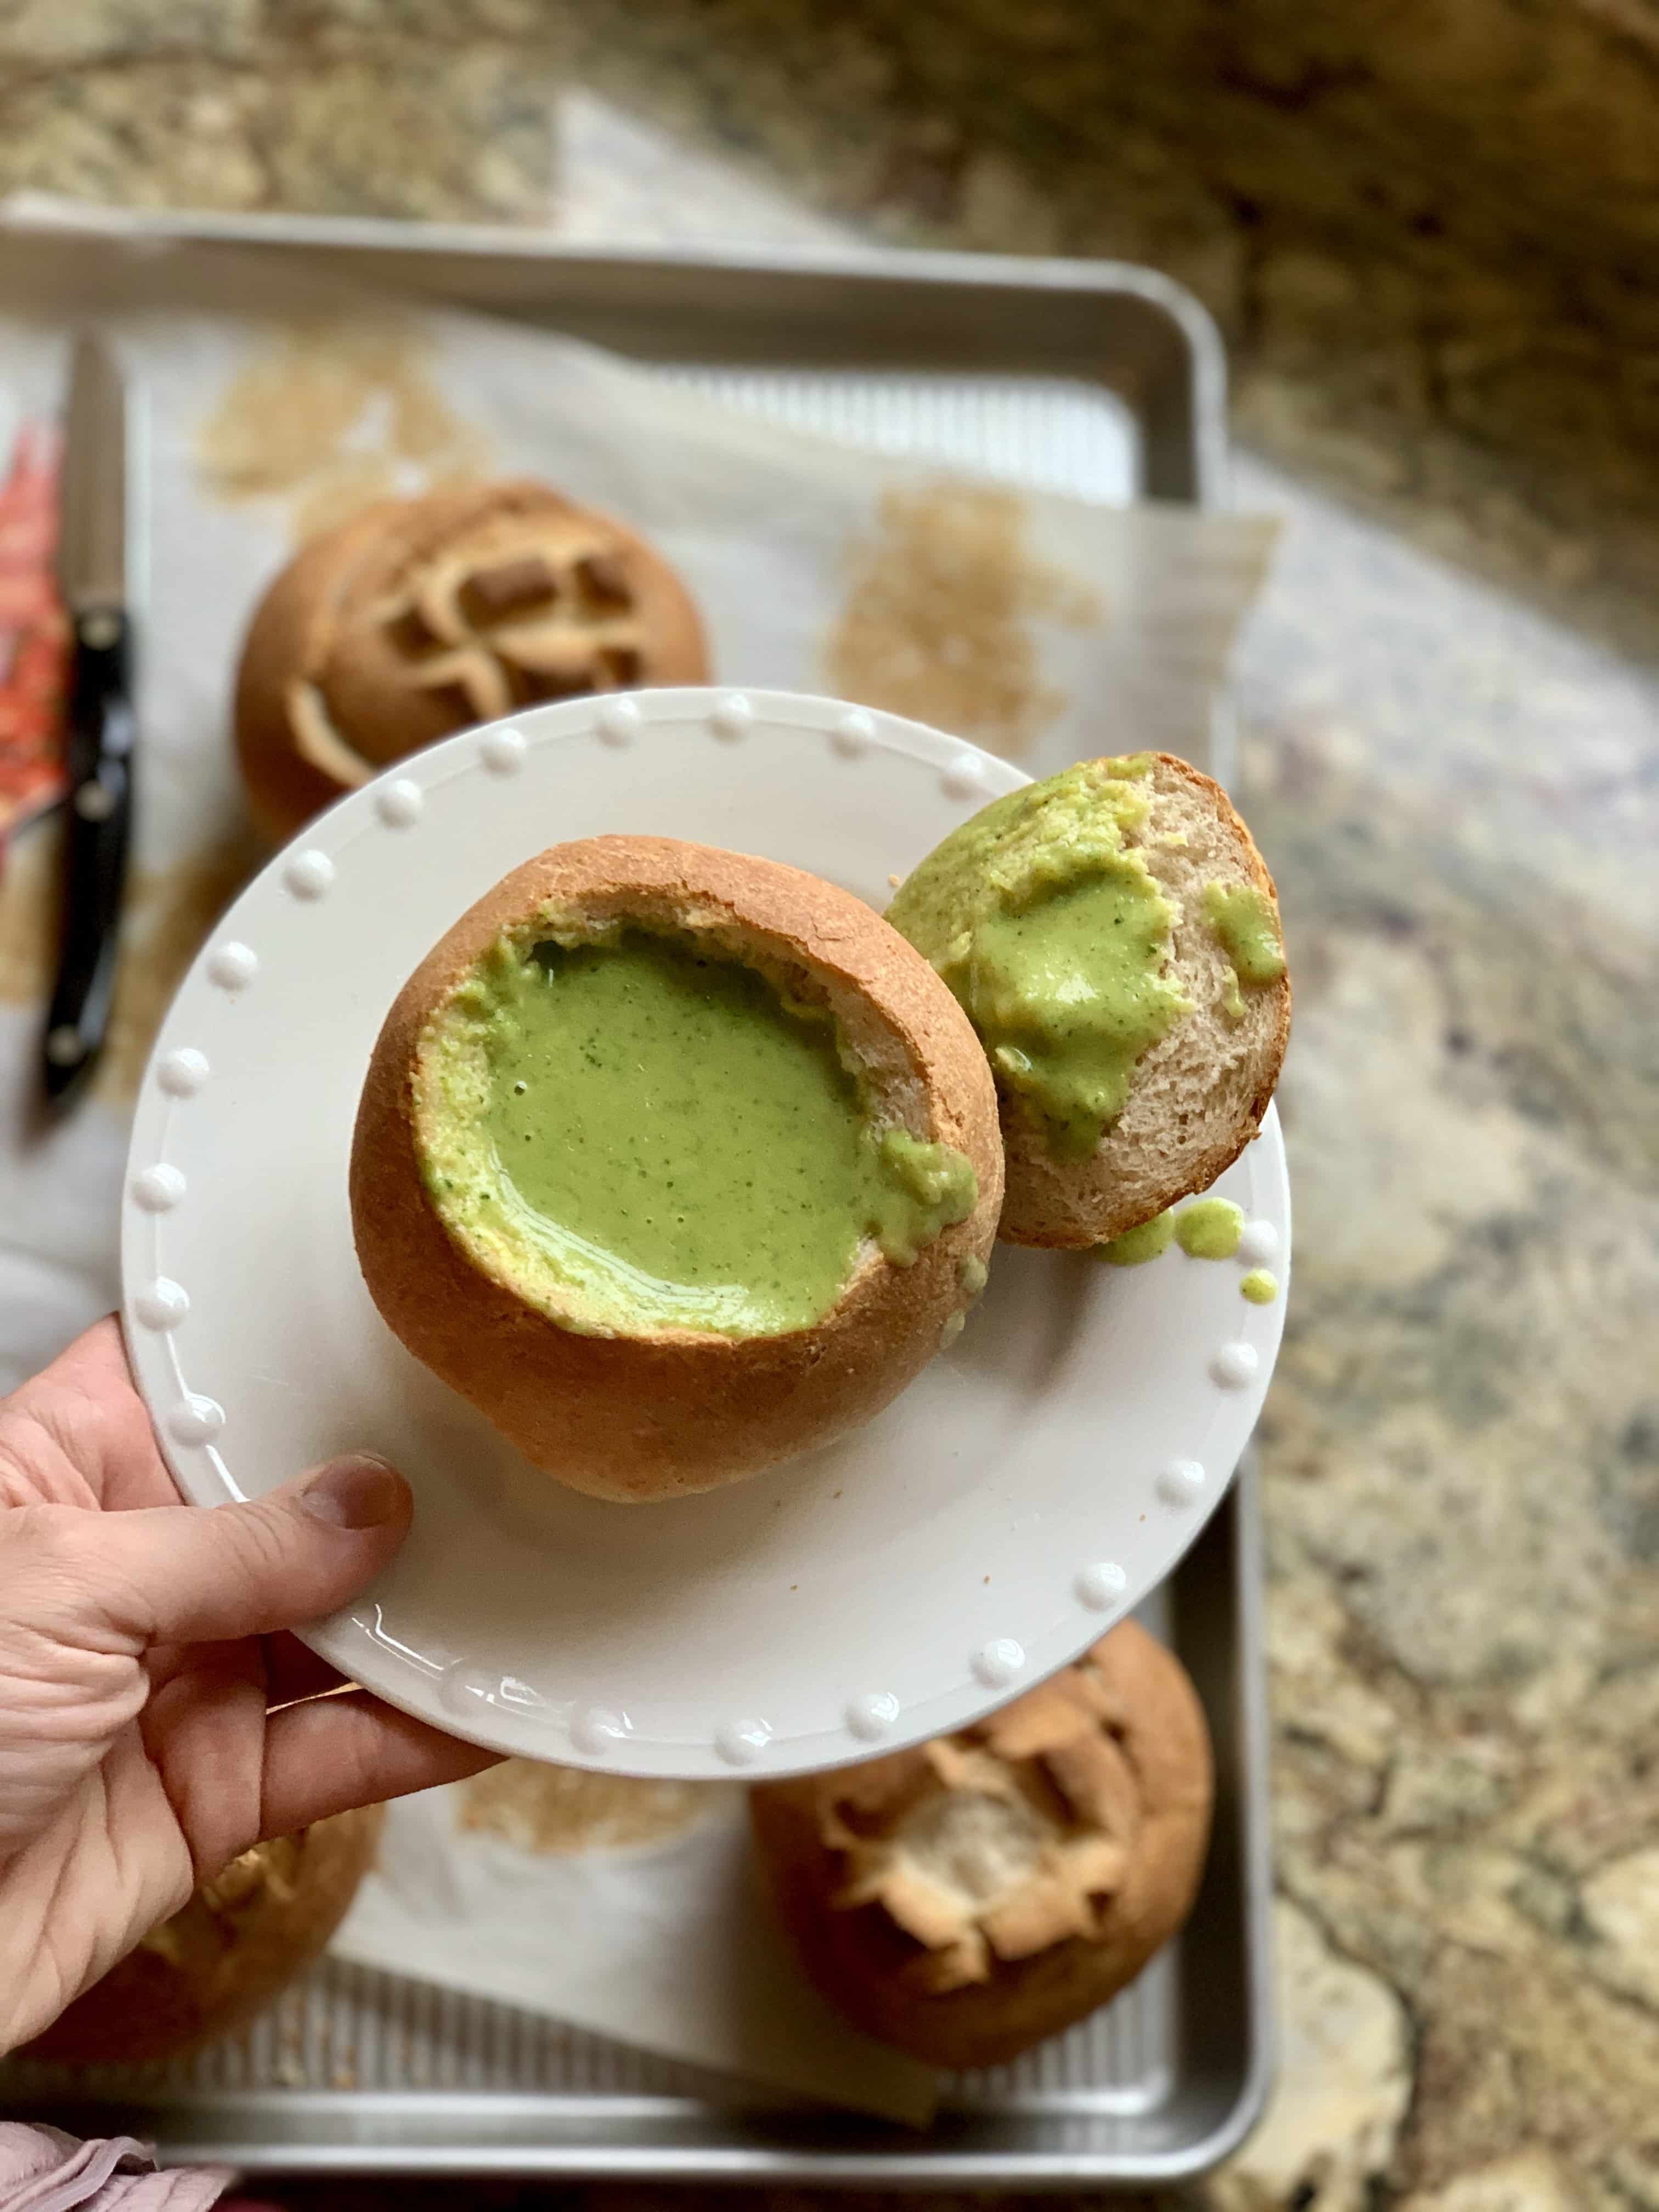
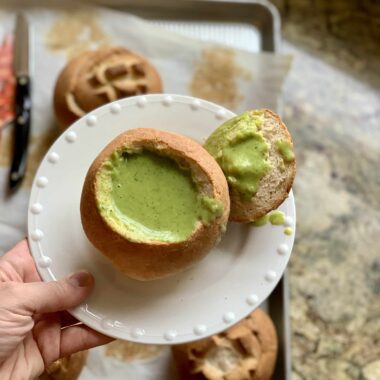
Once the dough has risen for a second time, score the top of the bread bowl with a bread lame or sharp knife. Bake the bowls and then let them cool completely before cutting into them. Once the bowls are cooled, use a sharp knife to cut into the bowl like you would a pumpkin. Cut at an angle creating a circle in the bowl. Use your fingers to scrape out the middle of the bread bowl until you have a nicely sized cavity for about a cup of soup. Serve the bread bowl with or without the top.


When I pulled out these bread bowls the other night, my kiddos didn’t even care that there was broccoli in their soup! They gobbled it right up and had so much fun getting to eat their bowl. It makes me think that I need to make bread bowls for soup a lot more often! I hope you enjoy them too.
Hearty Bread Bowls
Ingredients
- 2 ¼ cups milk warmed, temperature of baby's bathwater
- 1 Tablespoon instant yeast
- 1 Tablespoon granulated sugar
- 1 Tablespoon olive oil
- 1 Tablespoon salt
- ½ cup whole wheat flour
- 4-4 ½ cups bread flour
Instructions
- Add the olive oil, salt, whole wheat flour and 4 cups of the bread flour. Knead together, adding a little more flour at a time as needed. The dough should pull away from the sides of the bowl and be tacky but not overly sticky. Knead for 8 minutes (set a timer and let the mixer do the work for you, or knead for 10 minutes by hand). The kneading time is very important because it develops the gluten, creating good structure, chewy crust and a tall bowl to hold the soup in.
- Lightly oil a container and transfer the dough to the container for the first rise. Let the dough rise until doubled or tripled in size, about 1 1/2 hours. For more flavor and chewy texture, stick the dough in the fridge to rise for 8-24 hours. Then proceed with the shaping and follow the recipe.
- Once the dough has risen, cut the dough into six pieces. Shape into large round spheres, pulling the dough tightly into a large round ball. Watch how I shape rolls here. Place rolls on a parchment-lined baking sheet (affiliate link). Cover and let rolls rise for about an hour.
- Preheat oven to 425 degrees Fahrenheit. Once rolls are puffed up, score the top with a bread lame or sharp knife.
- Place a handful of ice cubes into a pan. Put the pan on the bottom rack of a pre-heated oven and immediately put the pan of bread bowls into the oven. Bake for 25-28 minutes until crusty and golden. Top immediately with melted butter if desired.
- Let bread bowls cool completely before cutting a hole in the center and using your fingers to pull out the interior of the bread bowl. Fill with your choice of soup and enjoy!
You have loved breadbowls since your years living in the San Francisco Bay Area: sourdough bowls filled with fresh clam chowder! Oh, the memories!! And these look fabulous…thanks for sharing!! 🍞🍲🥣 😋