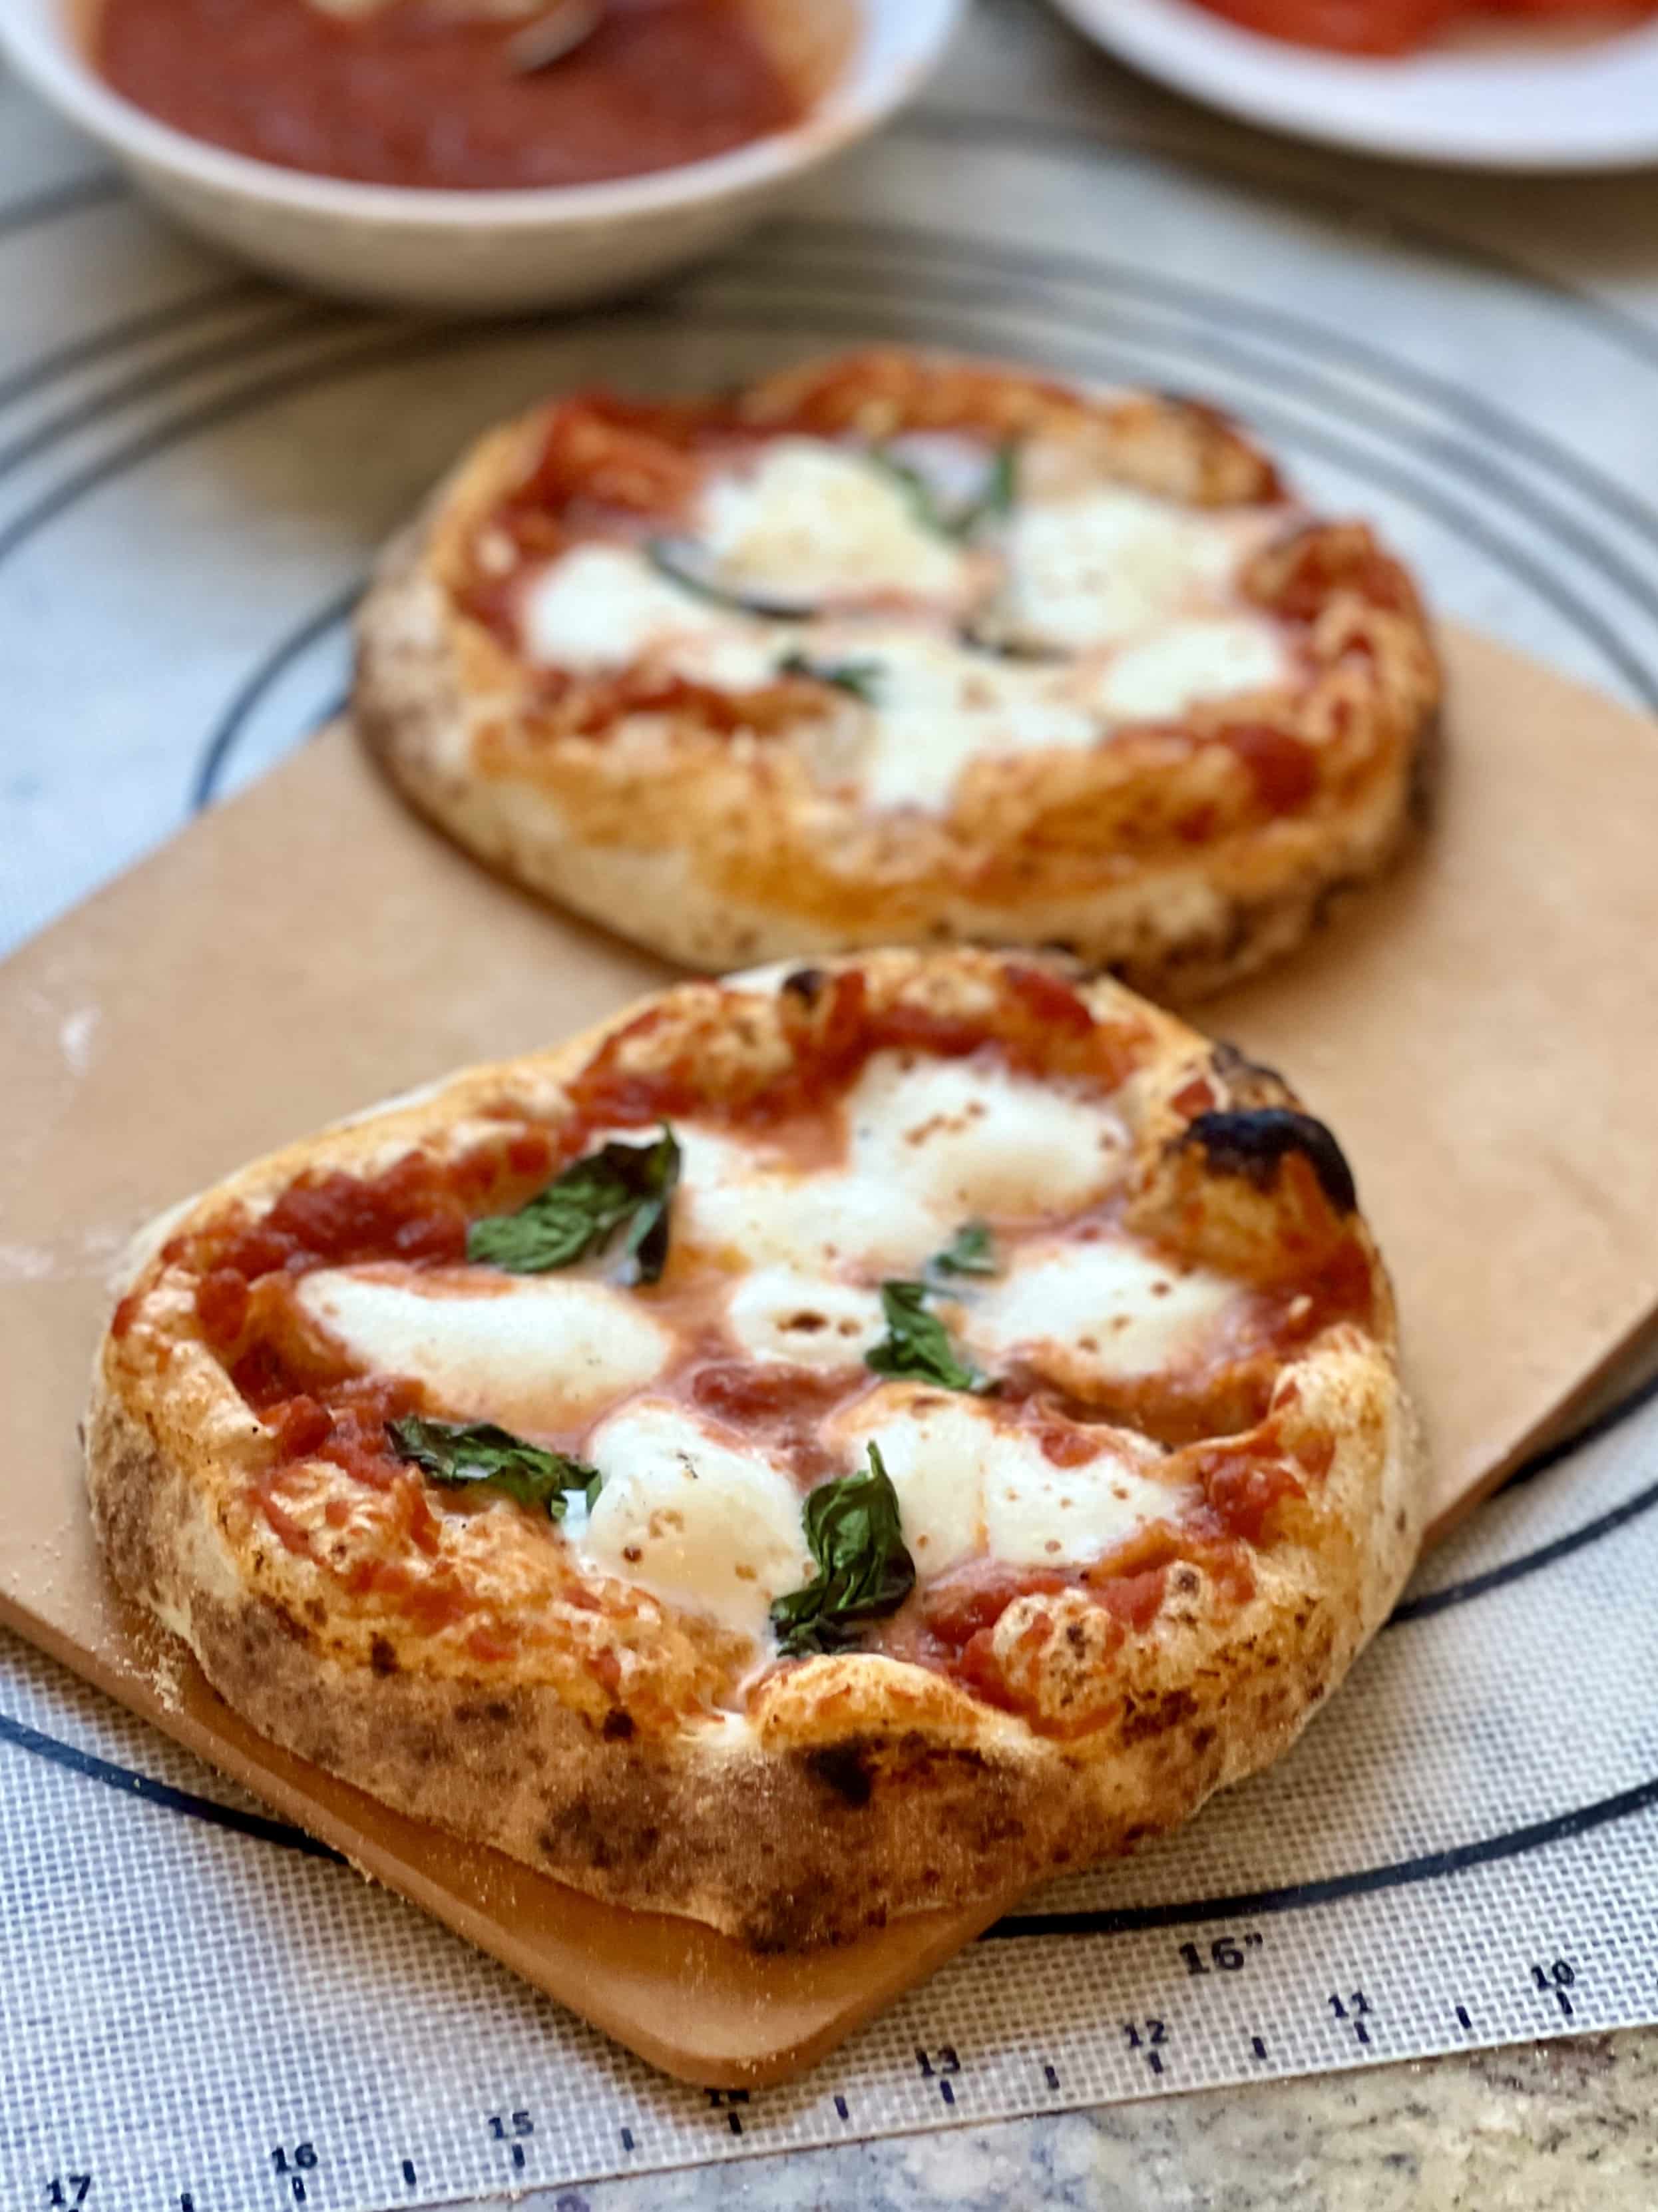
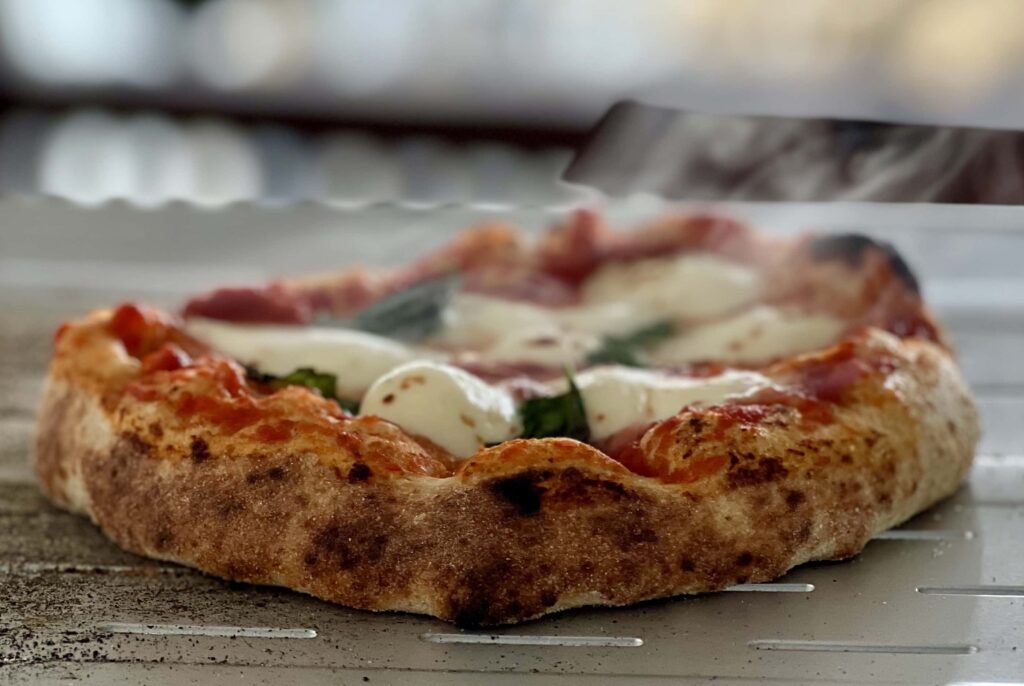
Sourdough “Pizza Oven” Pizza
I am a big-time pizza lover. My whole family loves pizza and Friday night pizza has been on the rotation for many years. We love this recipe that we’ve been using in our regular oven, but recently we added an Ooni Koda pizza oven to our appliances. Even though it was quite the long wait (supply chain issues), we love the way this pizza oven cooks and everything that we pull out of it is top notch! Check out this naan bread I made that is one of our favorites. I decided to combine my love for sourdough everything with my love for pizza and have found the perfect sourdough pizza recipe for our family. I’ve made it a number of times and will continue using this recipe for years to come. It is delicious, the perfect chewy crust and makes the most delicious pizza. We are obsessed and it has revitalized our family pizza nights.

Type 00 Flour or Bread Flour?
Ooni gives instructions with their pizza oven to use a special Italian flour, “type 00.” Type 00 flour is known for making traditional Neapolitan-style pizza (the type of pizza this recipe is trying its best to mimic) and it historically gives a crispy, thin crust while being chewy at the same time. In Europe, flour is categorized by how finely ground it is, not by protein content (which is what we use in America to categorize our flour). You can buy type 00 flour used in Italian pizza crust in some stores (our local Kroger carries it now!) or on Amazon, but with a big family that gets a little expensive if you want to make pizza often. An option that I prefer is to use American bread flour with about 11-12% protein content. I use unbleached bread flour from my local mill that is finely ground. The combination of bread flour, a long rise, high hydration content and sourdough helps to soften the gluten and to produce a light and airy crust that mimics the type 00 flour.
Side by Side Comparison of Sourdough Pizza
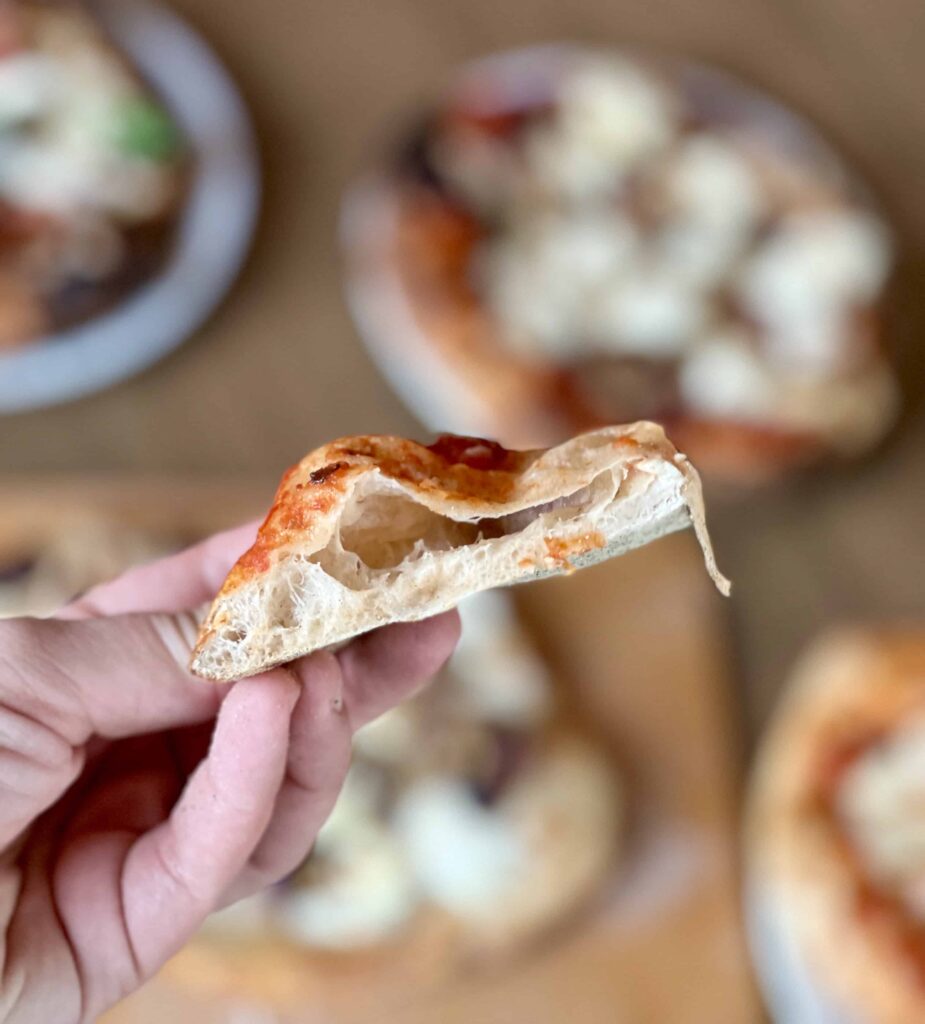
I actually did a side-by-side comparison of this recipe using both bread flour and type 00 flour and guess what?! My family preferred the pizza made with the bread flour. I thought the difference was negligible between the two and both are good options for the pizza. They both had a light, airy crust thanks to the high hydration, which produced lots of air pockets and a beautiful rise. Both had good flavor from being refrigerated overnight and baked up the next day. If you’d like to save a little money, look for a bread flour with 11-12% protein content that is finely ground, and you will have a much more affordable way to make pizza night happen weekly in your pizza oven.
Sourdough Starter
I feed my sourdough starter usually once a day, sometimes twice depending on how often I’m baking. This recipe uses 100 grams of ripe sourdough starter. This can be discard from the last few days or starter that is at its peak point. If you want to make starter specifically for this recipe, take a teaspoon of starter and feed it 75 grams of flour, 75 grams of water. Stir it, cover it and wait for 6-8 hours for the starter to double in size. Then use it in this recipe for sourdough pizza.
Sample Schedule for Sourdough Pizza
Day 1
- 8 AM Mix together the dough ingredients with a stand mixer/dough hook
- 8:30 AM Bulk Rest – perform 1st fold
- 9:00 AM Bulk Rest – perform 2nd fold
- 9:30 AM Bulk Rest – perform 3rd fold
- 10:00 AM Bulk Rest – perform 4th fold (at this point the dough should be strong and smooth)
- 11:00 AM Cover the dough and place in the refrigerator overnight
Day 2
- 8 AM Shape dough into balls, cover and rest at room temperature
- 1 PM Check on dough, place in refrigerator until ready to bake
- 5 PM Preheat pizza oven
- 5:30 PM Take dough out of refrigerator, shape into pizzas, top and bake
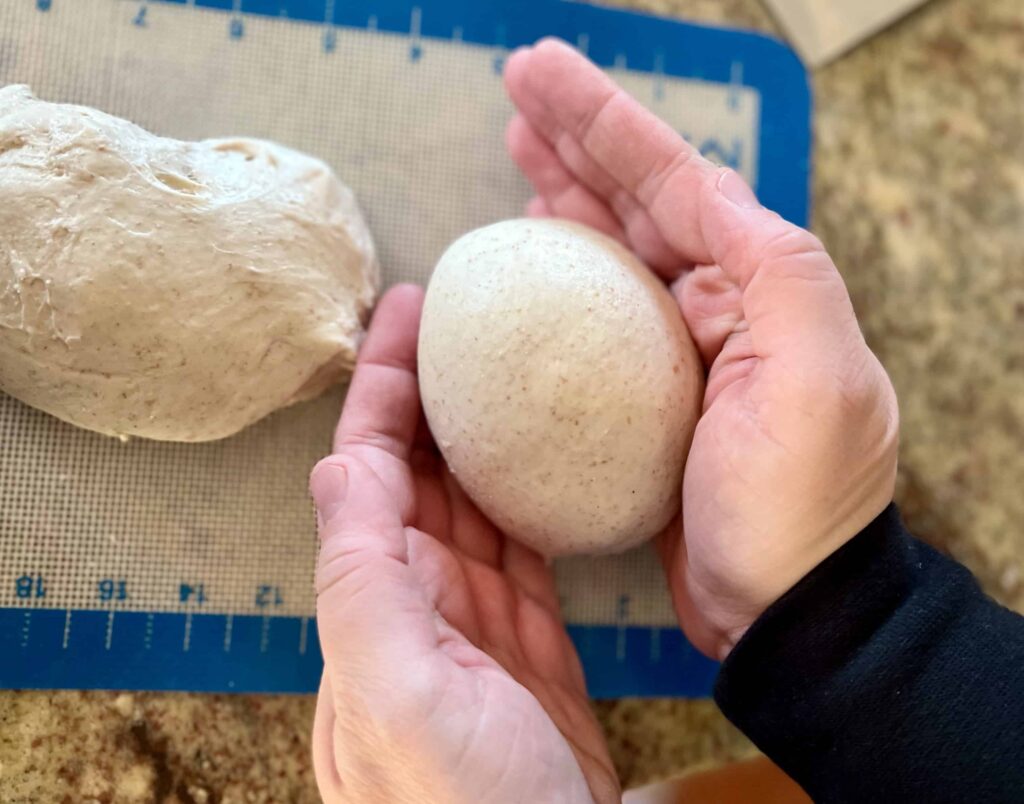
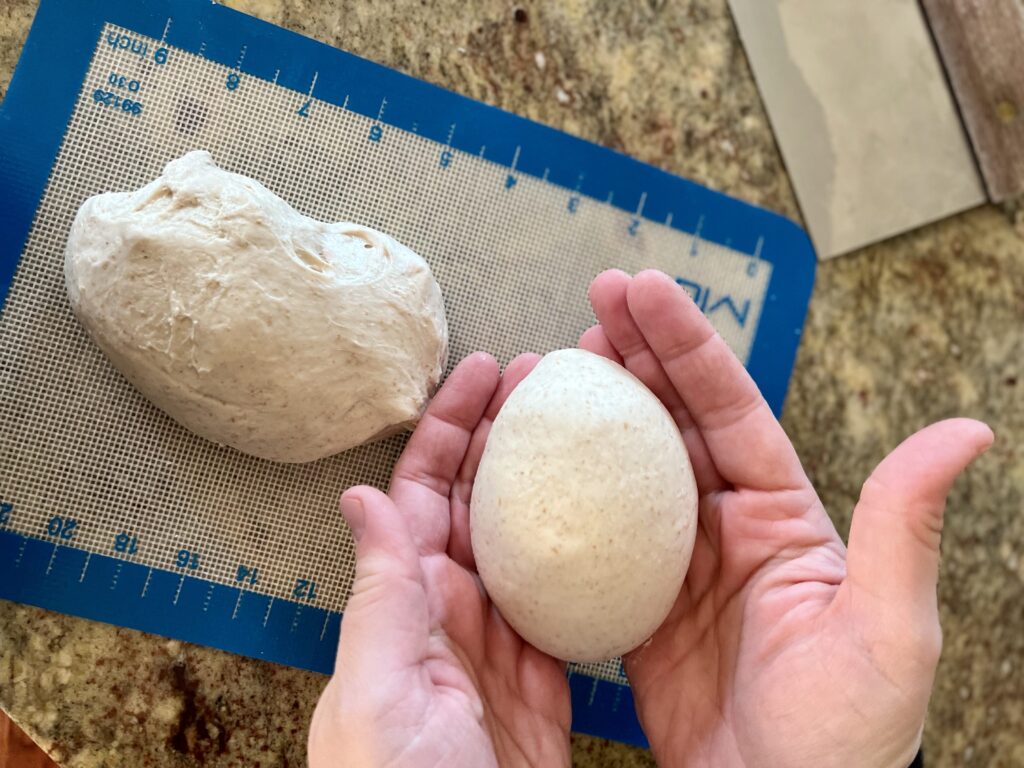
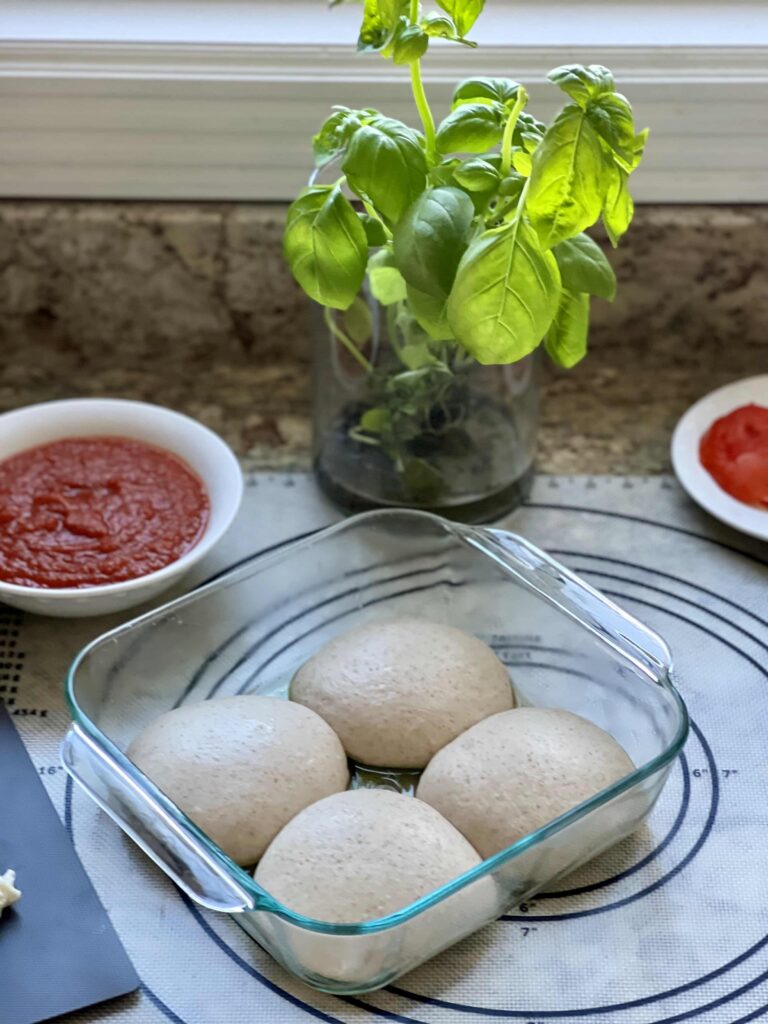
Shaping the Balls of Sourdough Pizza Dough
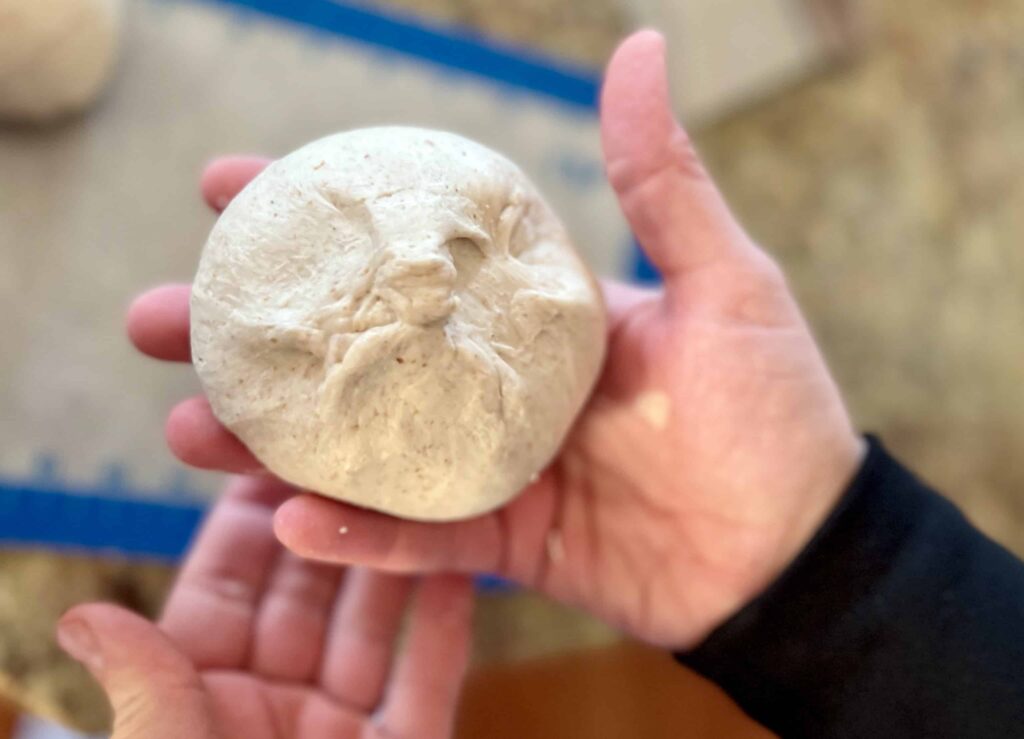
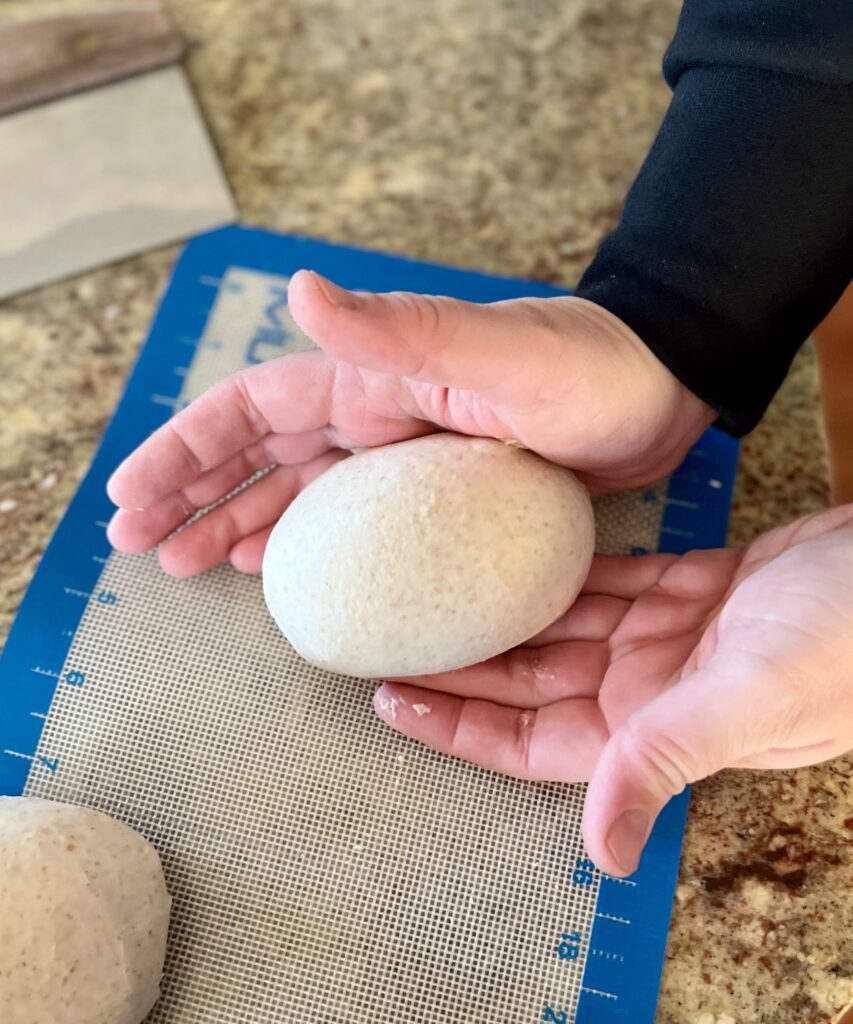
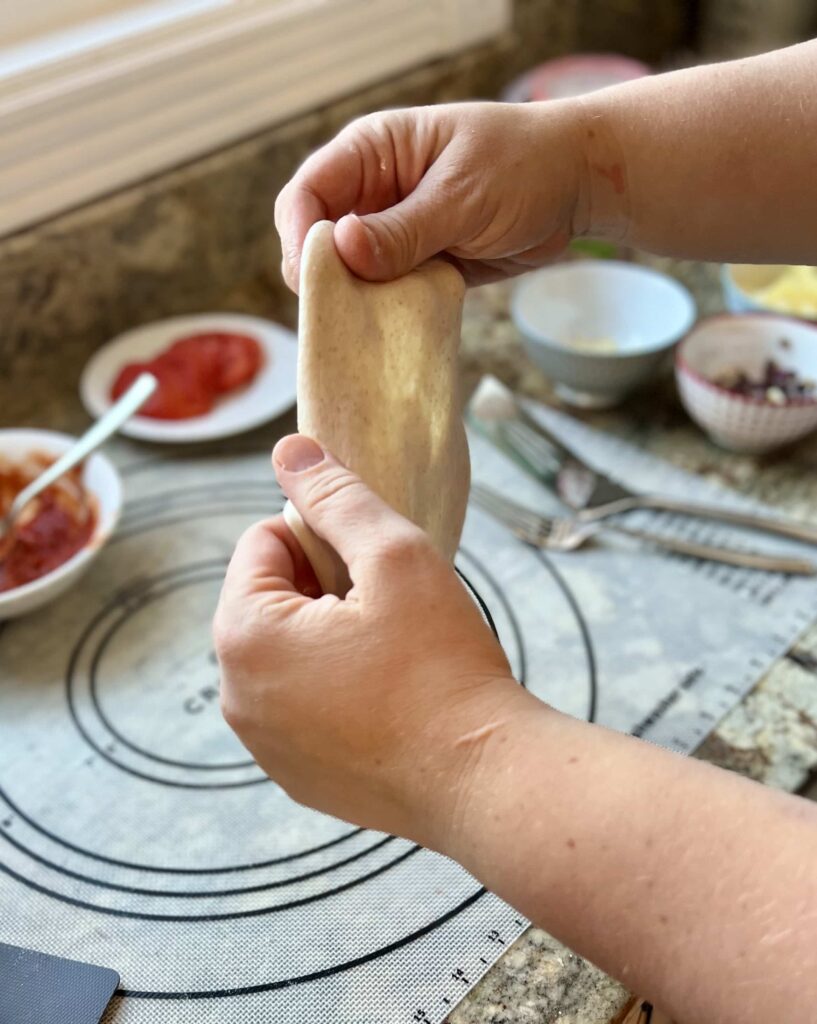
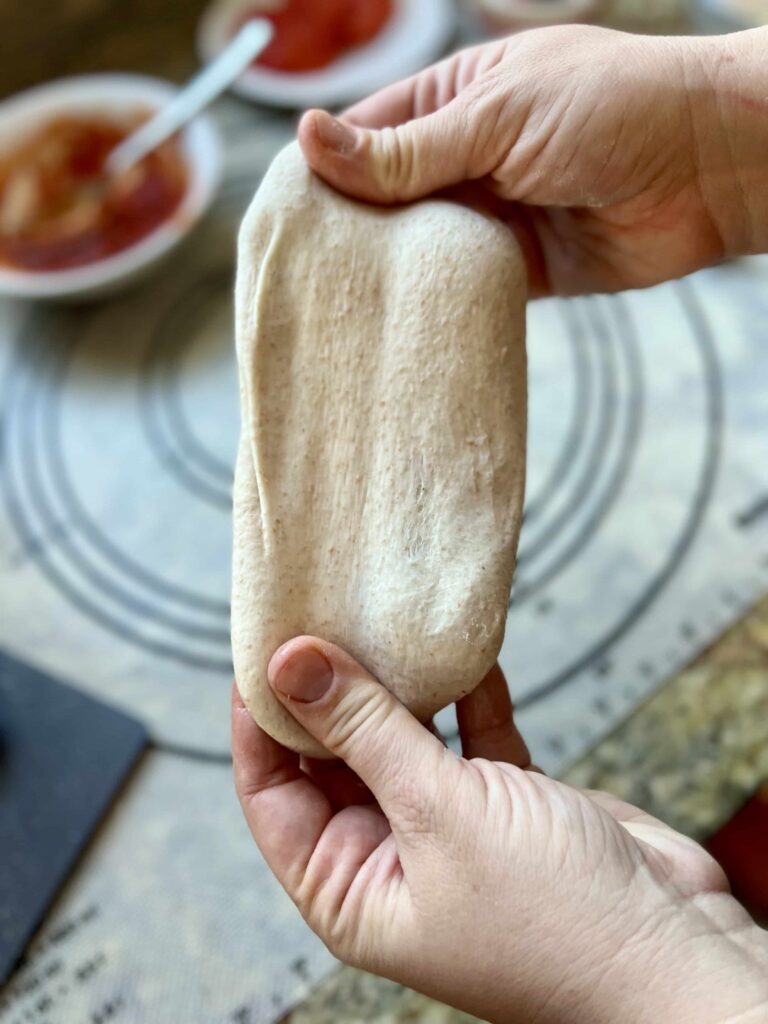
The more you work with dough, the easier this will become. Don’t worry if it seems hard at first. It will turn out okay! To shape a ball of dough, pick it up in your hand and gently pull the dough together as you turn it in your hand, forming a ball. Then take the ball and tightly move it in a circular motion on the countertop to seal the ball. You should be left with a taught, round ball of dough. It will flatten as it rises, but this shaping process sets your pizza crust up for a successful rise in the oven.
Working with Cold Dough
The process for making this pizza dough is two days but it is not a lot of hands-on time. Most of the work is done while the dough is resting. I don’t like to add extra flour to the dough while I’m working with it on the counter. Cold dough is easier to shape without extra flour. Once your dough has been shaped into balls, let it rise at room temperature for 5-6 hours. You will notice it expand and puff up. Once the dough has risen, stick it back in the refrigerator until ready to make the pizzas. Cold dough doesn’t stick as much to the pizza peel, especially with a sprinkle of cornmeal underneath it. Work quickly so it doesn’t warm up too much and your dough should slide right off the pizza peel or wooden cutting board.
Cornmeal and an Ooni Pizza Oven
I like to use cornmeal on the bottom of my pizzas. This is not necessarily traditional, but I have found cornmeal is the best way to provide a little friction between the wet dough and the pizza peel or cutting board. The friction makes it much easier to launch into the pizza oven. Be careful that you don’t use too much cornmeal because it can burn up in the pizza oven; you really just want a light dusting of cornmeal.
Too Many Toppings?
With this pizza recipe, it is possible to have too many toppings. Part of the beauty of this style of pizza is in the simplicity of the ingredients. This doesn’t mean you shouldn’t experiment. You should! Just be careful to not load your pizza up with too many toppings. It will make it difficult to get your pizza into the pizza oven without half of your pizza collapsing, giving you a melty/cheesy mess that will need to burn up before baking your next pizza—not that I have experienced this or anything 🙂

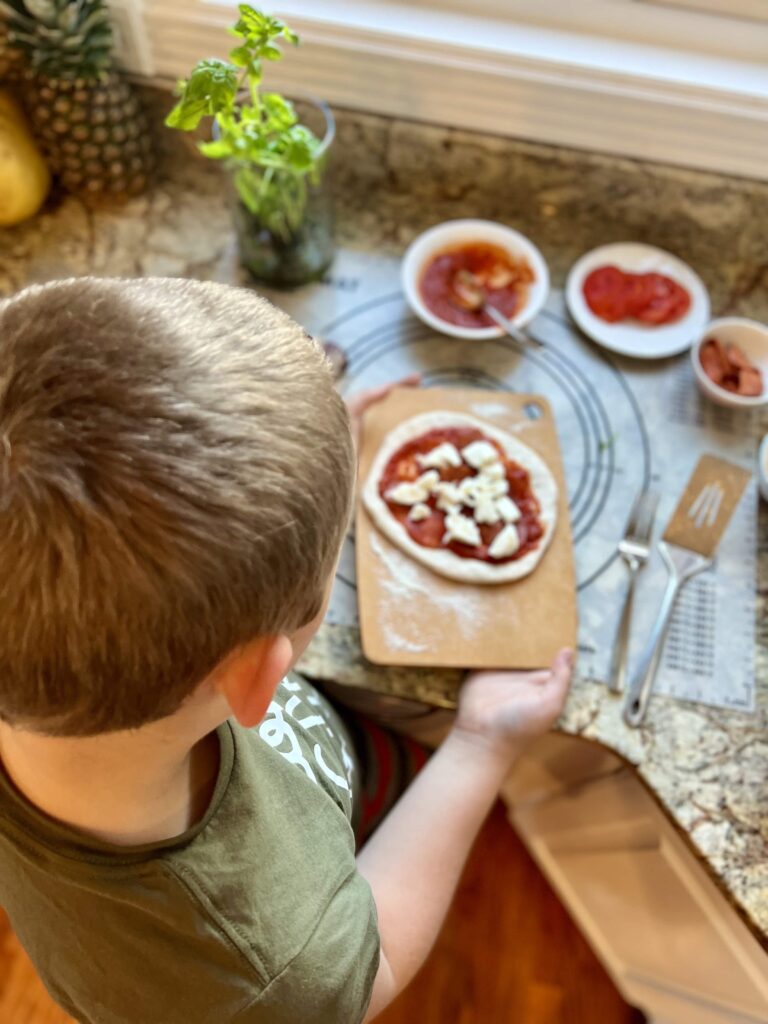
Launching and Baking Pizza In an Ooni Pizza Oven
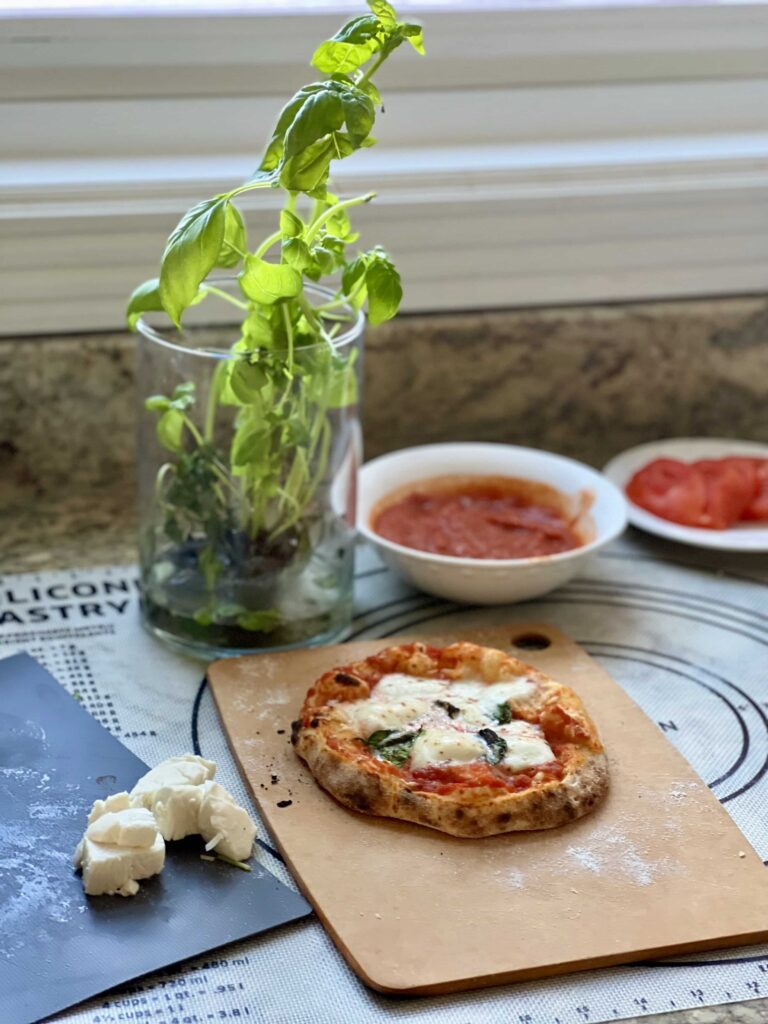
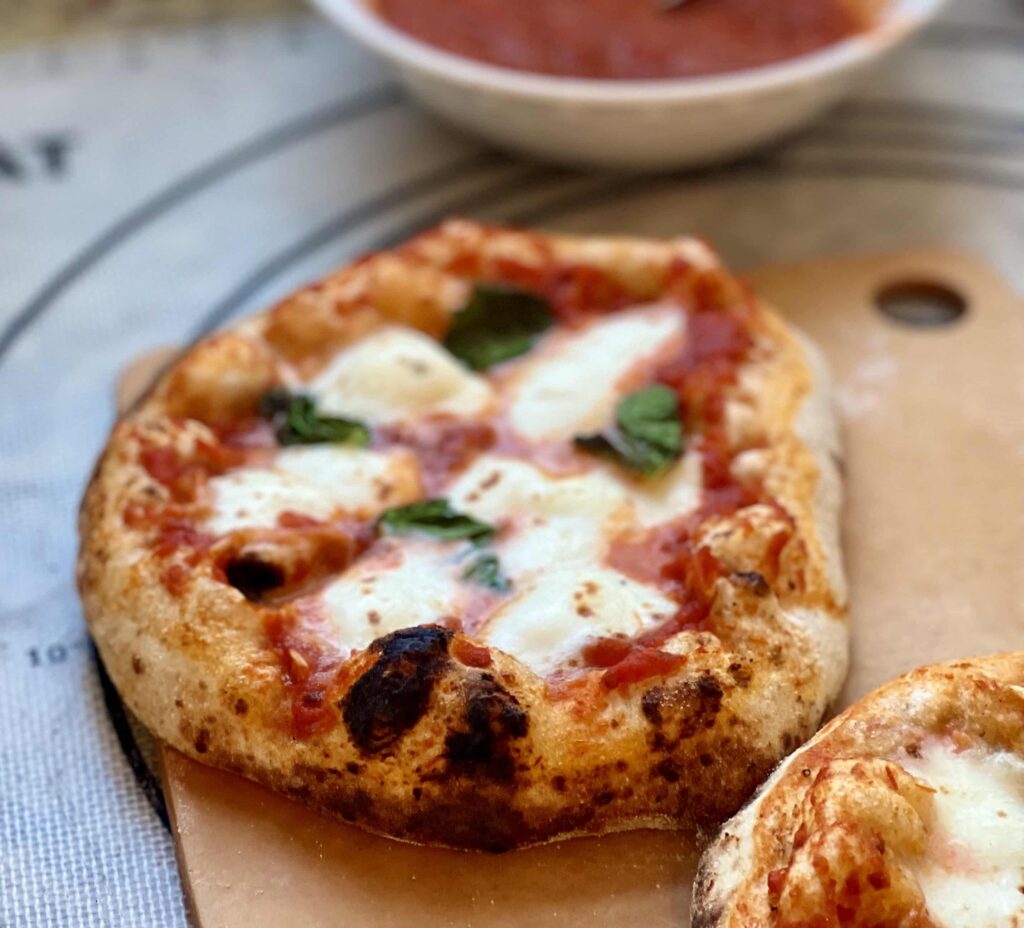
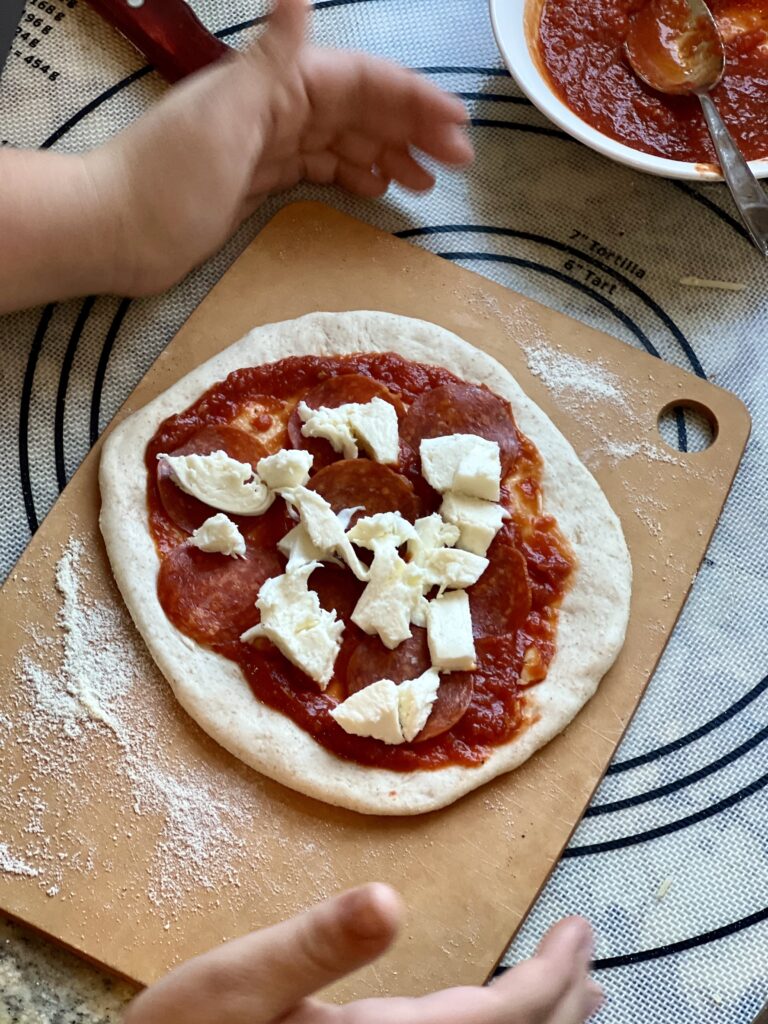
The more you make the pizza, the better you will get at this step. I like to use a wooden cutting board to assemble my pizza on. Spread a little cornmeal and place the stretched dough on top of the cornmeal. Press the pizza into a circular shape and top with pizza sauce, chunks of mozzarella and any other toppings you’d like. Check that your pizza is not sticking to the board (if it is, lightly lift it off), and scoot the pizza toward the end of the board. Launch the pizza with a quick thrust of the board into the pizza oven. Do not stick your fingers into the oven! Have a pizza peel and a fork nearby. Once the pizza has cooked about 45 seconds and starts to look crispy, pull it out with the pizza peel, rotate it 180 degrees (one half turn) with the fork and bake for another 30-45 seconds until the crust is perfect.

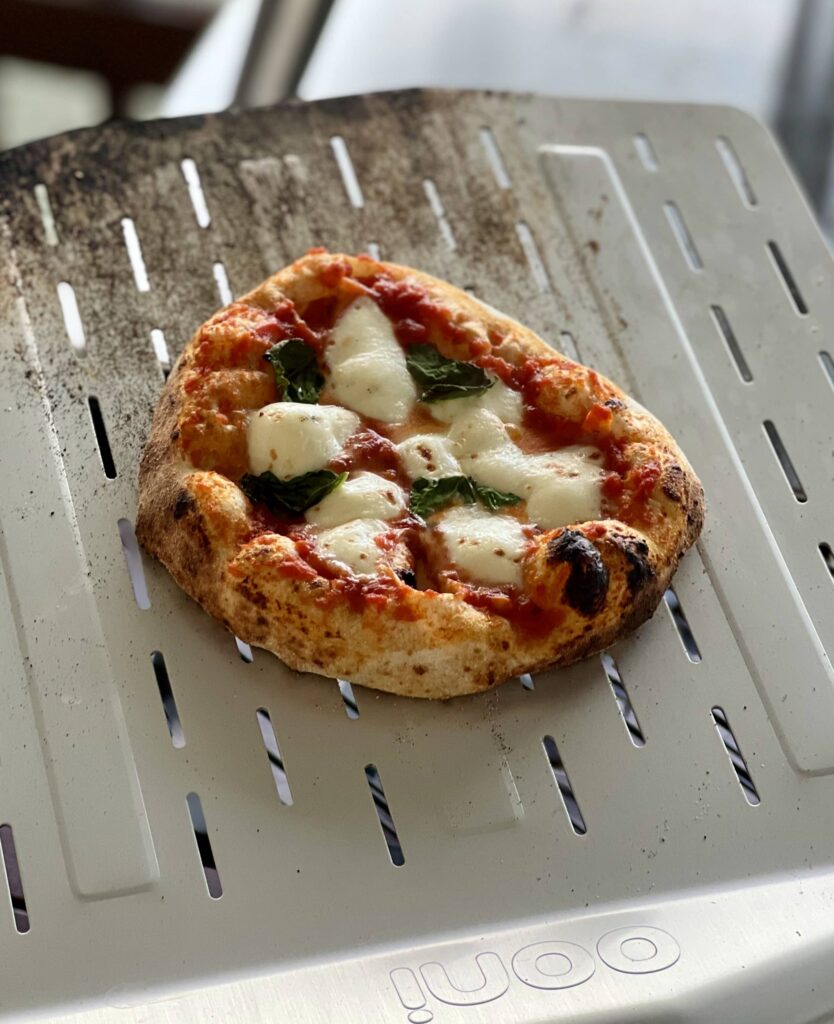
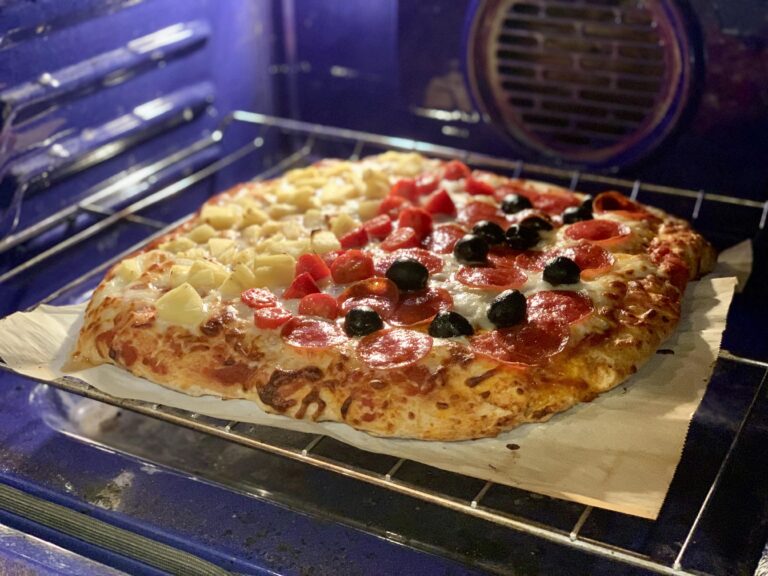
Pizza Oven vs. Conventional Oven
This pizza recipe works best in a pizza oven. I’ve made it many times in an Ooni Koda 16 pizza oven. You will get the best texture, taste and crispness using the high heat and baking stone of a pizza oven. If you don’t have a pizza oven, you can still make good pizza from this recipe, though you may want to check out this one instead. Crank your home oven up to the highest temperature it will go (550 is the temperature I tested it at). Place a pizza stone on the top rack of the oven and let it pre-heat for at least 30-40 minutes. This long pre-heat is crucial to the texture of the pizza dough. Proceed with the recipe as written and bake the pizza in the regular oven for 5-7 minutes, until the dough is puffed up and baked through.

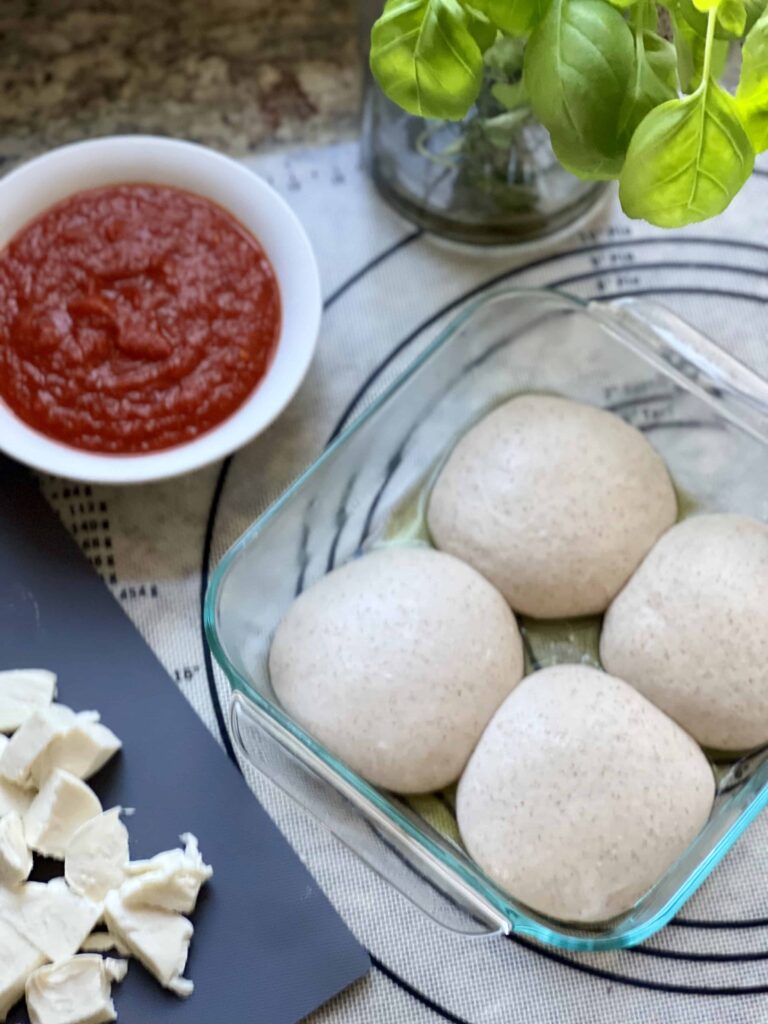
Pizza Sauce for Sourdough Pizza
Neapolitan style pizza traditionally uses a fresh, non-cooked sauce. We prefer our pizza with a cooked sauce and the recipe I have listed is one of our favorites. It doesn’t take too long to make and can keep fresh in the fridge for a week or two. I like to make this sauce, cool it down and use it on our homemade pizza nights. A jarred sauce will work too, just find one that you love.

The long fermentation time in the refrigerator helps the dough build flavor and softens the gluten in the dough which allows for lots of air pockets which means a light, airy and open pizza crust. Don’t skip this step!
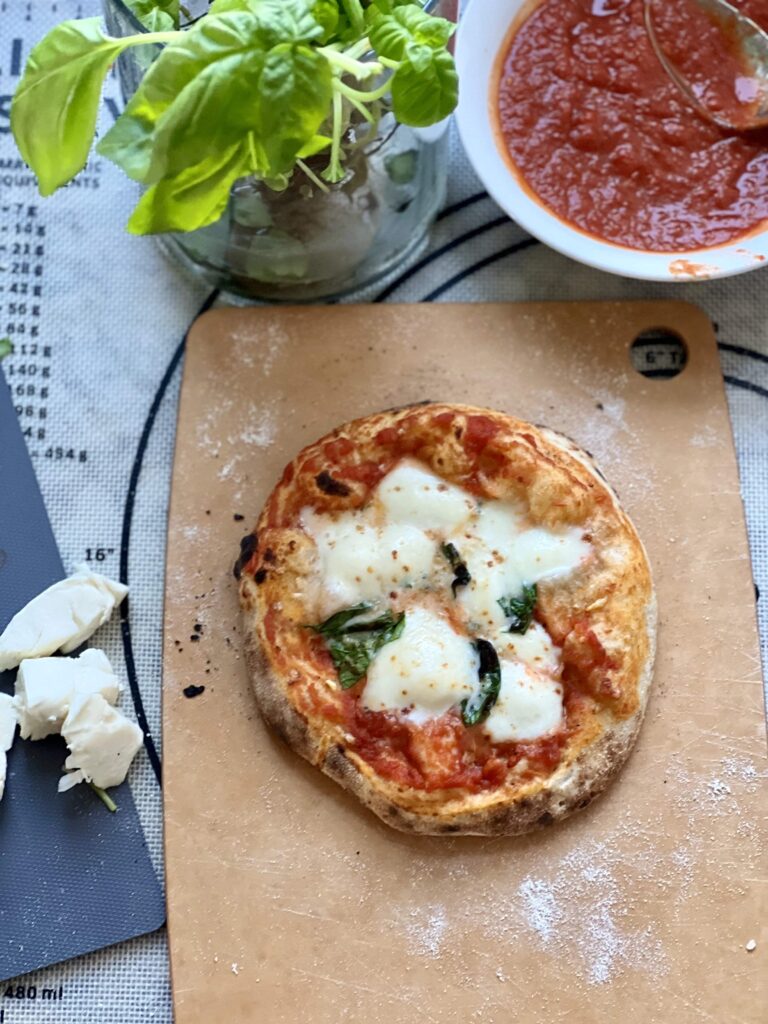
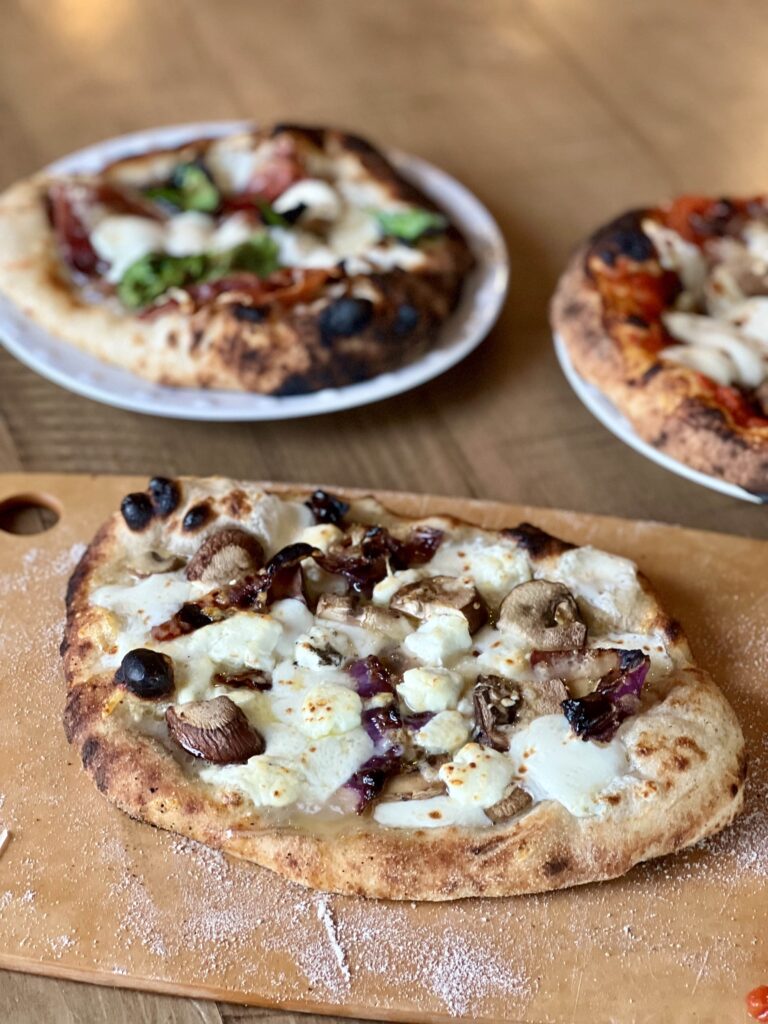
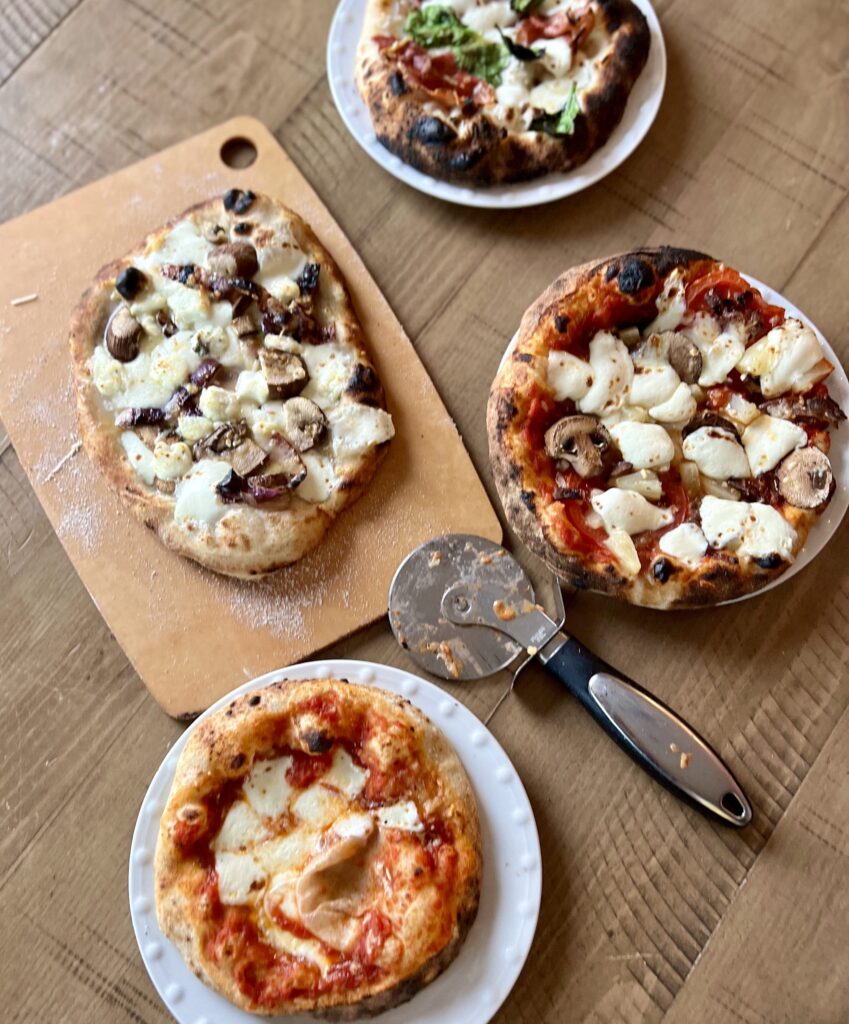
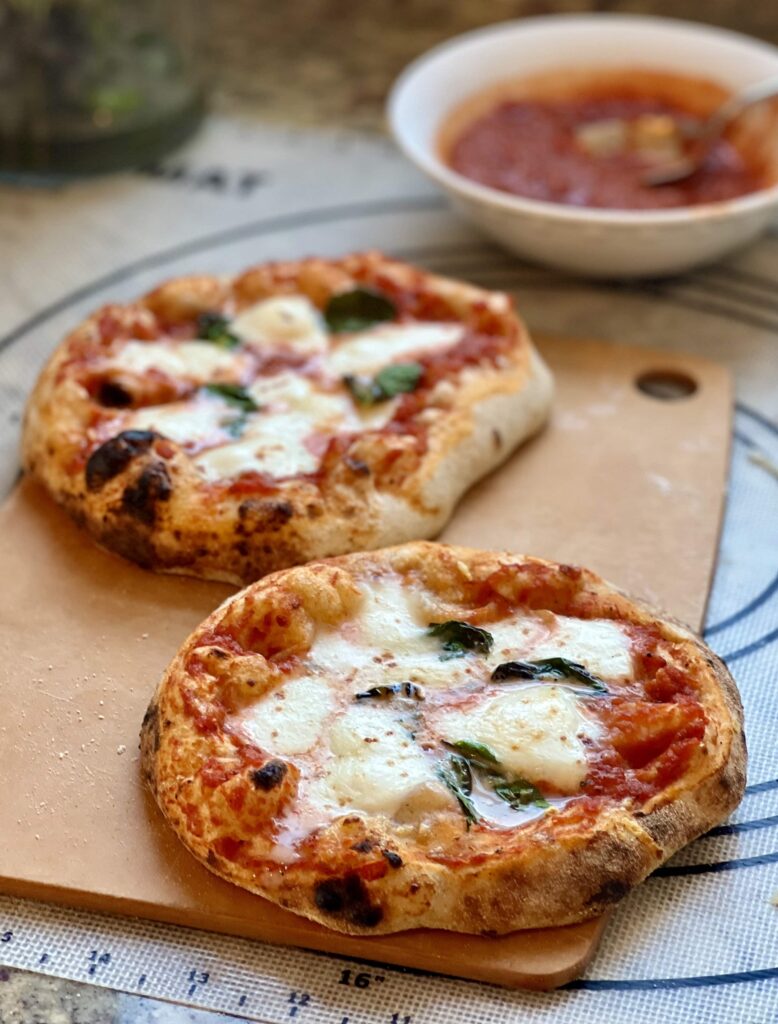
Traditionally this Neapolitan-style pizza is made with a simple tomato sauce, chunks of mozzarella cheese and fresh basil. We love making a “white” pizza with a bit of olive oil, goat cheese, mozzarella, roasted garlic and adding a bit of arugula and balsamic vinegar on top after it bakes. Our kids love traditional pepperoni on this pizza dough too.
Yes! Due to the long, slow rise, sourdough discard works great in this recipe. The older the discard, the more soudough flavor the crust will have.
I buy it online on Amazon and most recently I’ve found some at our local Kroger.
It can, but it really tastes much better when it’s had time to ferment overnight in the refrigerator. The long rise breaks down the gluten making an amazing, tender, chewy & light pizza crust.
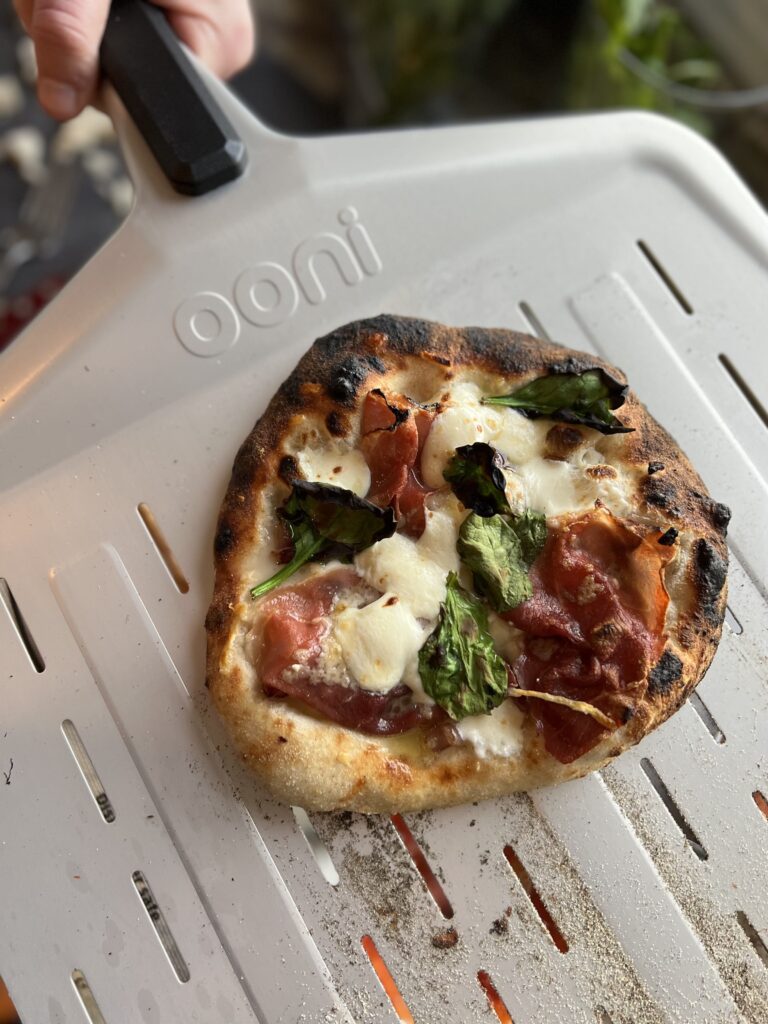
Pizza night has never been better with this sourdough pizza in an Ooni Pizza oven. Give it a try! I hope you’ll love it as much as we do.

Sourdough Pizza for a Pizza Oven
Ingredients
Sourdough Pizza Crust
- 100 grams ripe sourdough starter 100% hydration see recipe notes
- 400 grams water room temperature
- 575 grams bread flour see recipe notes
- 65 grams whole wheat flour finely ground
- 4 grams diastatic malt powder see recipe notes
- 12 grams salt
- ½ cup cornmeal reserved for sprinkling when shaping pizza
Pizza Toppings
- 16 slices mozzarella cheese good quality
- fresh basil torn
- 2 cups pizza sauce recipe below works great
- ½ cup parmesan cheese
- other toppings as desired
Pizza Sauce
- 1 Tablespoon unsalted butter
- 1 Tablespoon olive oil
- 2 cloves garlic pressed/diced
- 1 teaspoon oregano
- ½ teaspoon salt
- ¼ teaspoon pepper chili pepper for spicy–up this if you want more spicy
- 28 oz crushed tomatoes nothing else in it but tomato
- 1 teaspoon sugar
- 2-3 springs basil with stems/leaves on
Instructions
Sourdough Pizza Dough
Day 1
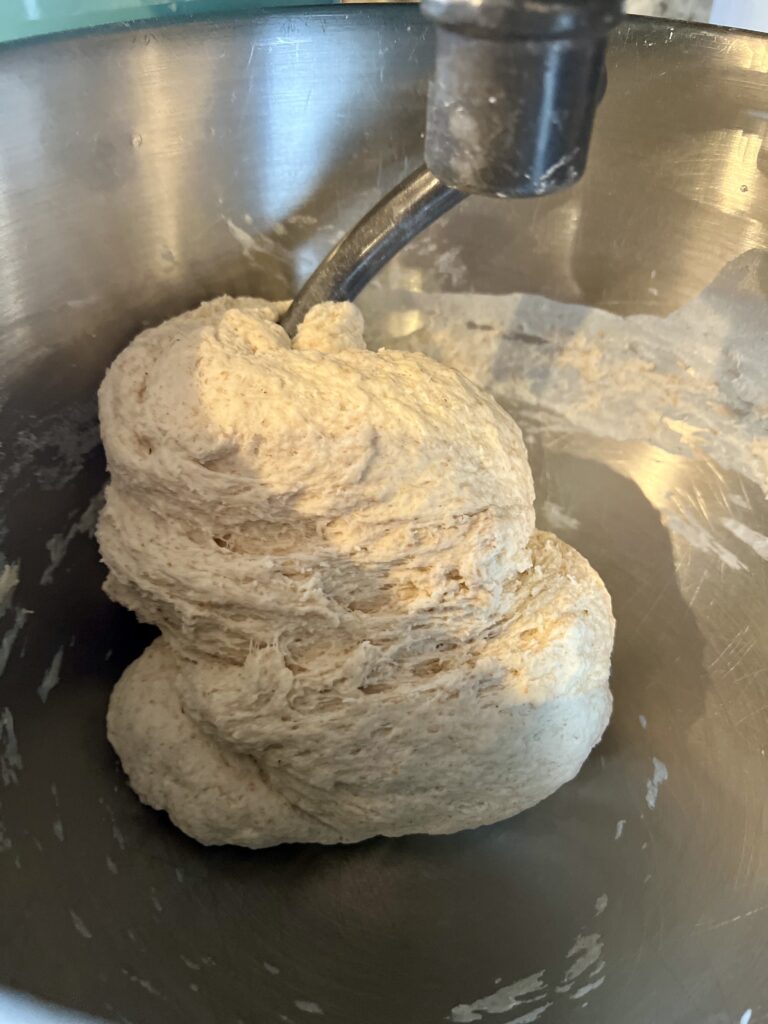
- To a stand mixer, add the ripe sourdough starter and water. Mix with your hands until mostly dissolved. Add the bread flour, whole wheat flour, diastatic malt powder and salt. Mix together with a dough whisk or spoon until a shaggy dough forms.
- Using the dough hook on your stand mixer, mix the dough for 7-8 minutes until smooth. Alternatively you can knead the dough by hand for 8-10 minutes until smooth. Transfer the dough to a bowl or container.
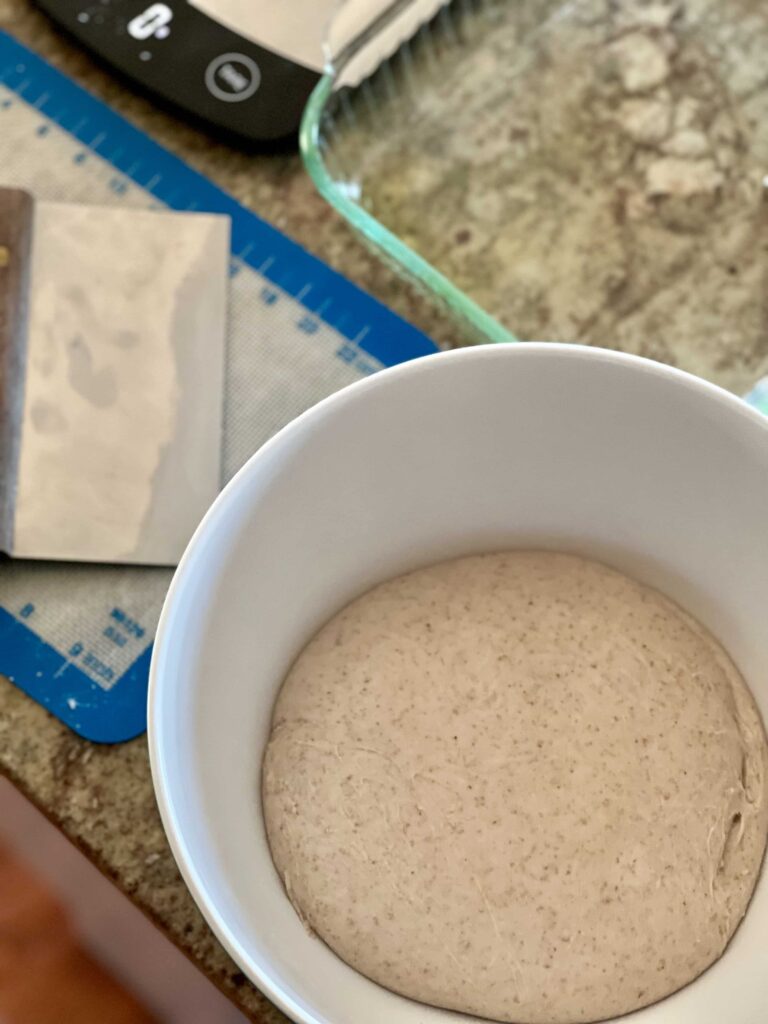
- Cover the bowl and allow the dough to rest for about 2-3 hours on the counter at room temperature (if your kitchen is warmer err on the side of 2 hours; colder err on the side of 3-4 hours).
- During this bulk rest, perform a series of stretch and folds every half hour to continue developing the dough.
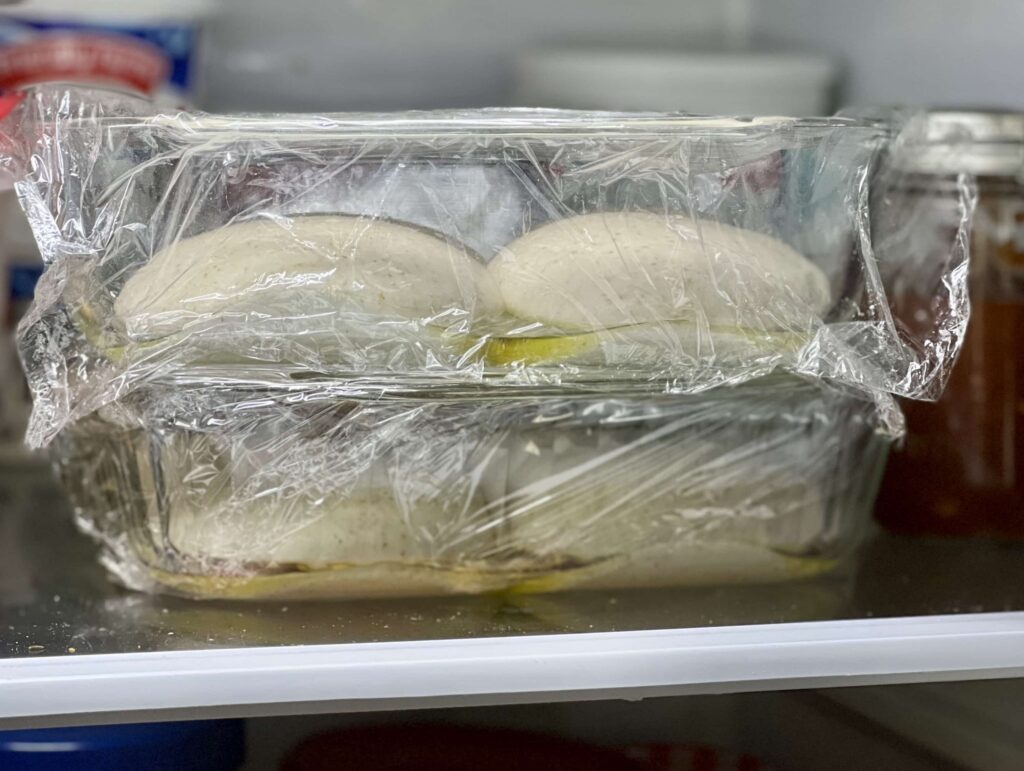
- After the bulk rise, cover the dough and place in the refrigerator overnight for a long, slow rise.
Day 2
- Add a little olive oil to one or two baking dishes or pans with high edges.
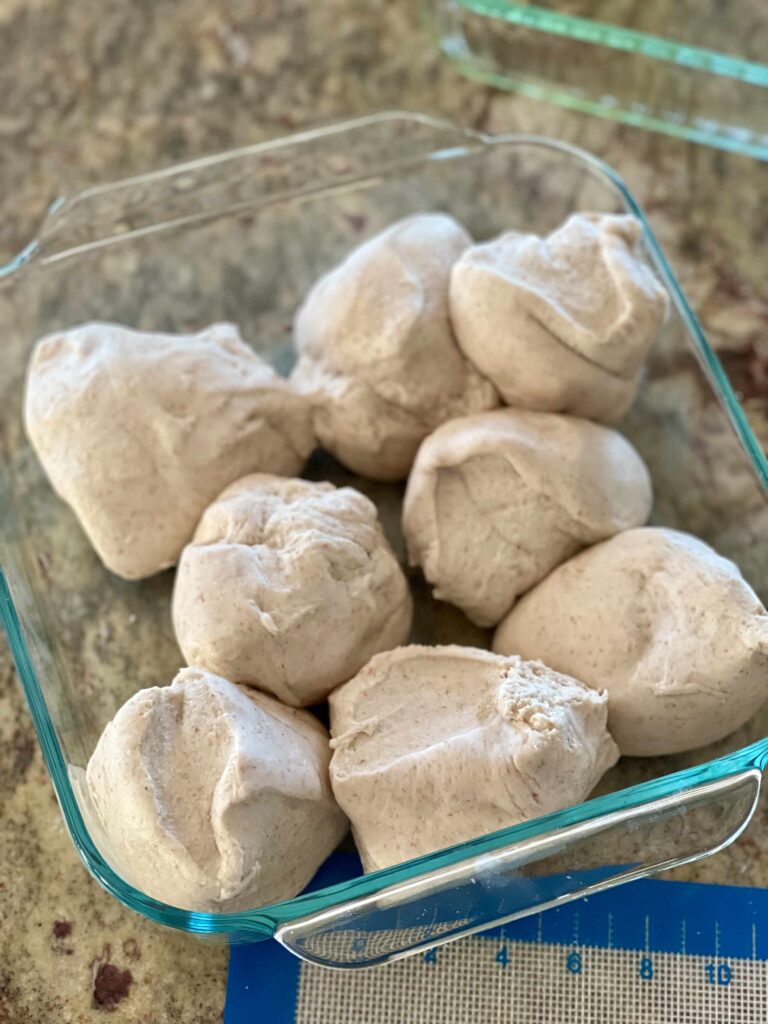
- Pull the dough out of the refrigerator and separate into 8 pieces, about 145-150 grams per piece. This will make about a 6-8 inch pizza. If you'd like to make larger pizzas, divide the dough into 4 balls about 290 grams a piece.
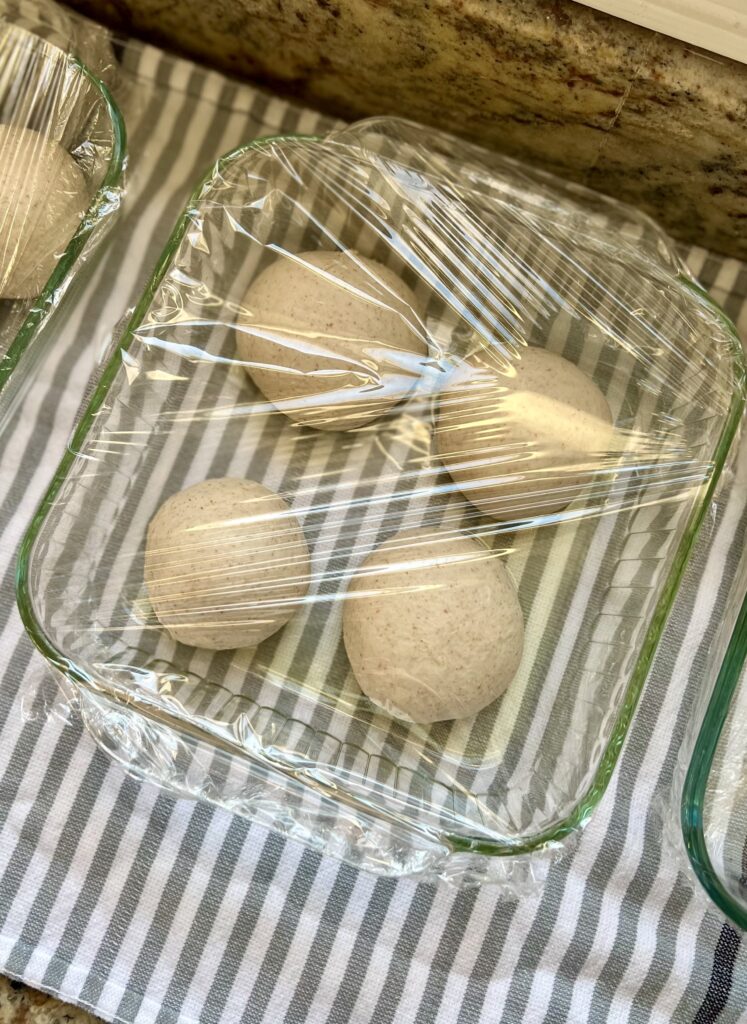
- Use your fingers to shape the dough into 8 tight balls. Pinch the dough together into a ball shape and drag in a circular motion on your countertop to form a taught, tight ball. Place the dough ball into the prepared, lightly oiled pan. Repeat with the next dough ball, placing it apart from the first ball to allow room for the dough to rise. Continue this process until the dough balls have been shaped.
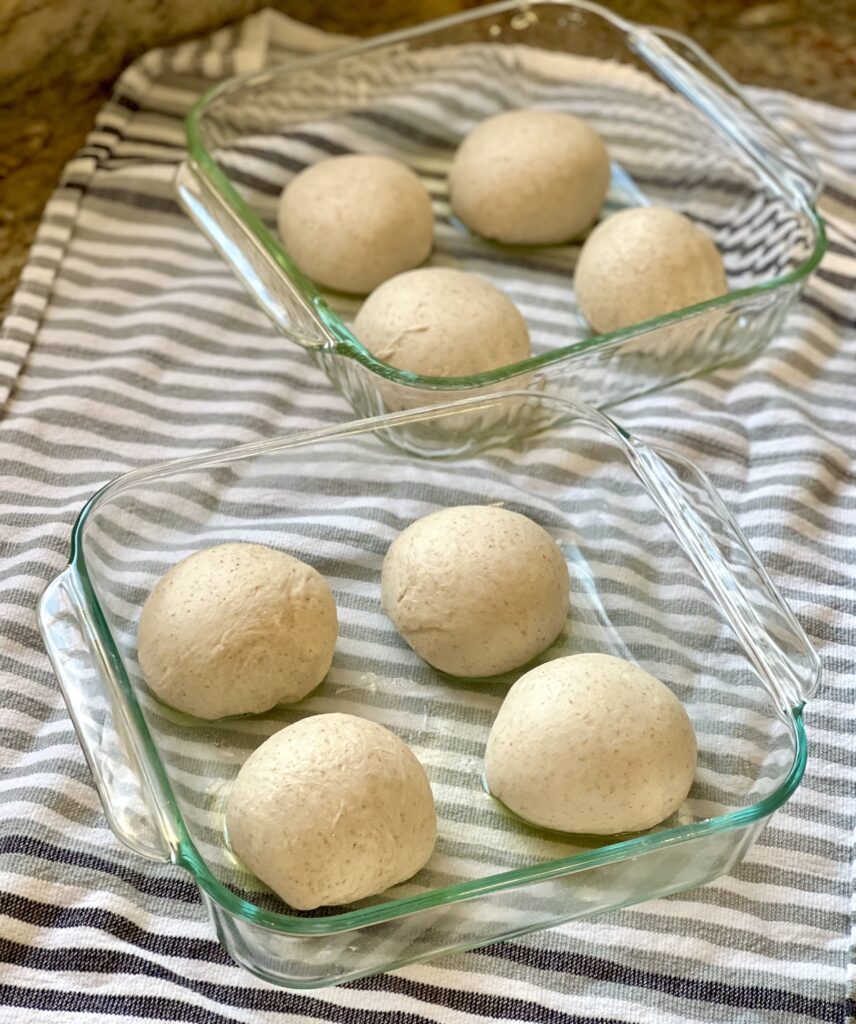
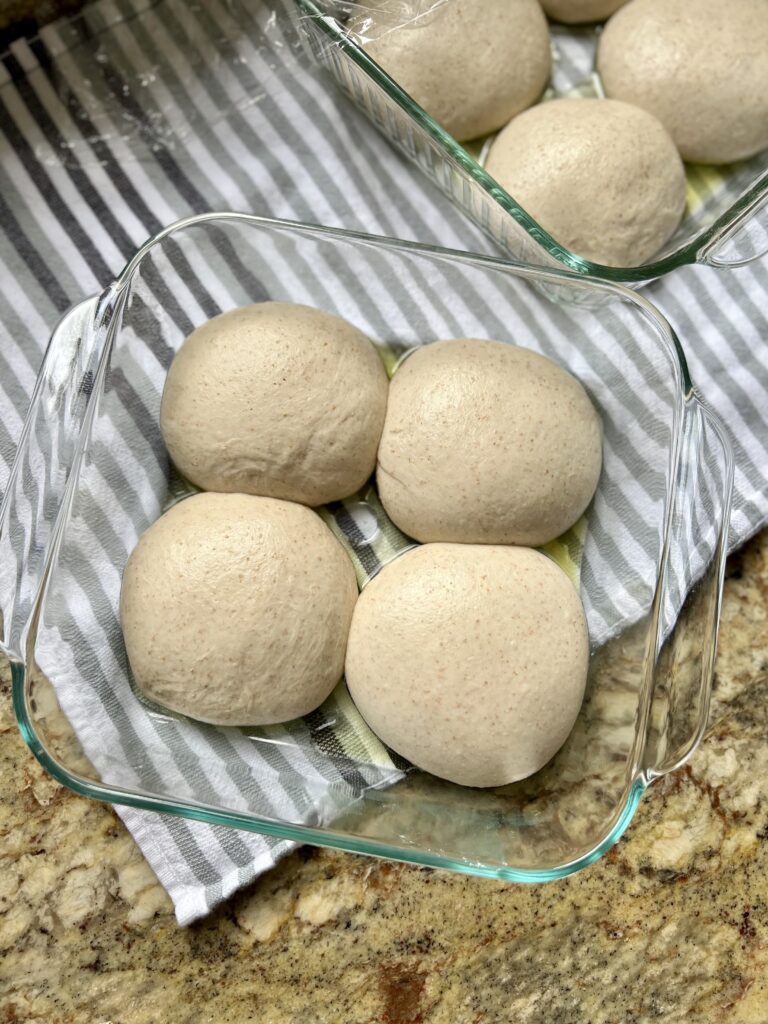
- Cover the pans with plastic wrap and leave on the counter to rise for 4-6 hours (depending on the temperature in your kitchen). The dough will puff up a bit and flatten out to a disc-like shape.
- Check on your dough after about 4 hours. If it has puffed and flattened considerably, move on to the next step. If not, give it a little more time to rise. At this point, the dough balls can be placed in the refrigerator to use later that day or the next day.
Baking the Pizza
- Preheat a pizza oven to 700-800 degrees (see recipe note about using a regular oven) and place the dough in the refrigerator for at least 30 minutes while setting up the pizza toppings. This dough is easiest to work with chilled.
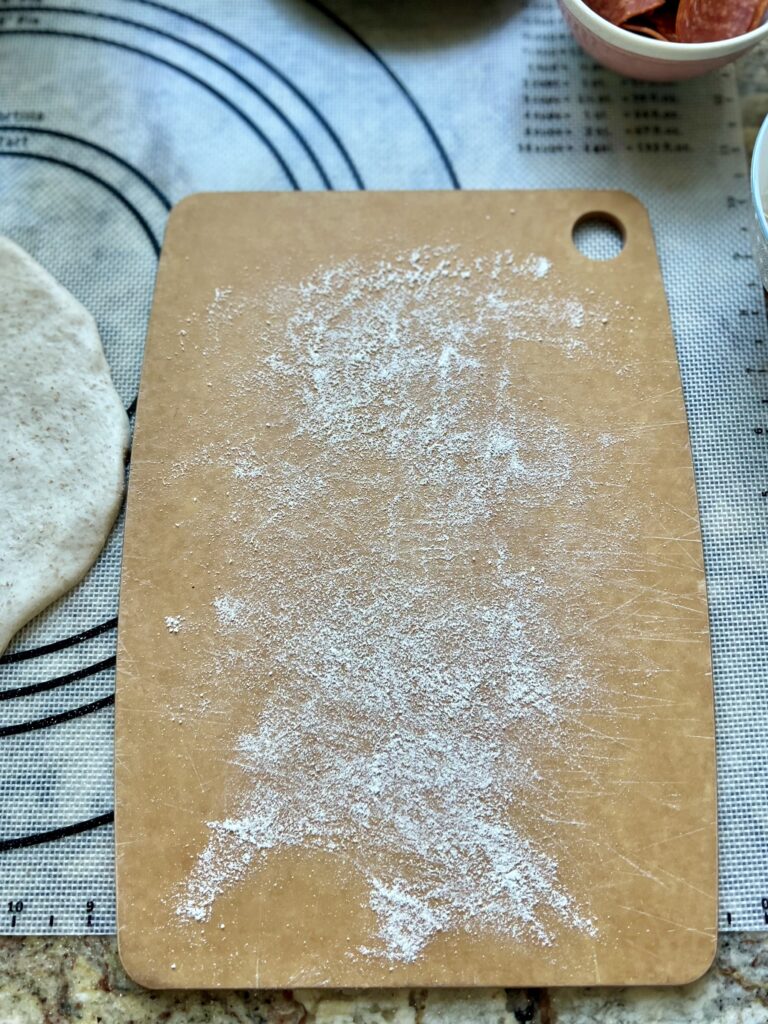
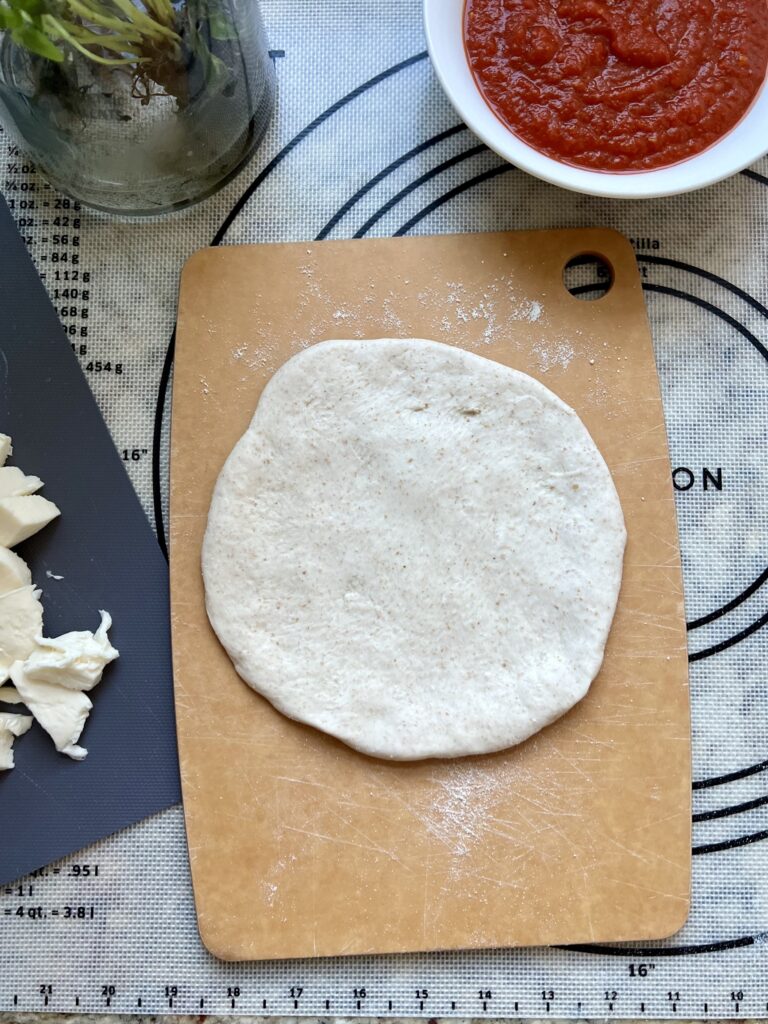
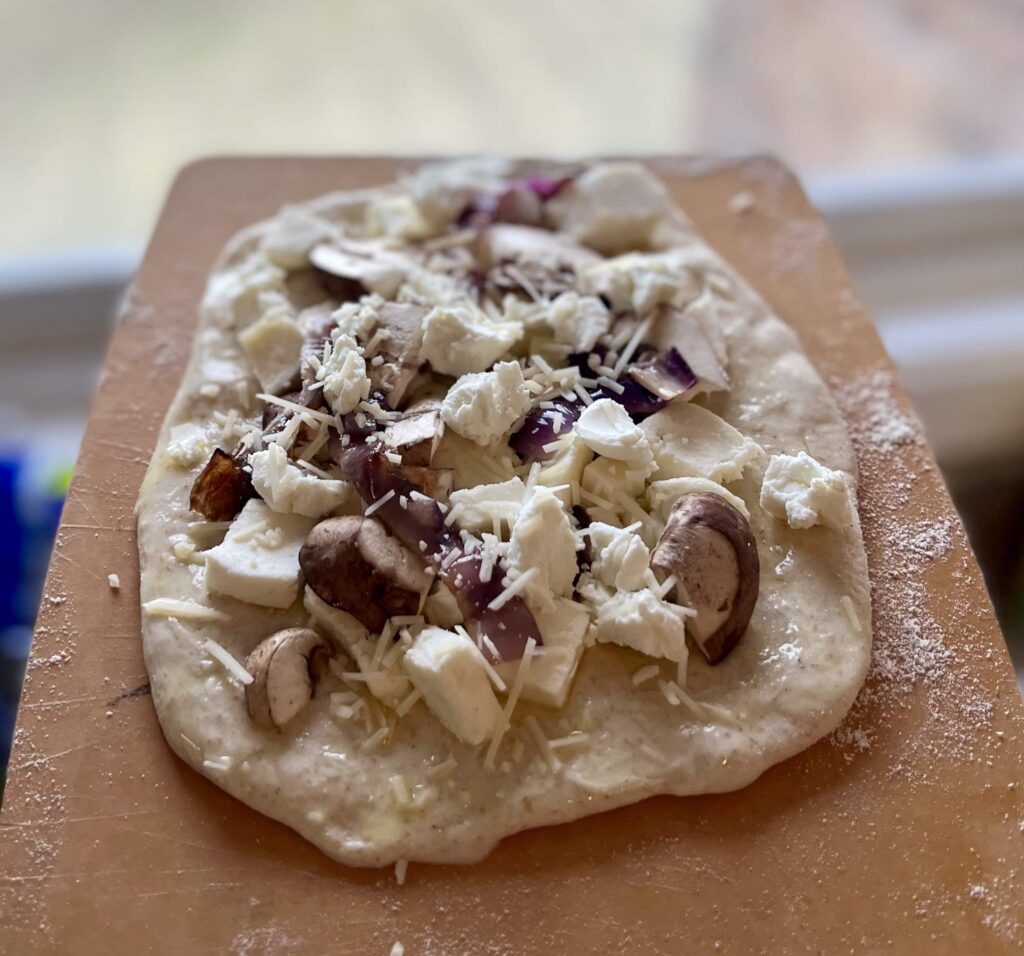
- On a pizza peel or large wooden cutting board, sprinkle cornmeal to dust the board. The cornmeal provides the friction needed to launch the pizza into the oven. Take one piece of dough and stretch it with your hands to form a circle. Place it on top of the cornmeal and continue working it around in a circle until you a 6-8 inch pizza shape.
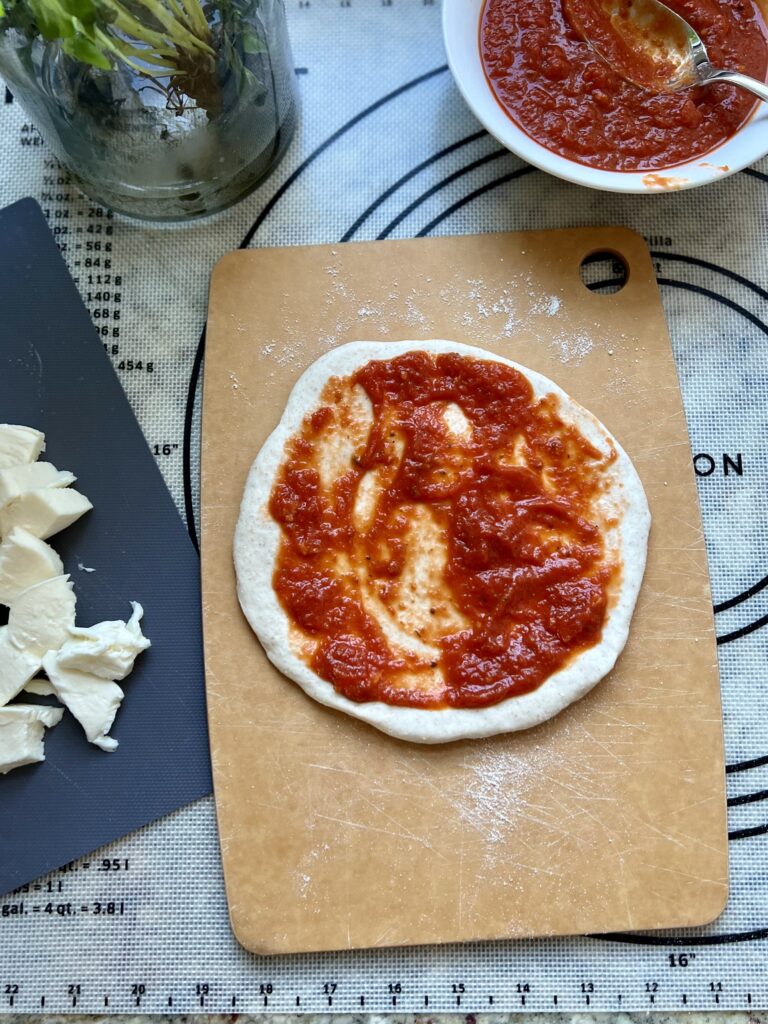
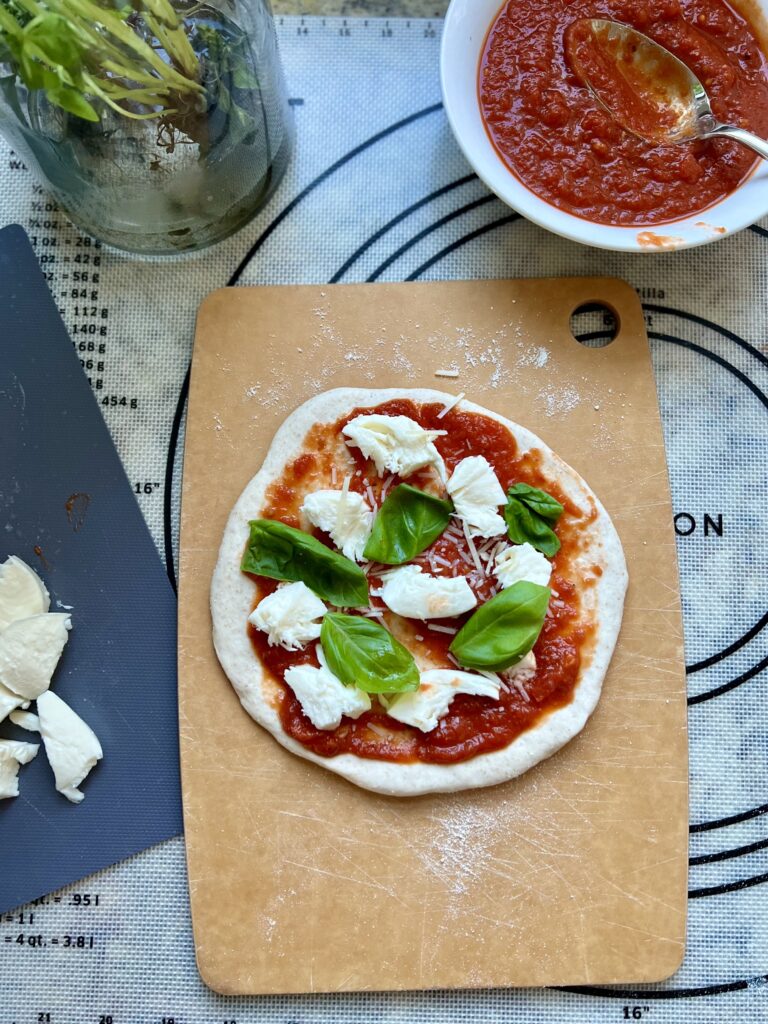
- Work quickly to top the pizza with about 2-3 Tablespoons pizza sauce. Tear the mozzarella into pieces and place pieces on top of the pizza dough. Tear the fresh basil and sprinkle with parmesan if desired. Check that the dough is not sticking to the board (this can happen if you don't work quickly enough). If it is sticking, unstick it with your fingers, add a bit of cornmeal if needed and try again.
- Launch your pizza into the pre-heated pizza oven with a quick thrust forward. Let the pizza cook for about 45 seconds, then using the pizza peel pull the pizza out of the oven, turn it with a fork and return it to the pizza oven for another 30-45 seconds. This ensures that the pizza is cooked on both sides. You can watch a video of this process here.
- Repeat the process with the rest of your pizza dough, adding whatever toppings you desire and enjoy!
Pizza Sauce
- To a small saucepan add the butter, olive and garlic over medium heat. Sautee garlic until fragrant, about 3 minutes. Add the oregano, salt & pepper and sautee 1 more minute. Add the crushed tomatoes and stir.
- Slice the onion in half and add to the sauce. Add two sprigs of fresh basil to the sauce. Simmer on low heat for about an hour until the sauce is reduced and concentrated. Remove the basil and onion. Season with a teaspoon of sugar and more salt if desired.
- Remove to container and let cool before using on pizza dough. Sauce can be refrigerated for a week or two if desired.


So beautiful and delicious!! Thanks for sharing…looking forward to some taste tests!! 😜😋🍕
Can this dough be frozen at any step before baking? If
I have not had the best luck freezing this dough. I prefer to par bake the crusts, half the recipe or leave the dough in the fridge a couple days before baking instead.
Thank you!