Tips and Tricks: Kneading Dough
This post may contain affiliate links. Please read our disclosure policy.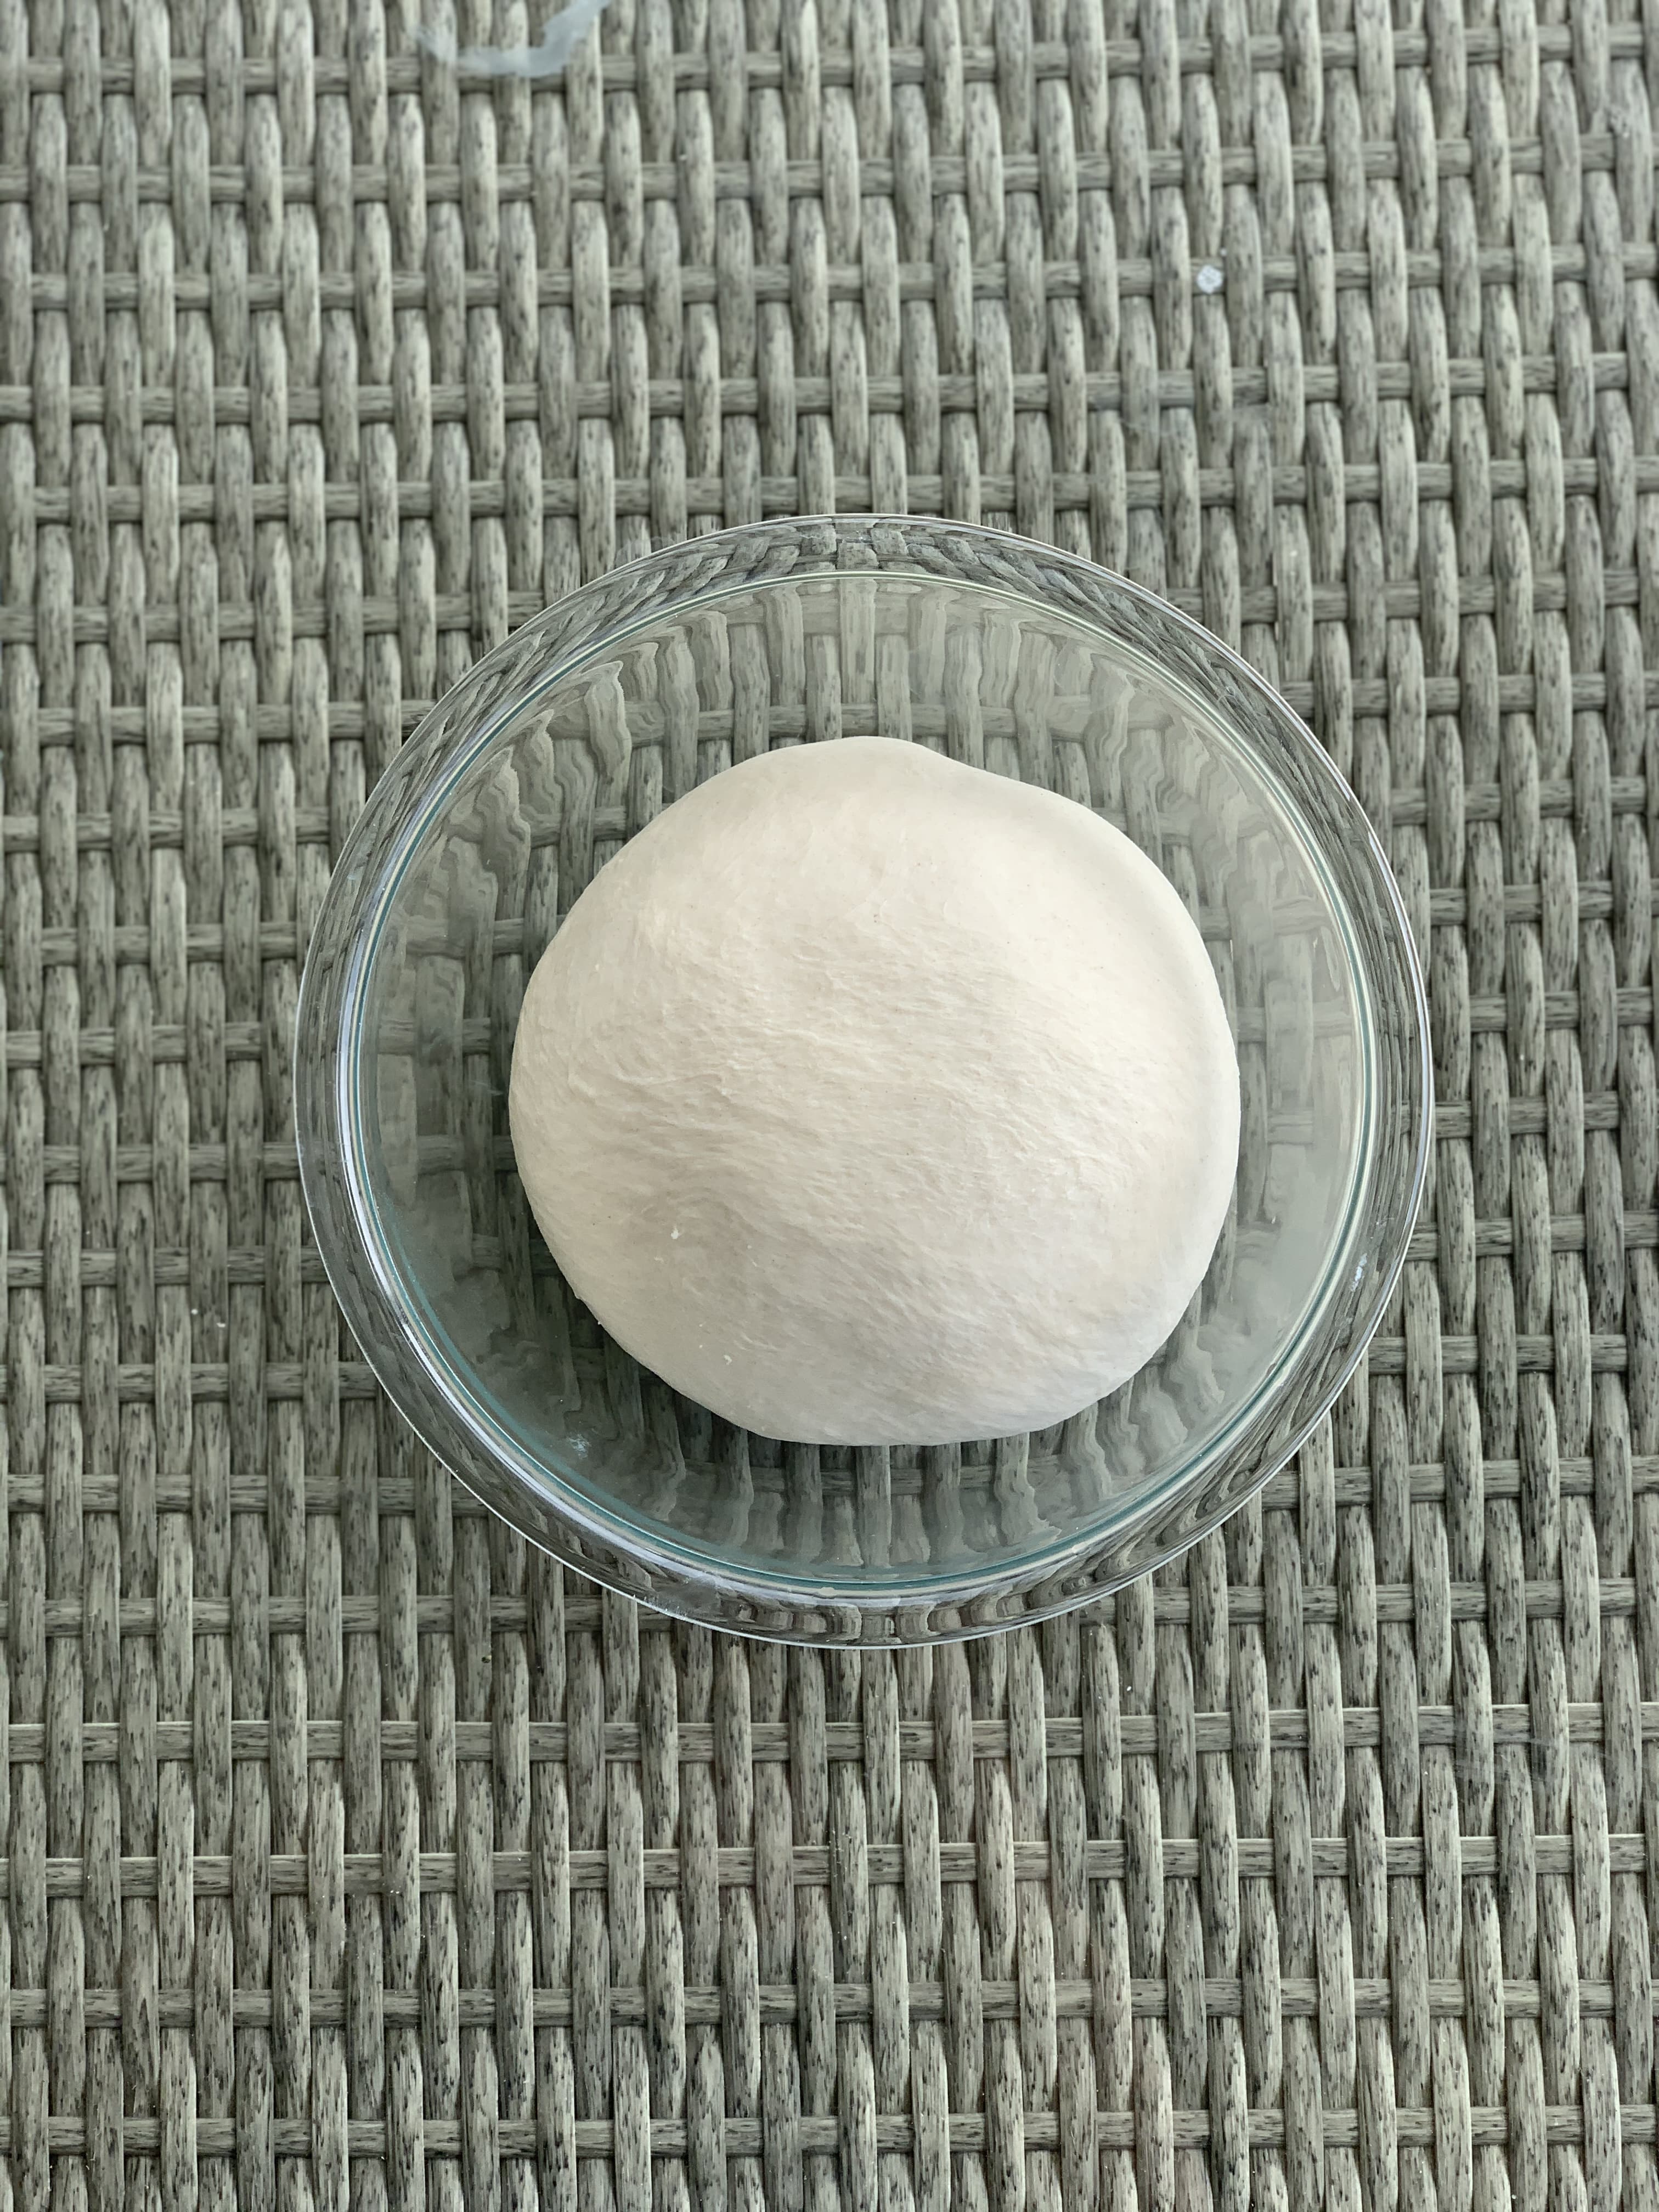
I grew up in a house with no stand mixer. I inherited a bread machine from my grandma as a teenager and began making my loaves of bread in the bread machine…every Sunday. After a few years I graduated to kneading dough by hand and spent many hours kneading balls of dough or pizza, cheese bread or plain old delicious white bread. I loved the feel of the dough, the quiet and therapeutic process of working with a few simple ingredients and forming it into something beautiful and delicious.
Stand Mixer vs. kneading by Hand
I remember the first time I saw a stand mixer and couldn’t believe how amazing it was. I was in awe of all the things it could do. It wasn’t a practical investment at the time, moving from apartment to apartment as a college student, but as soon as I got married, I knew a stand mixer was in my future. As a newlywed we put a lot of our wedding gift cards toward a brand new KitchenAid mixer and I had no regrets about that purchase at all. It lasted me many years.
Now, I have a couple of mixers. My trusty KitchenAid that I love using for smaller batches and my Bosch mixer that I love for the big batches of bread I typically make every other week. I love them both for different reasons…but that is a post in and of itself! You don’t need a mixer to make great bread for most recipes. Your trusty hands will do just fine if you don’t have a mixer. It may take a little extra time and I don’t often use my hands anymore to knead bread because of the time it saves me to use a mixer, but don’t let not having one keep you from making bread. Kneading dough by hand usually takes about twice as long as with a mixer.
How do you know when to stop kneading bread?
One of the difficult things when you start making bread is figuring out when to stop kneading the bread. Most recipes say to knead for 5-10 minutes. Is that really true? How can I be sure that my bread is ready to rise? Here are three tips that will help you determine when your bread is done kneading and ready to go for its bulk rise (first rise):
After kneading your bread for about 5 minutes, check for these things:
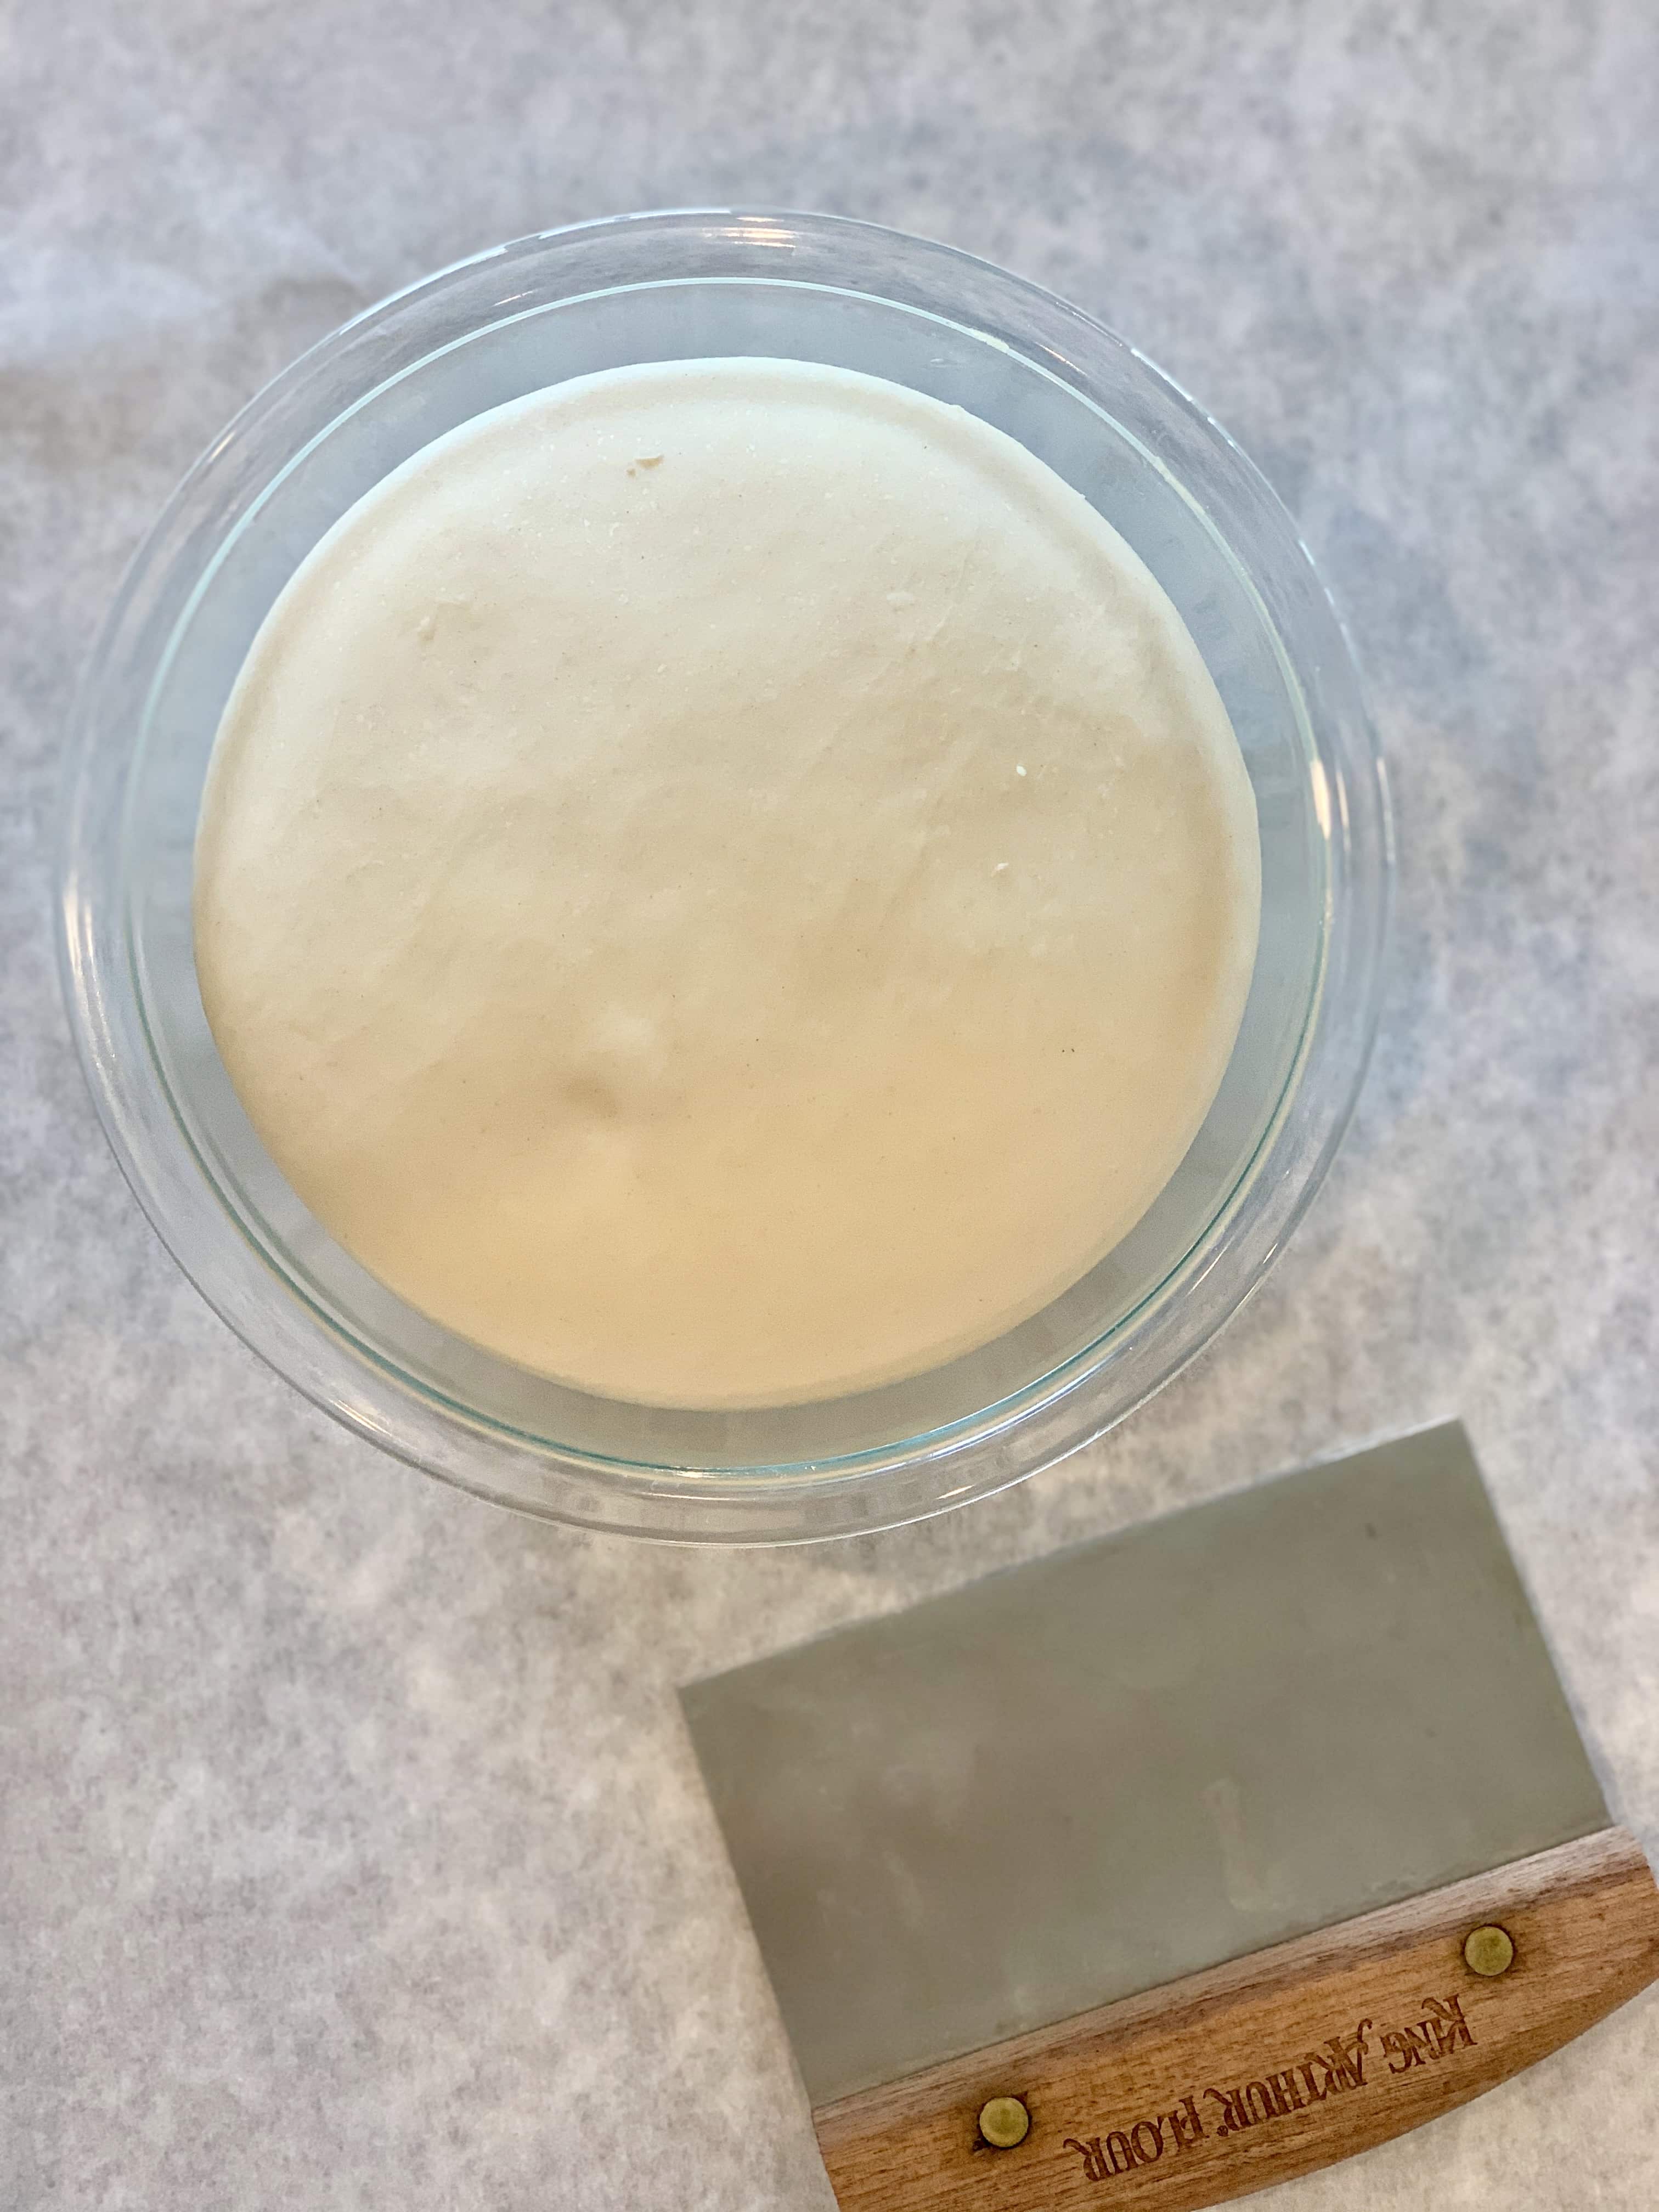
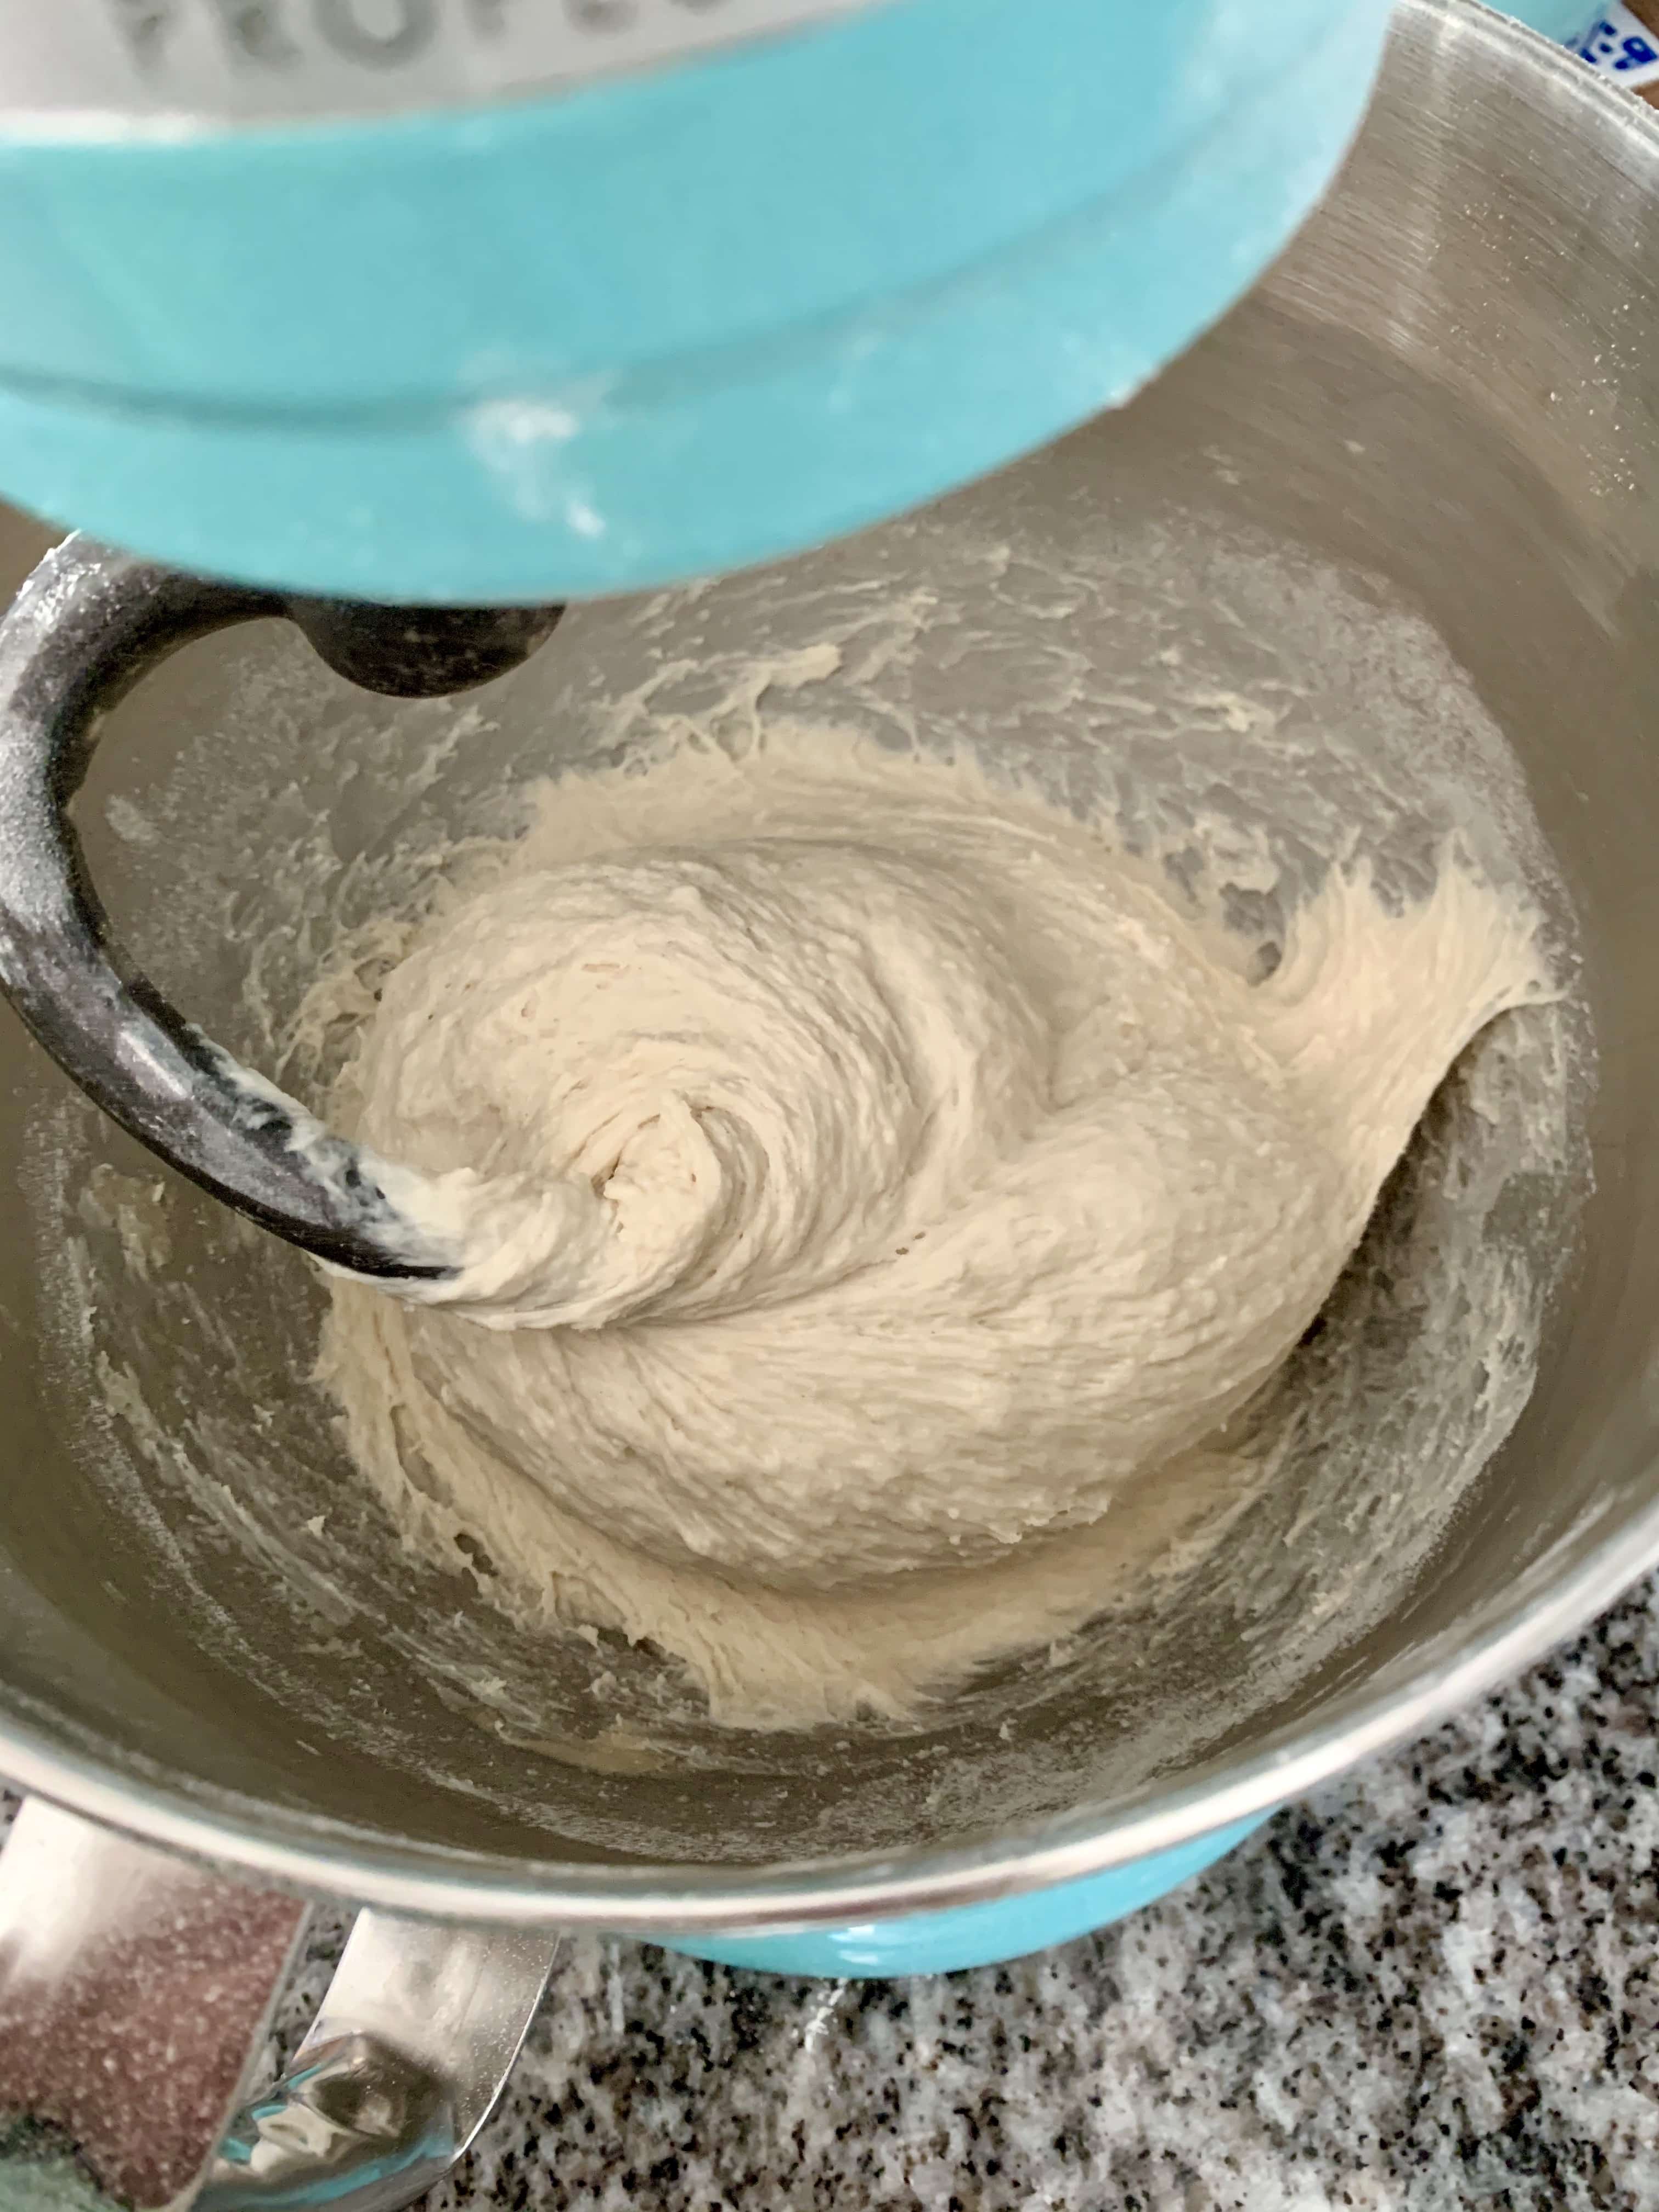
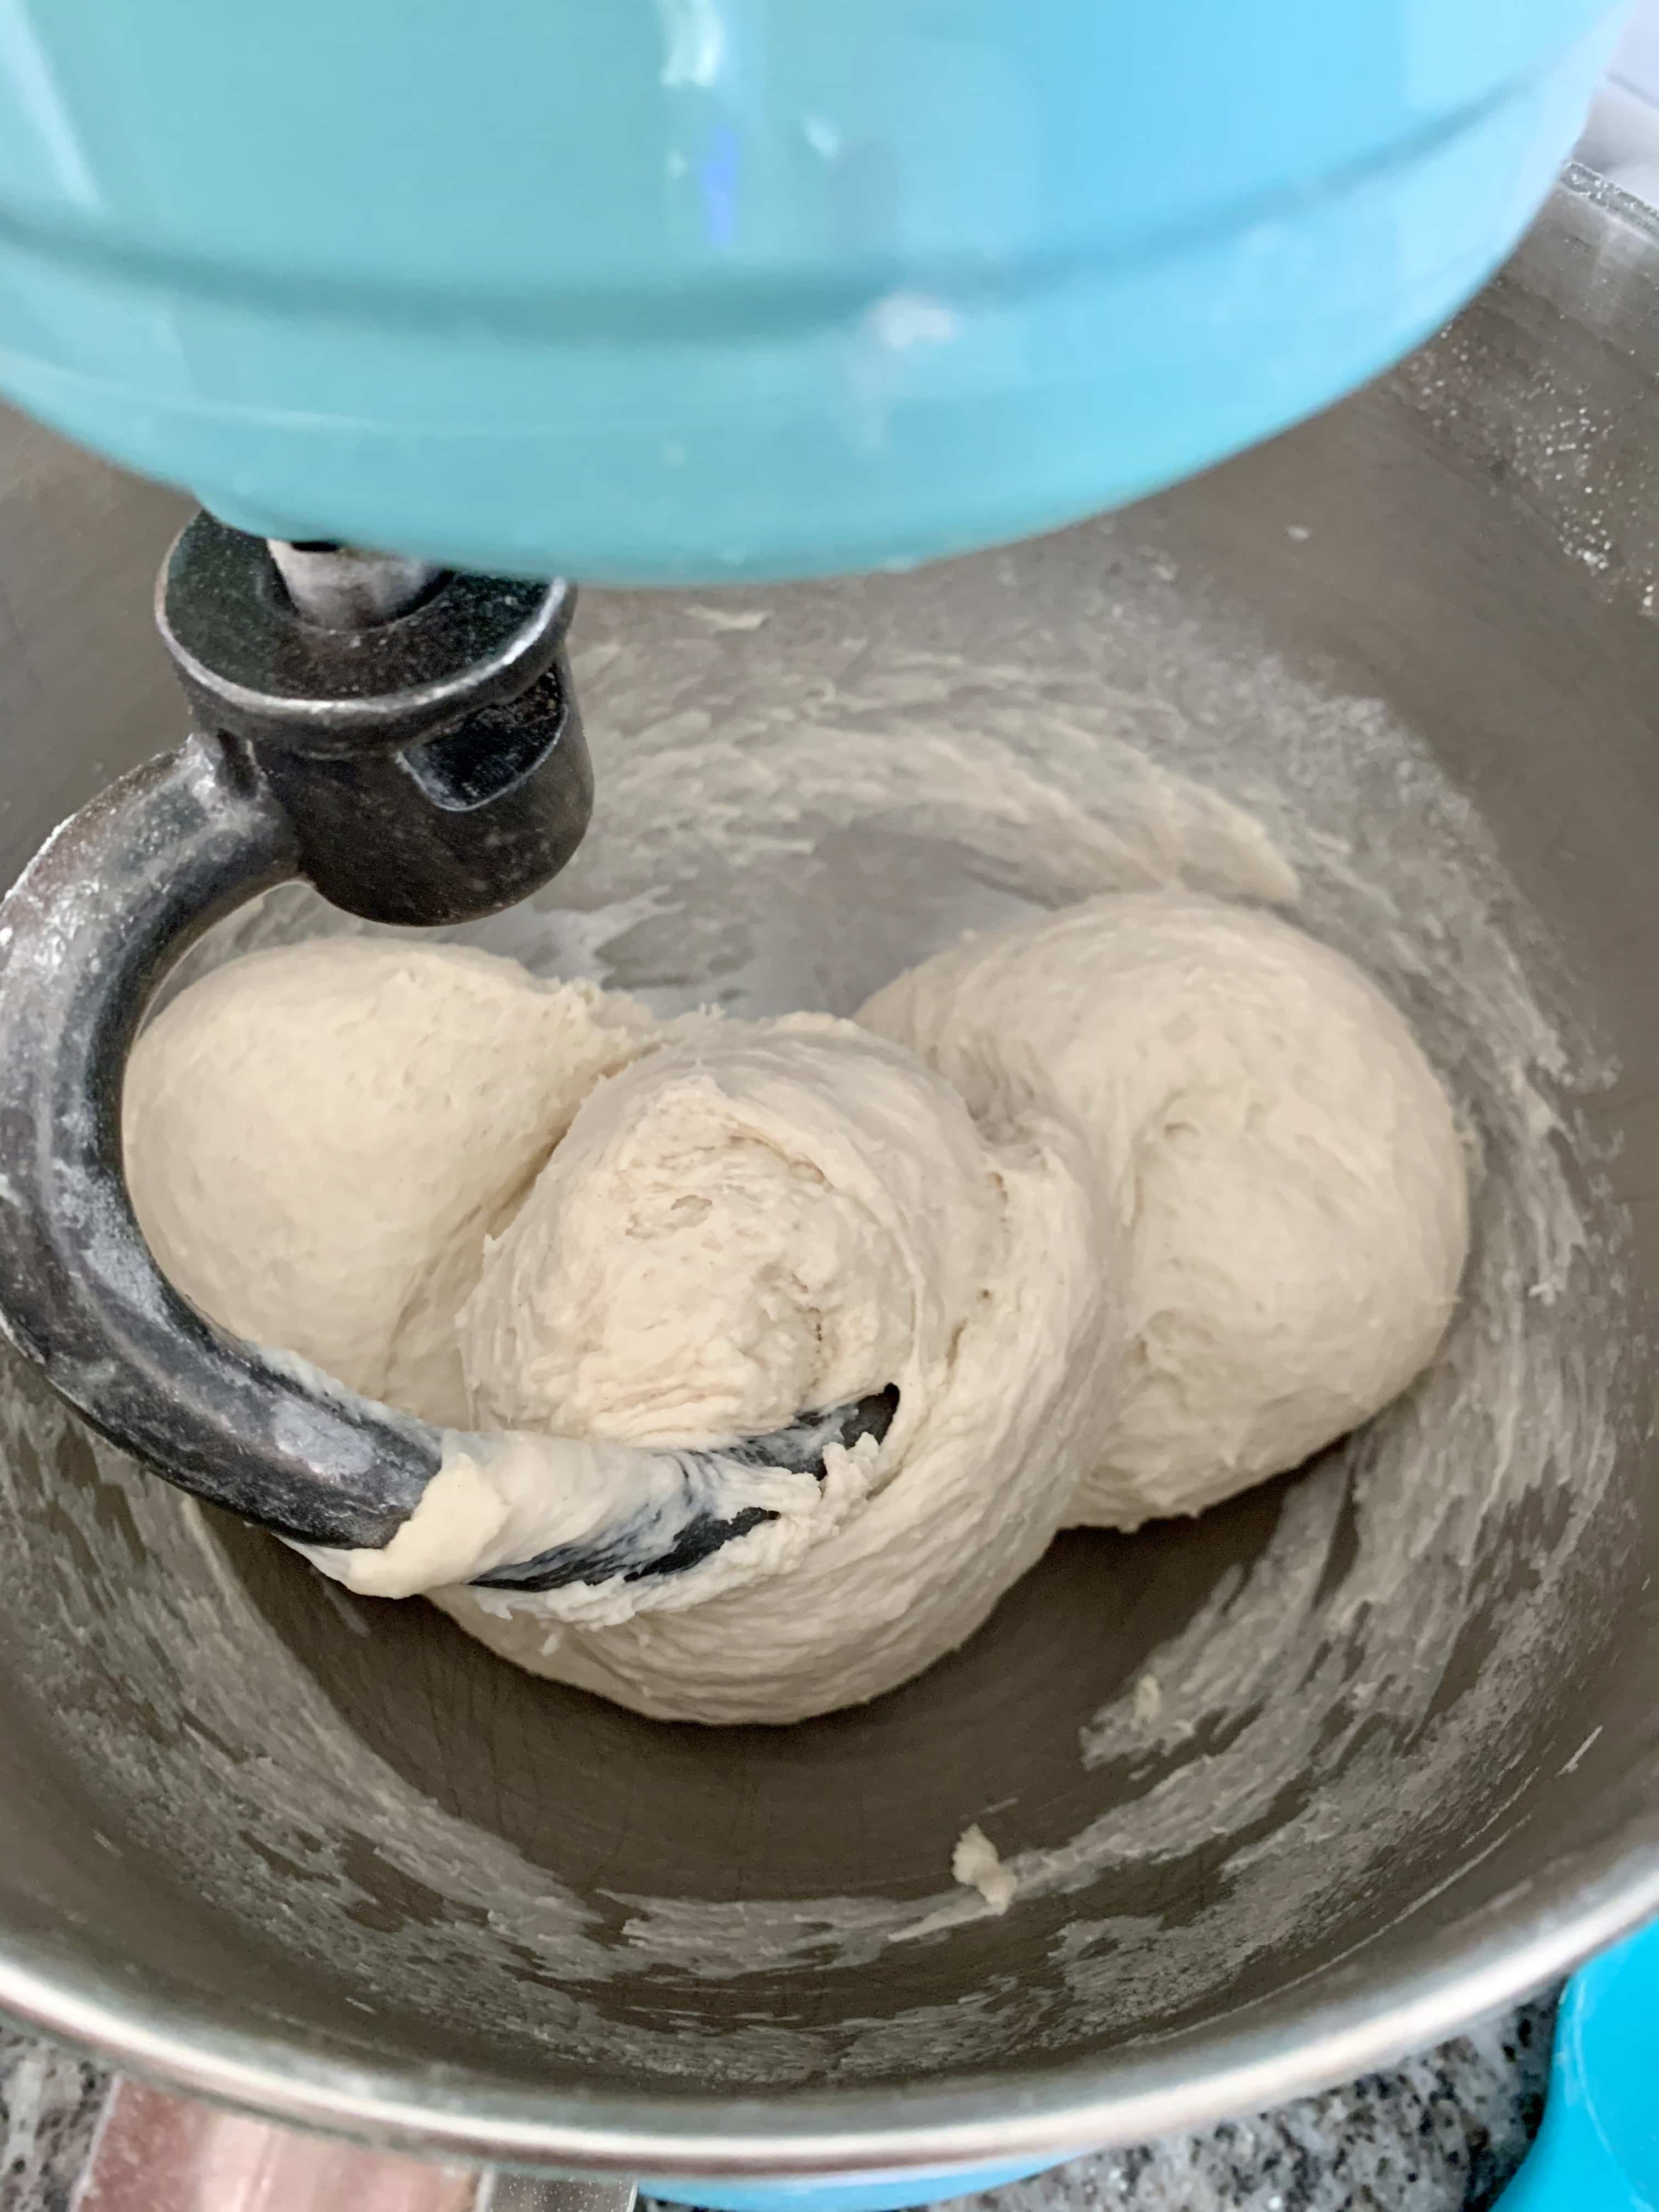
Check the sides of your mixing bowl
Does your dough pull away from the sides of the mixing bowl? If it pulls away from the sides of the bowl, you may not need to add more flour. Continue kneading your dough and watch to see if the dough keeps clearing the sides of the bowl. If it starts sticking to the sides again add a little more flour a few Tablespoons at a time. If the dough is sticking to the bottom of the mixer but not to the sides, that is okay. If you are kneading by hand, instead of flouring your work surface, try using a little bit of oil. This will help with the stickiness of the dough and you won’t be incorporating so much flour into the dough which results in a tougher loaf.
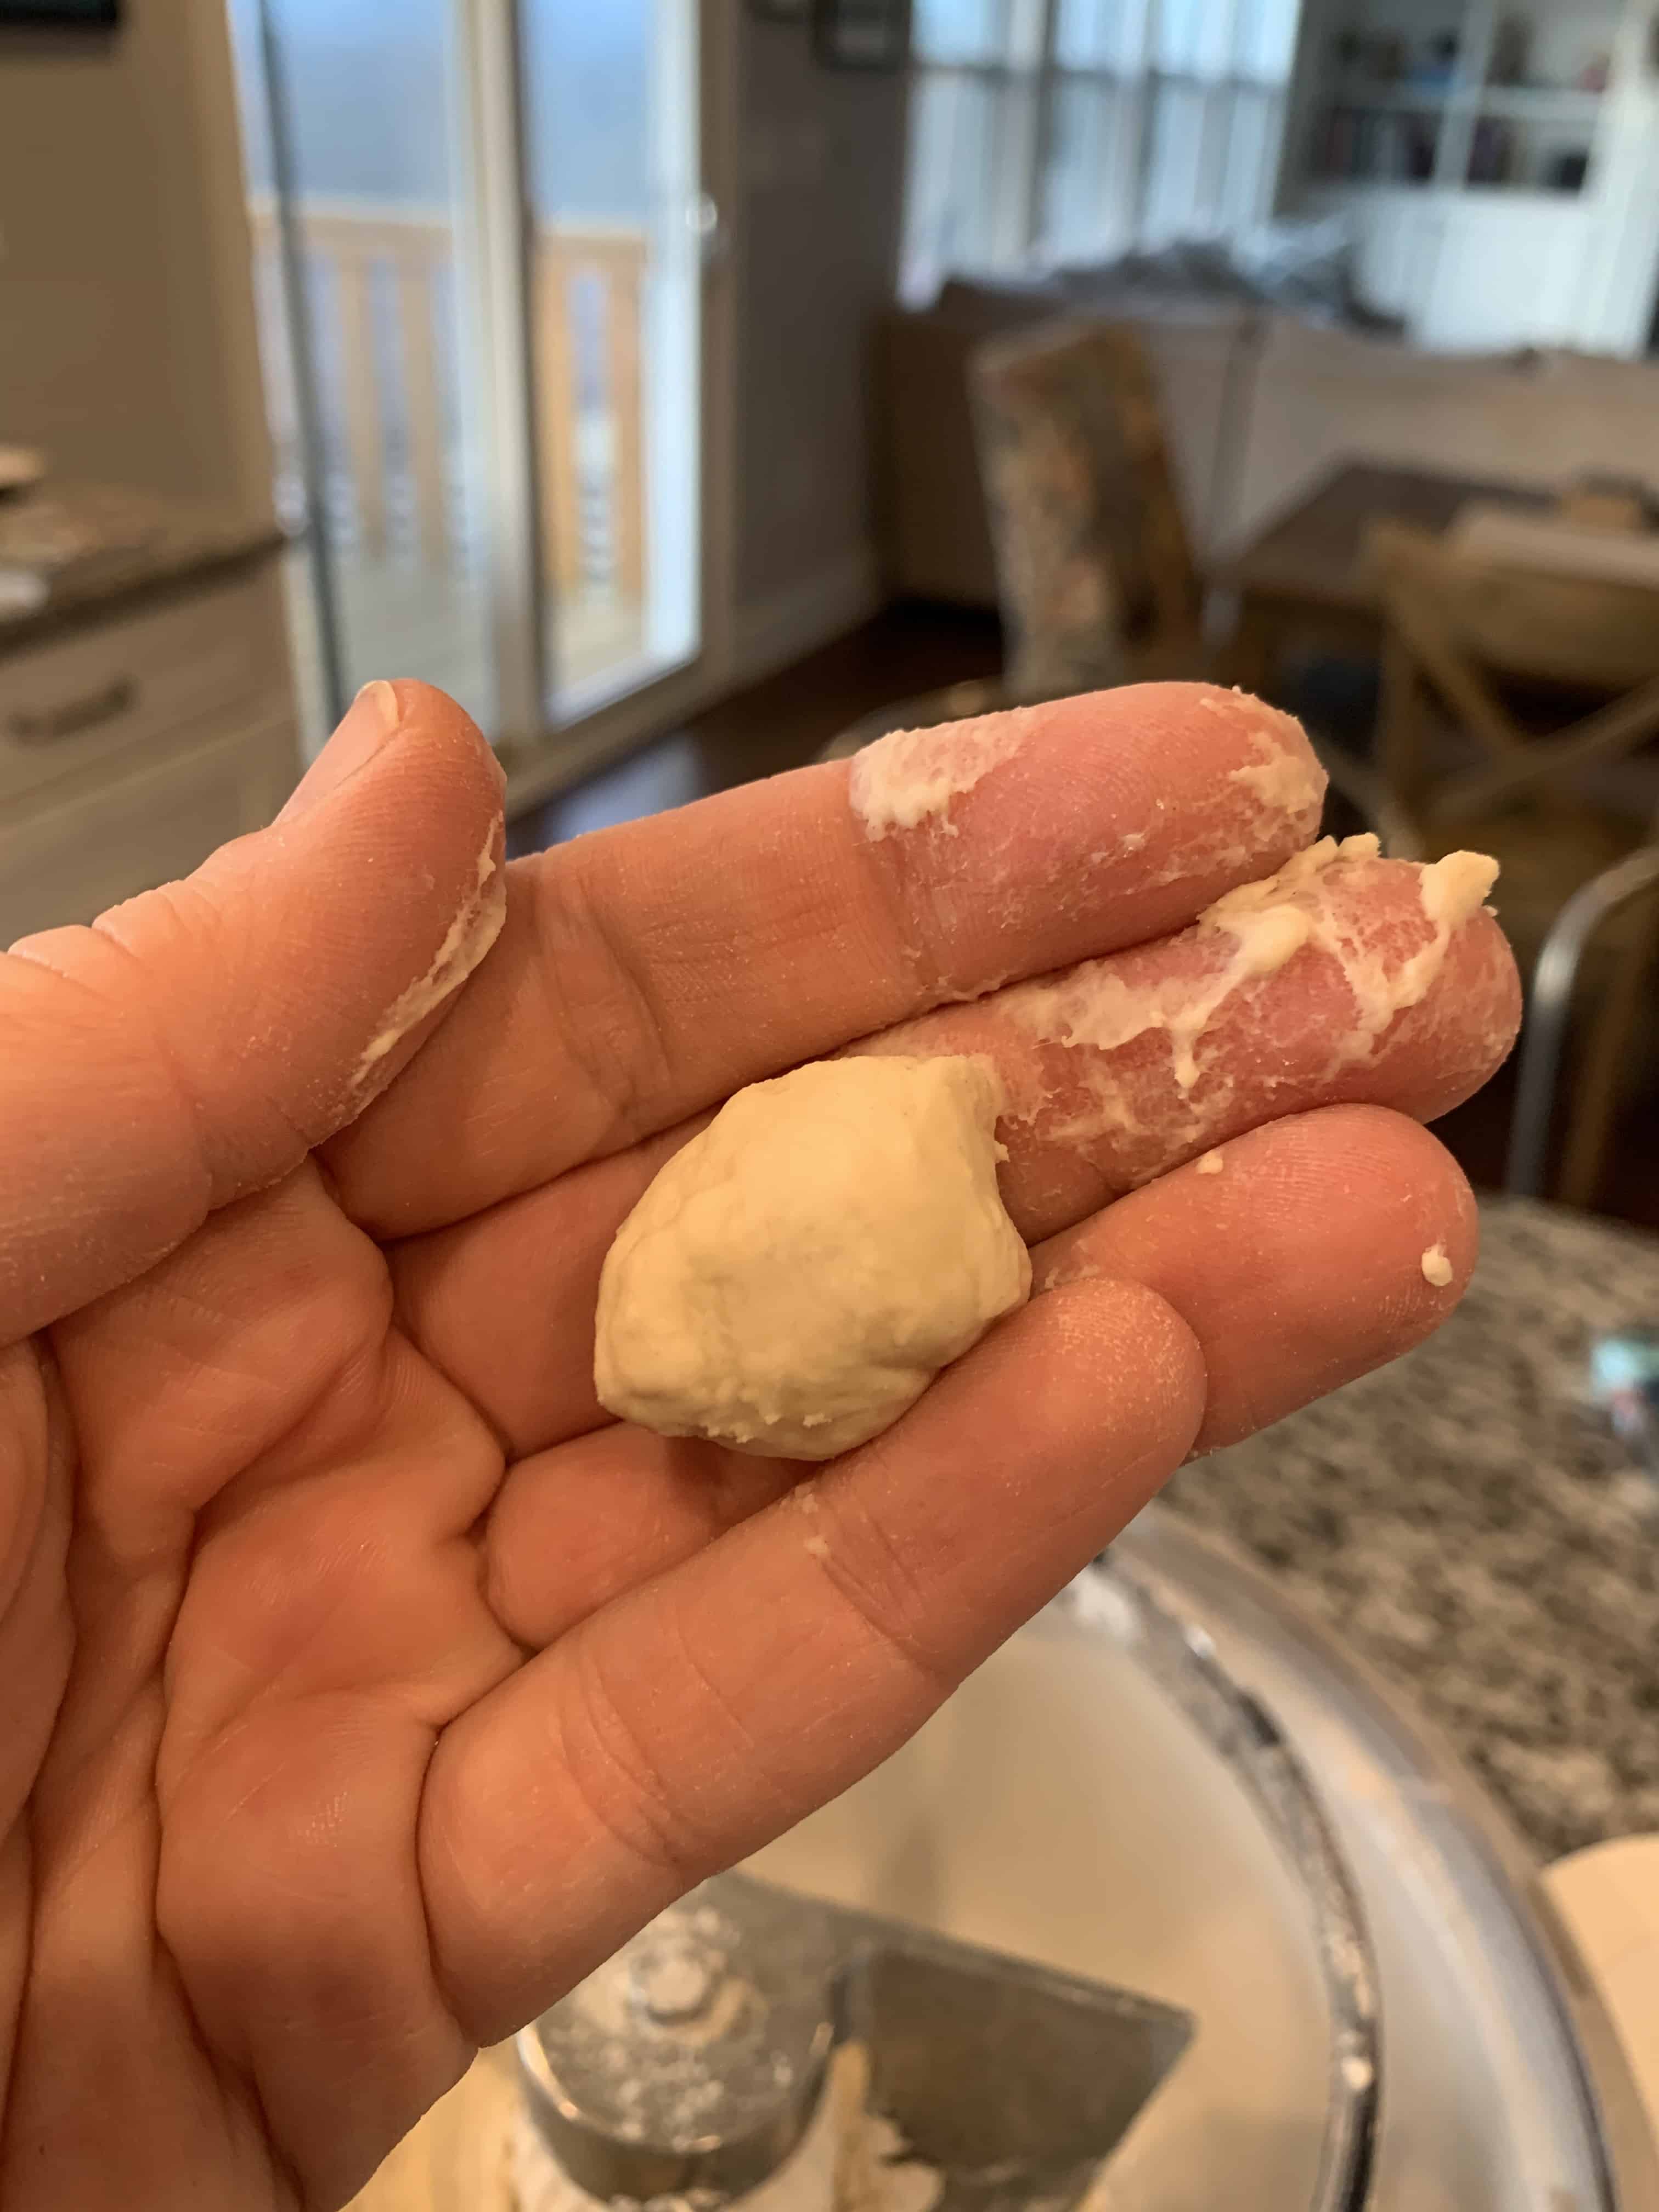
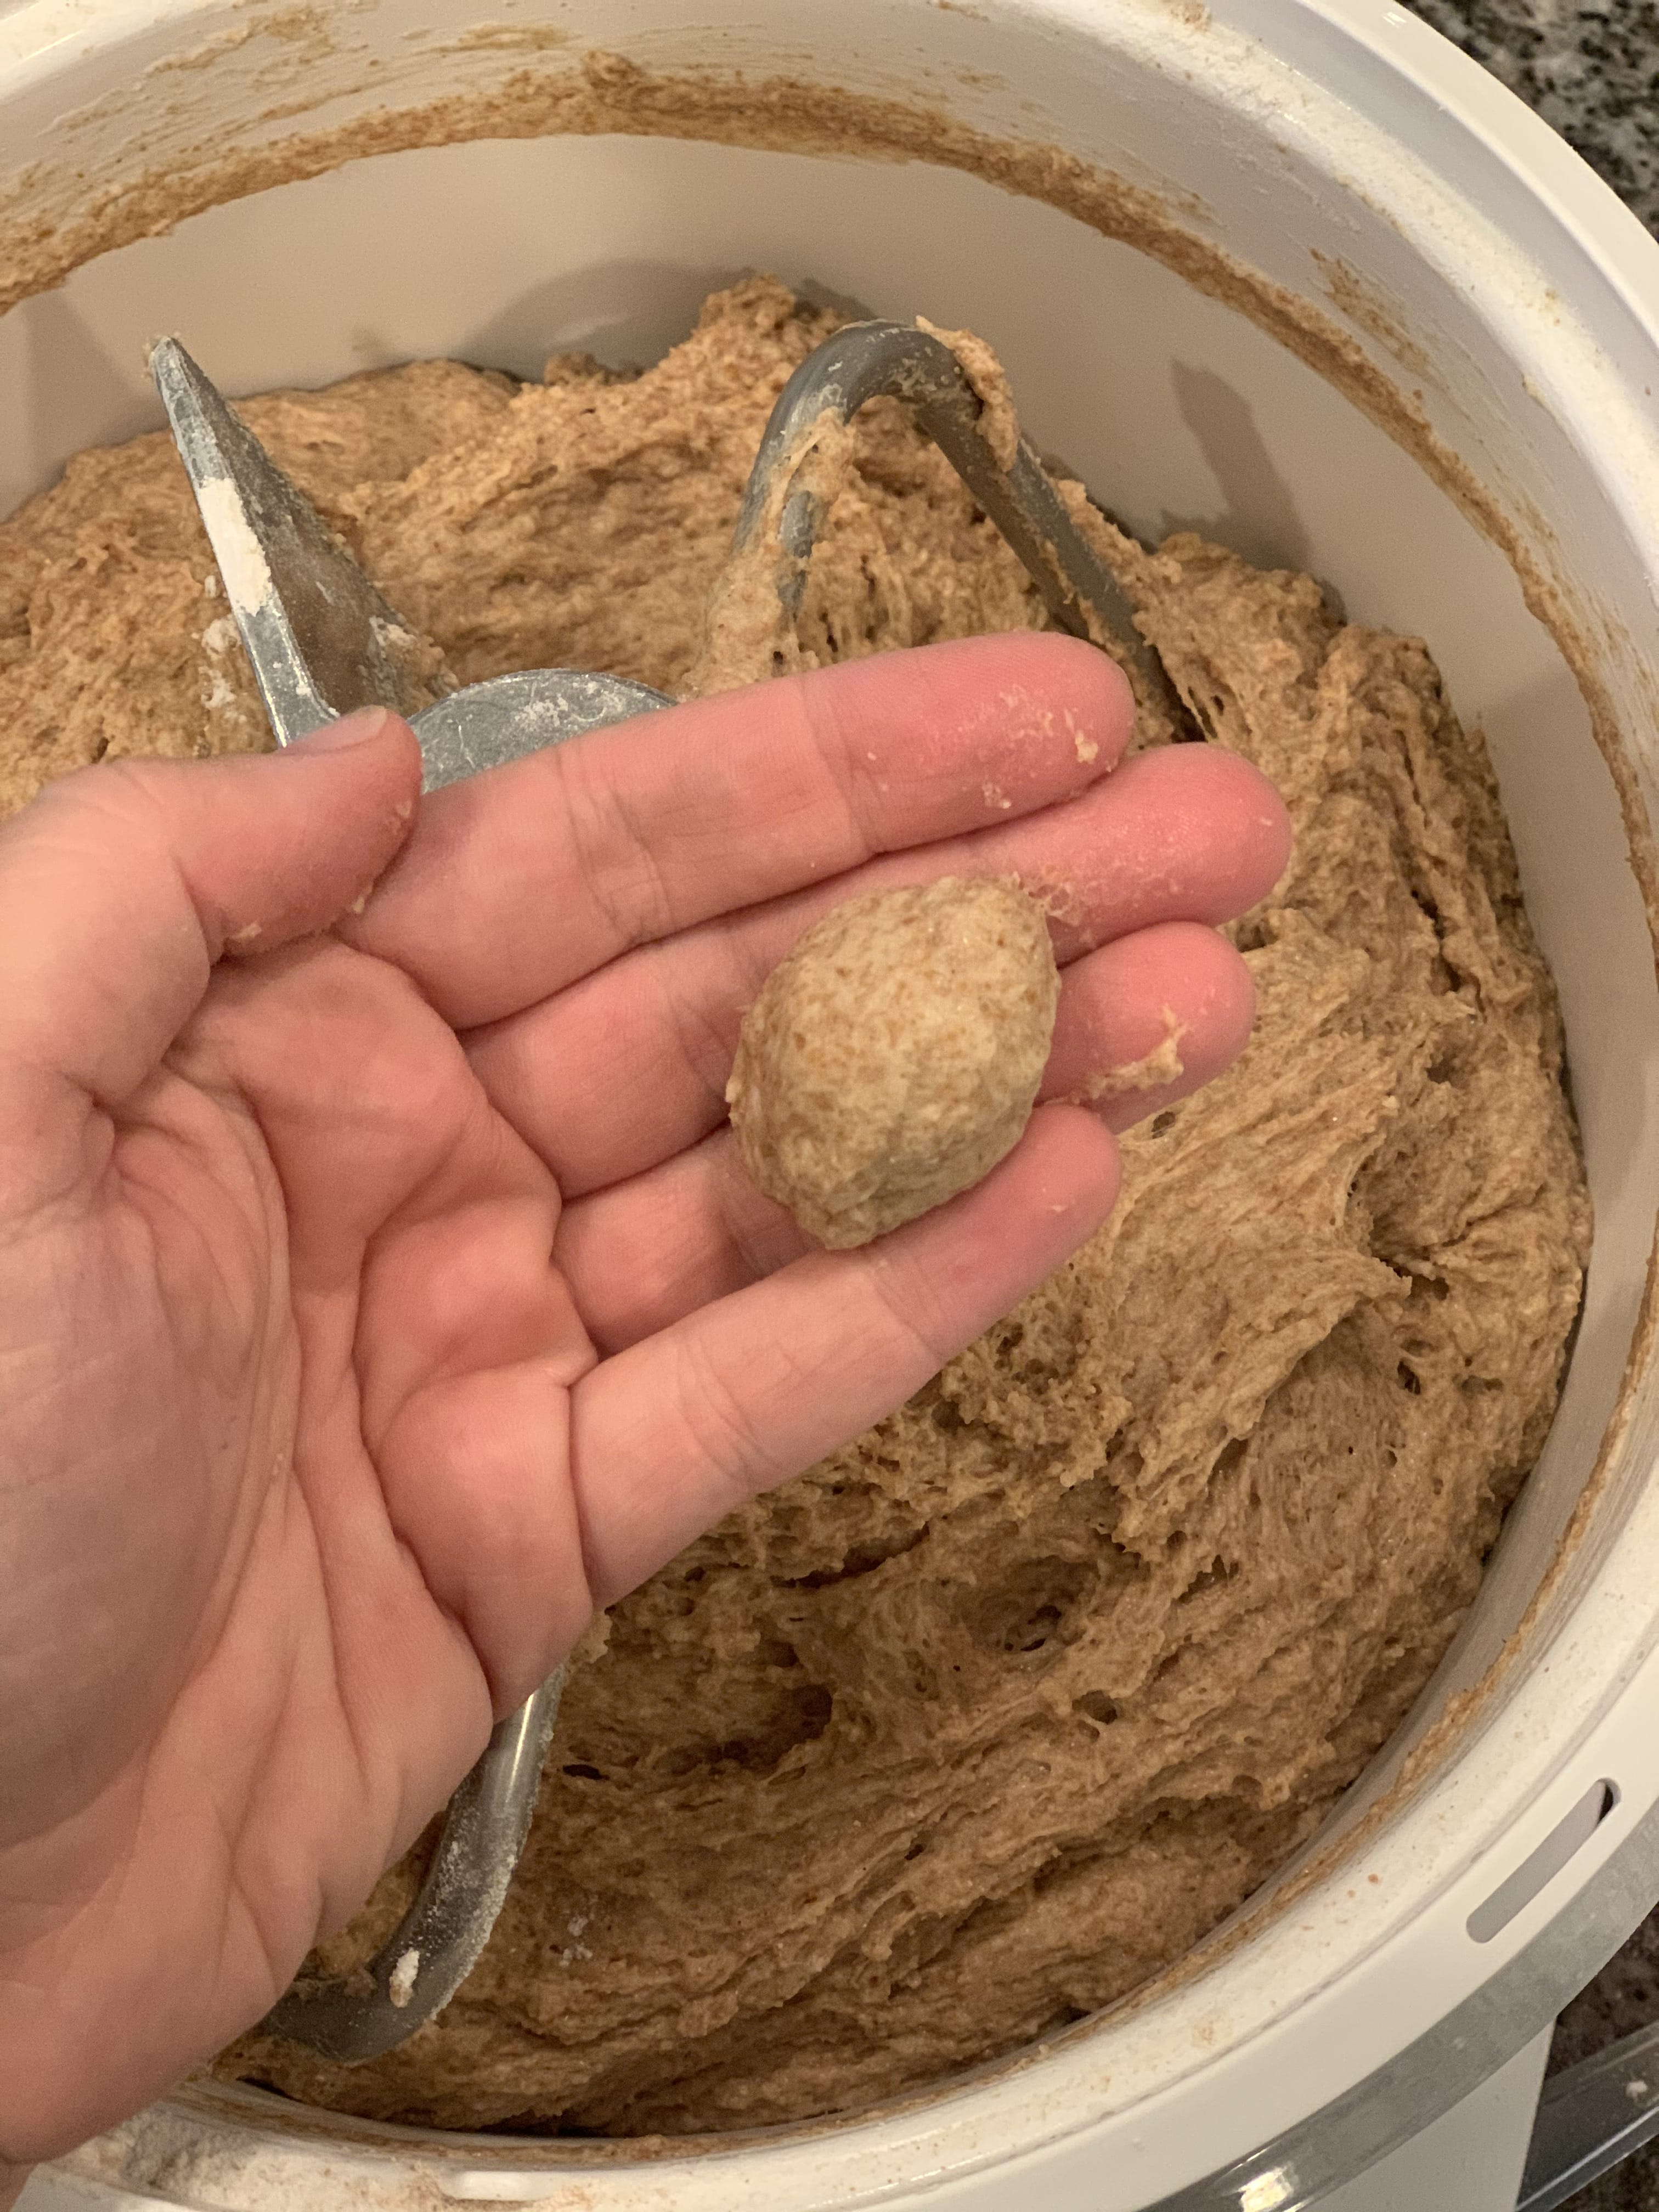
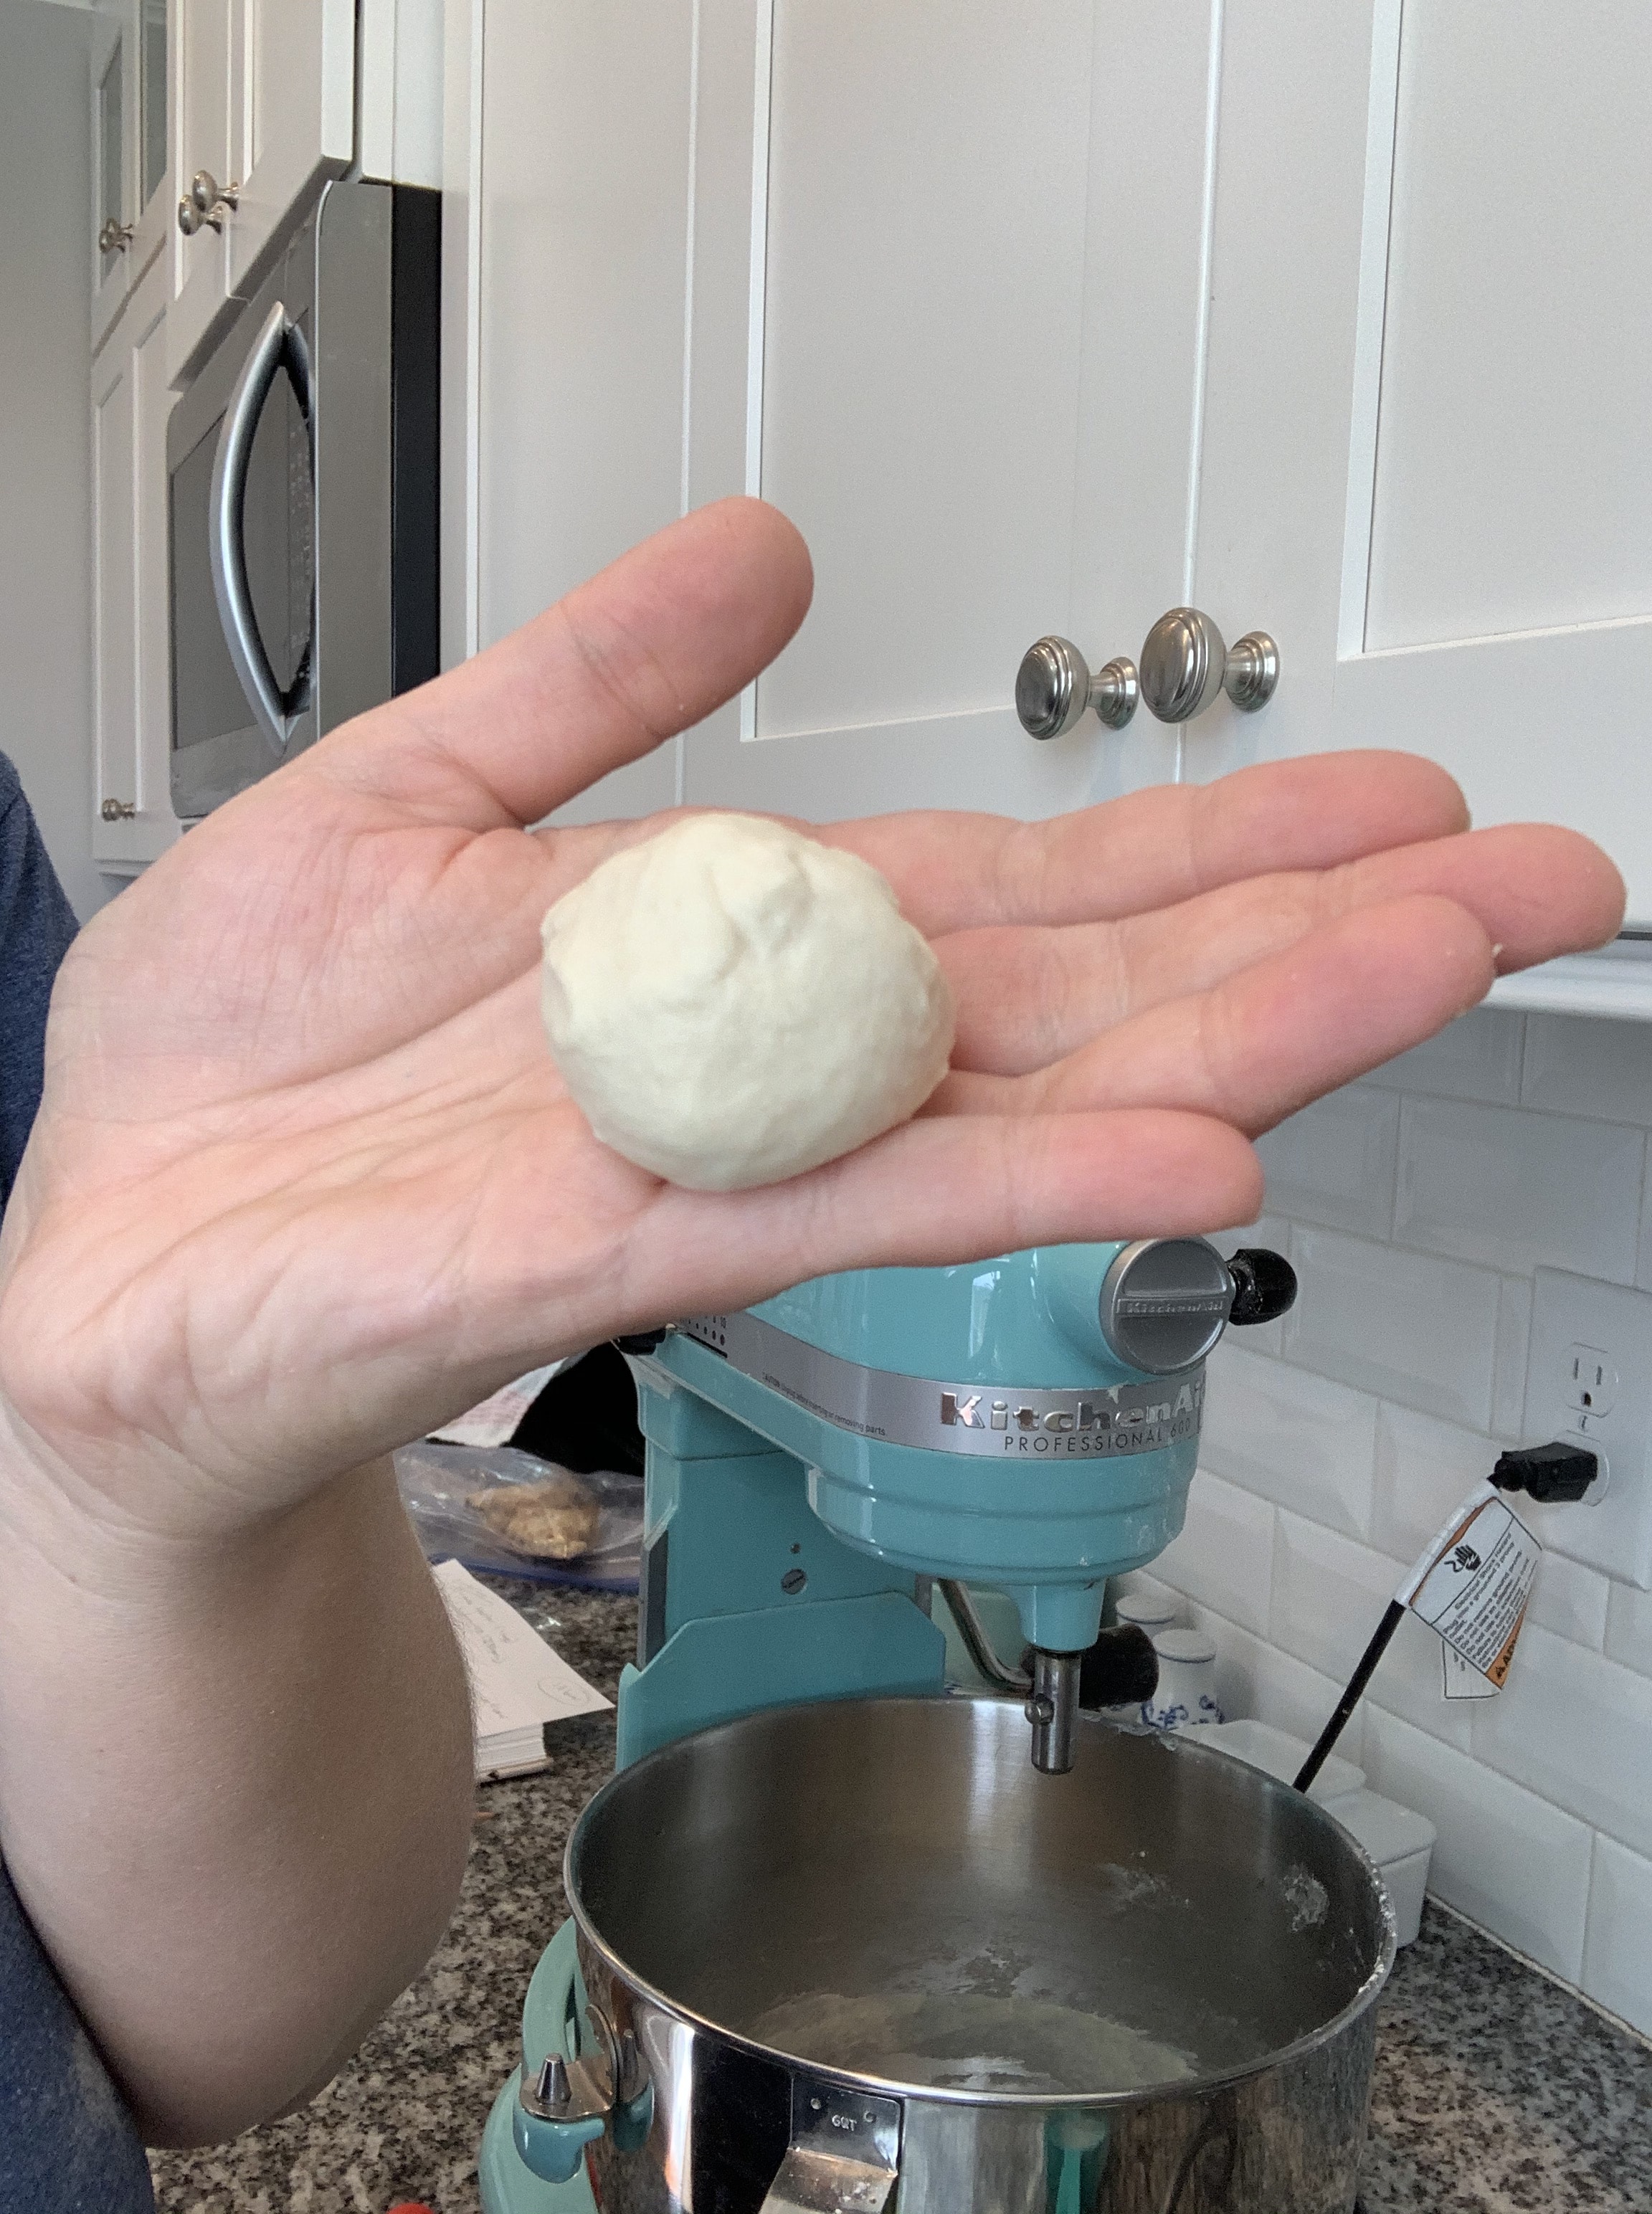
Roll the dough into a ball
After kneading the dough for about five minutes, pinch off a piece of dough. Using your fingers, roll it up into a ball. If it rolls easily into a ball, you have added enough flour. Don’t add more. It is okay if some of the other dough sticks to your fingers at this point. The dough itself may still be a little sticky but if it can roll into a nice ball shape, you don’t need any more flour.
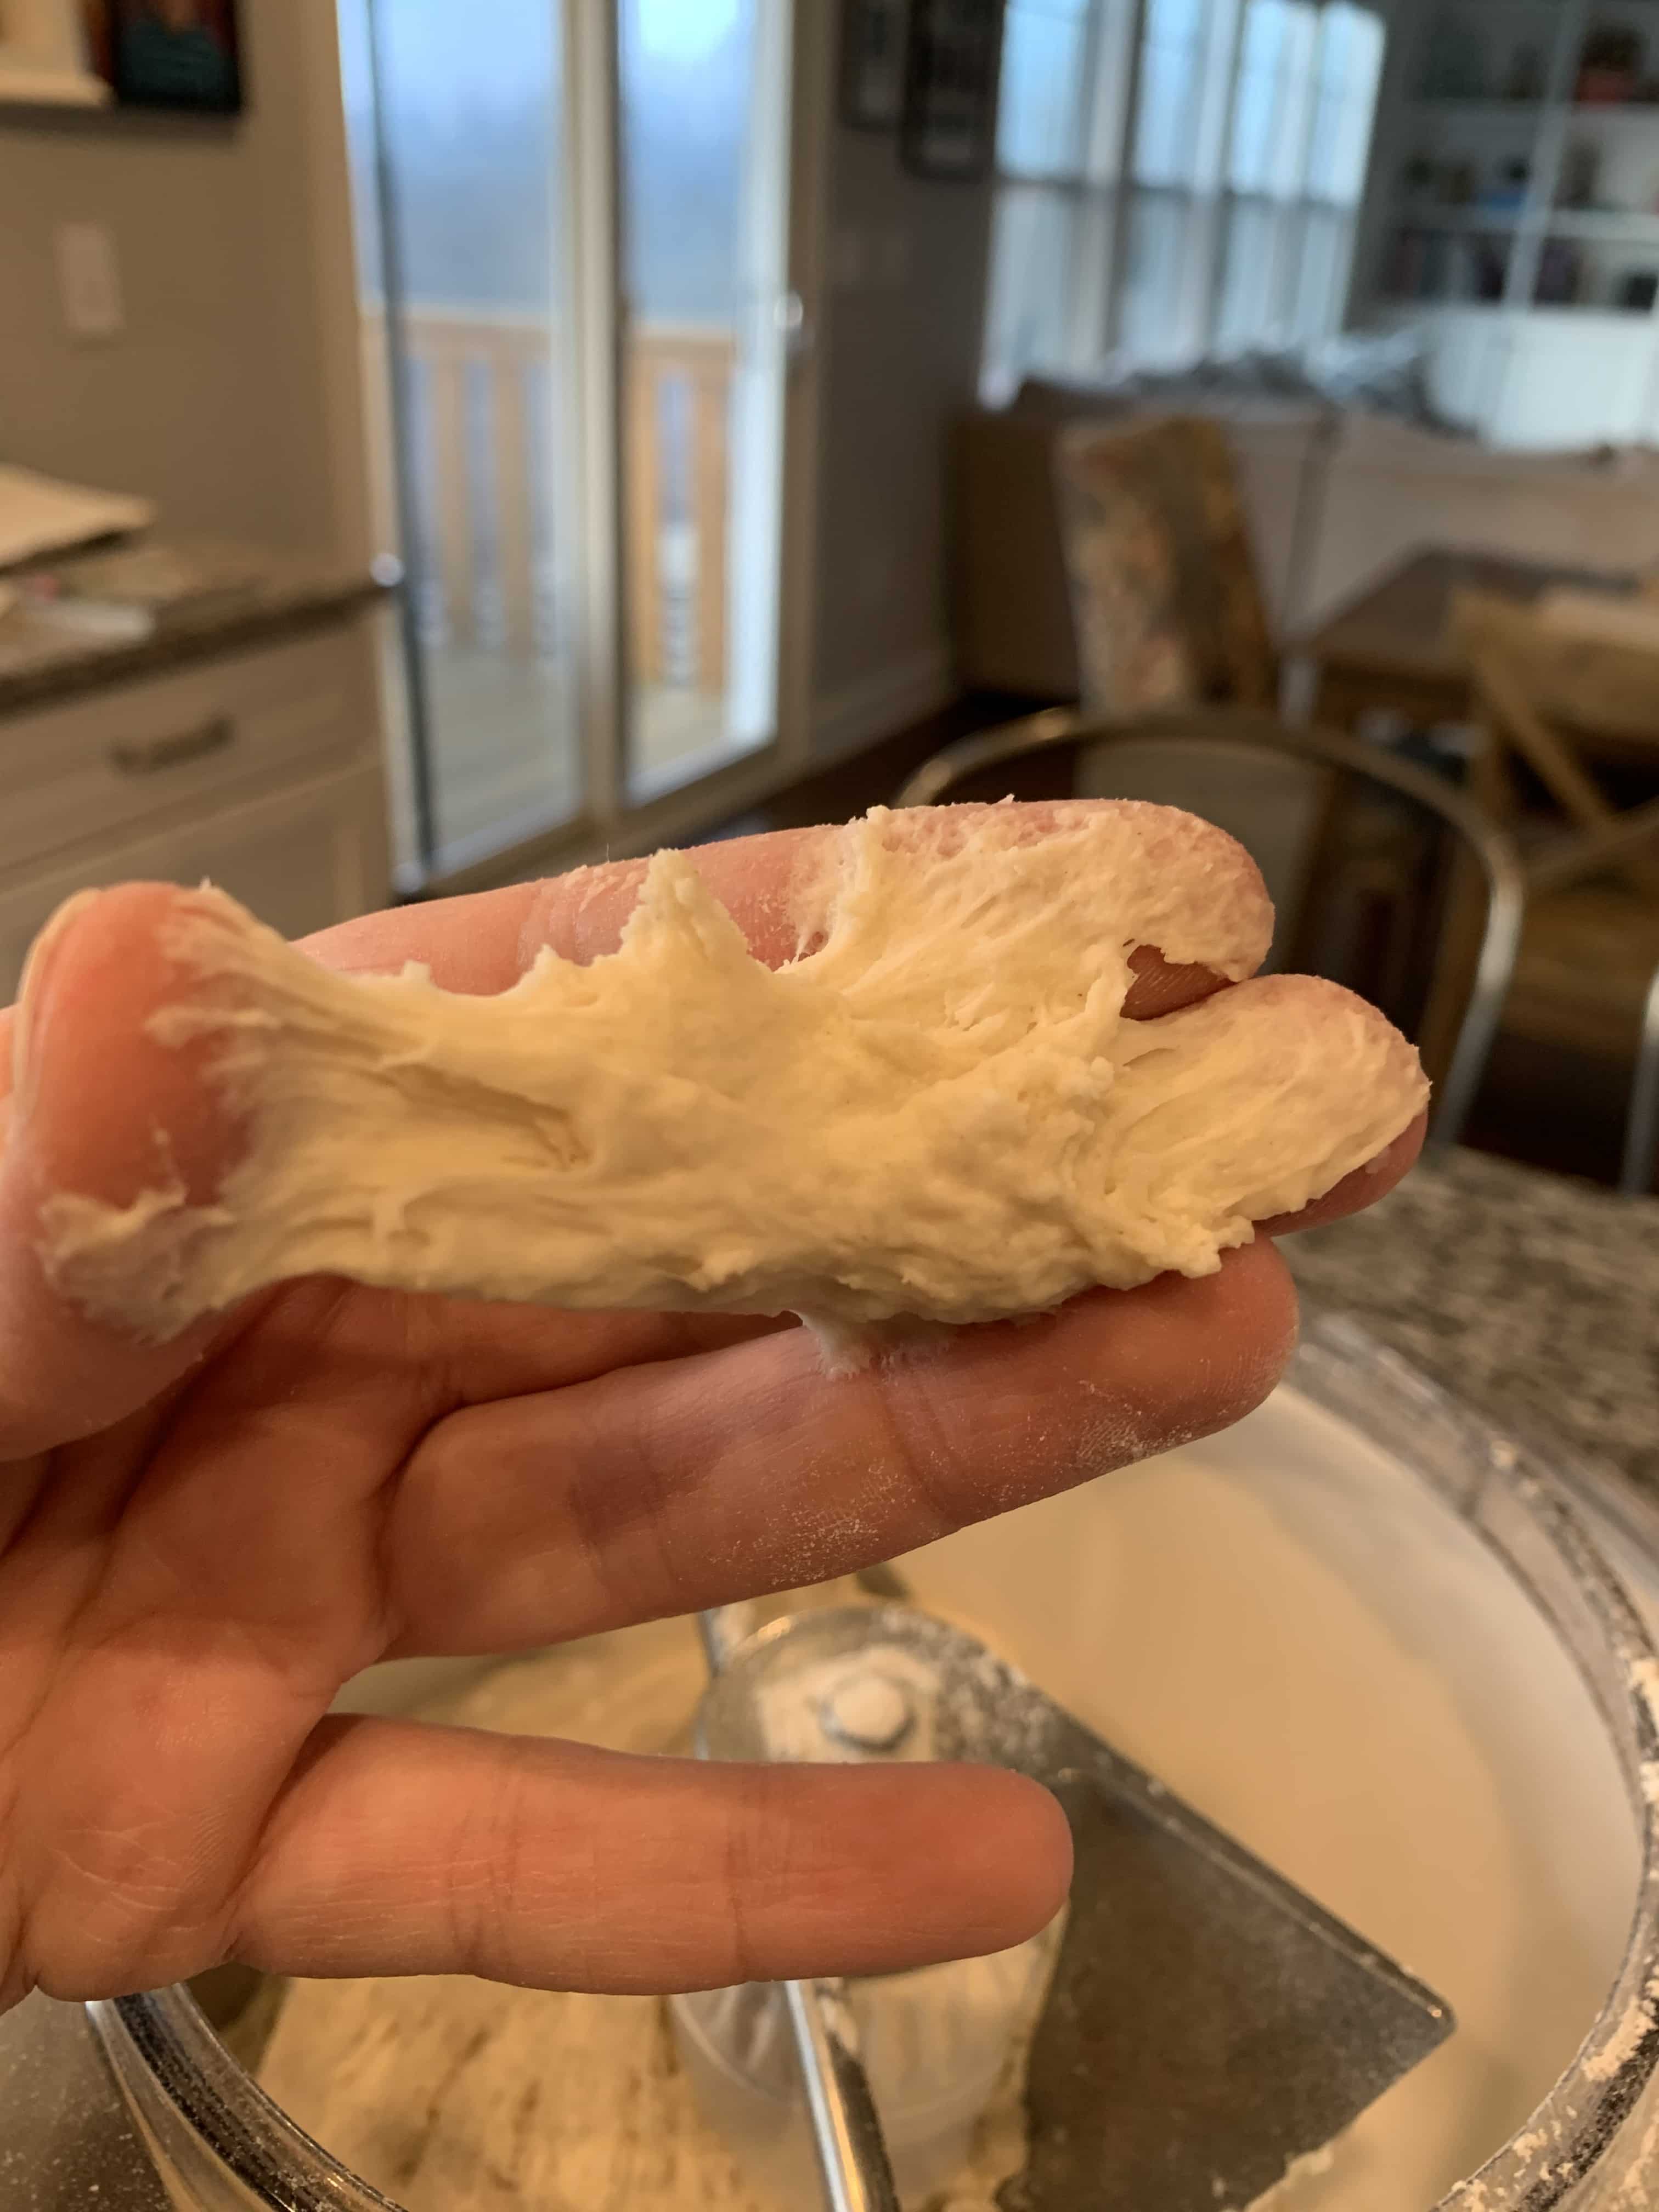
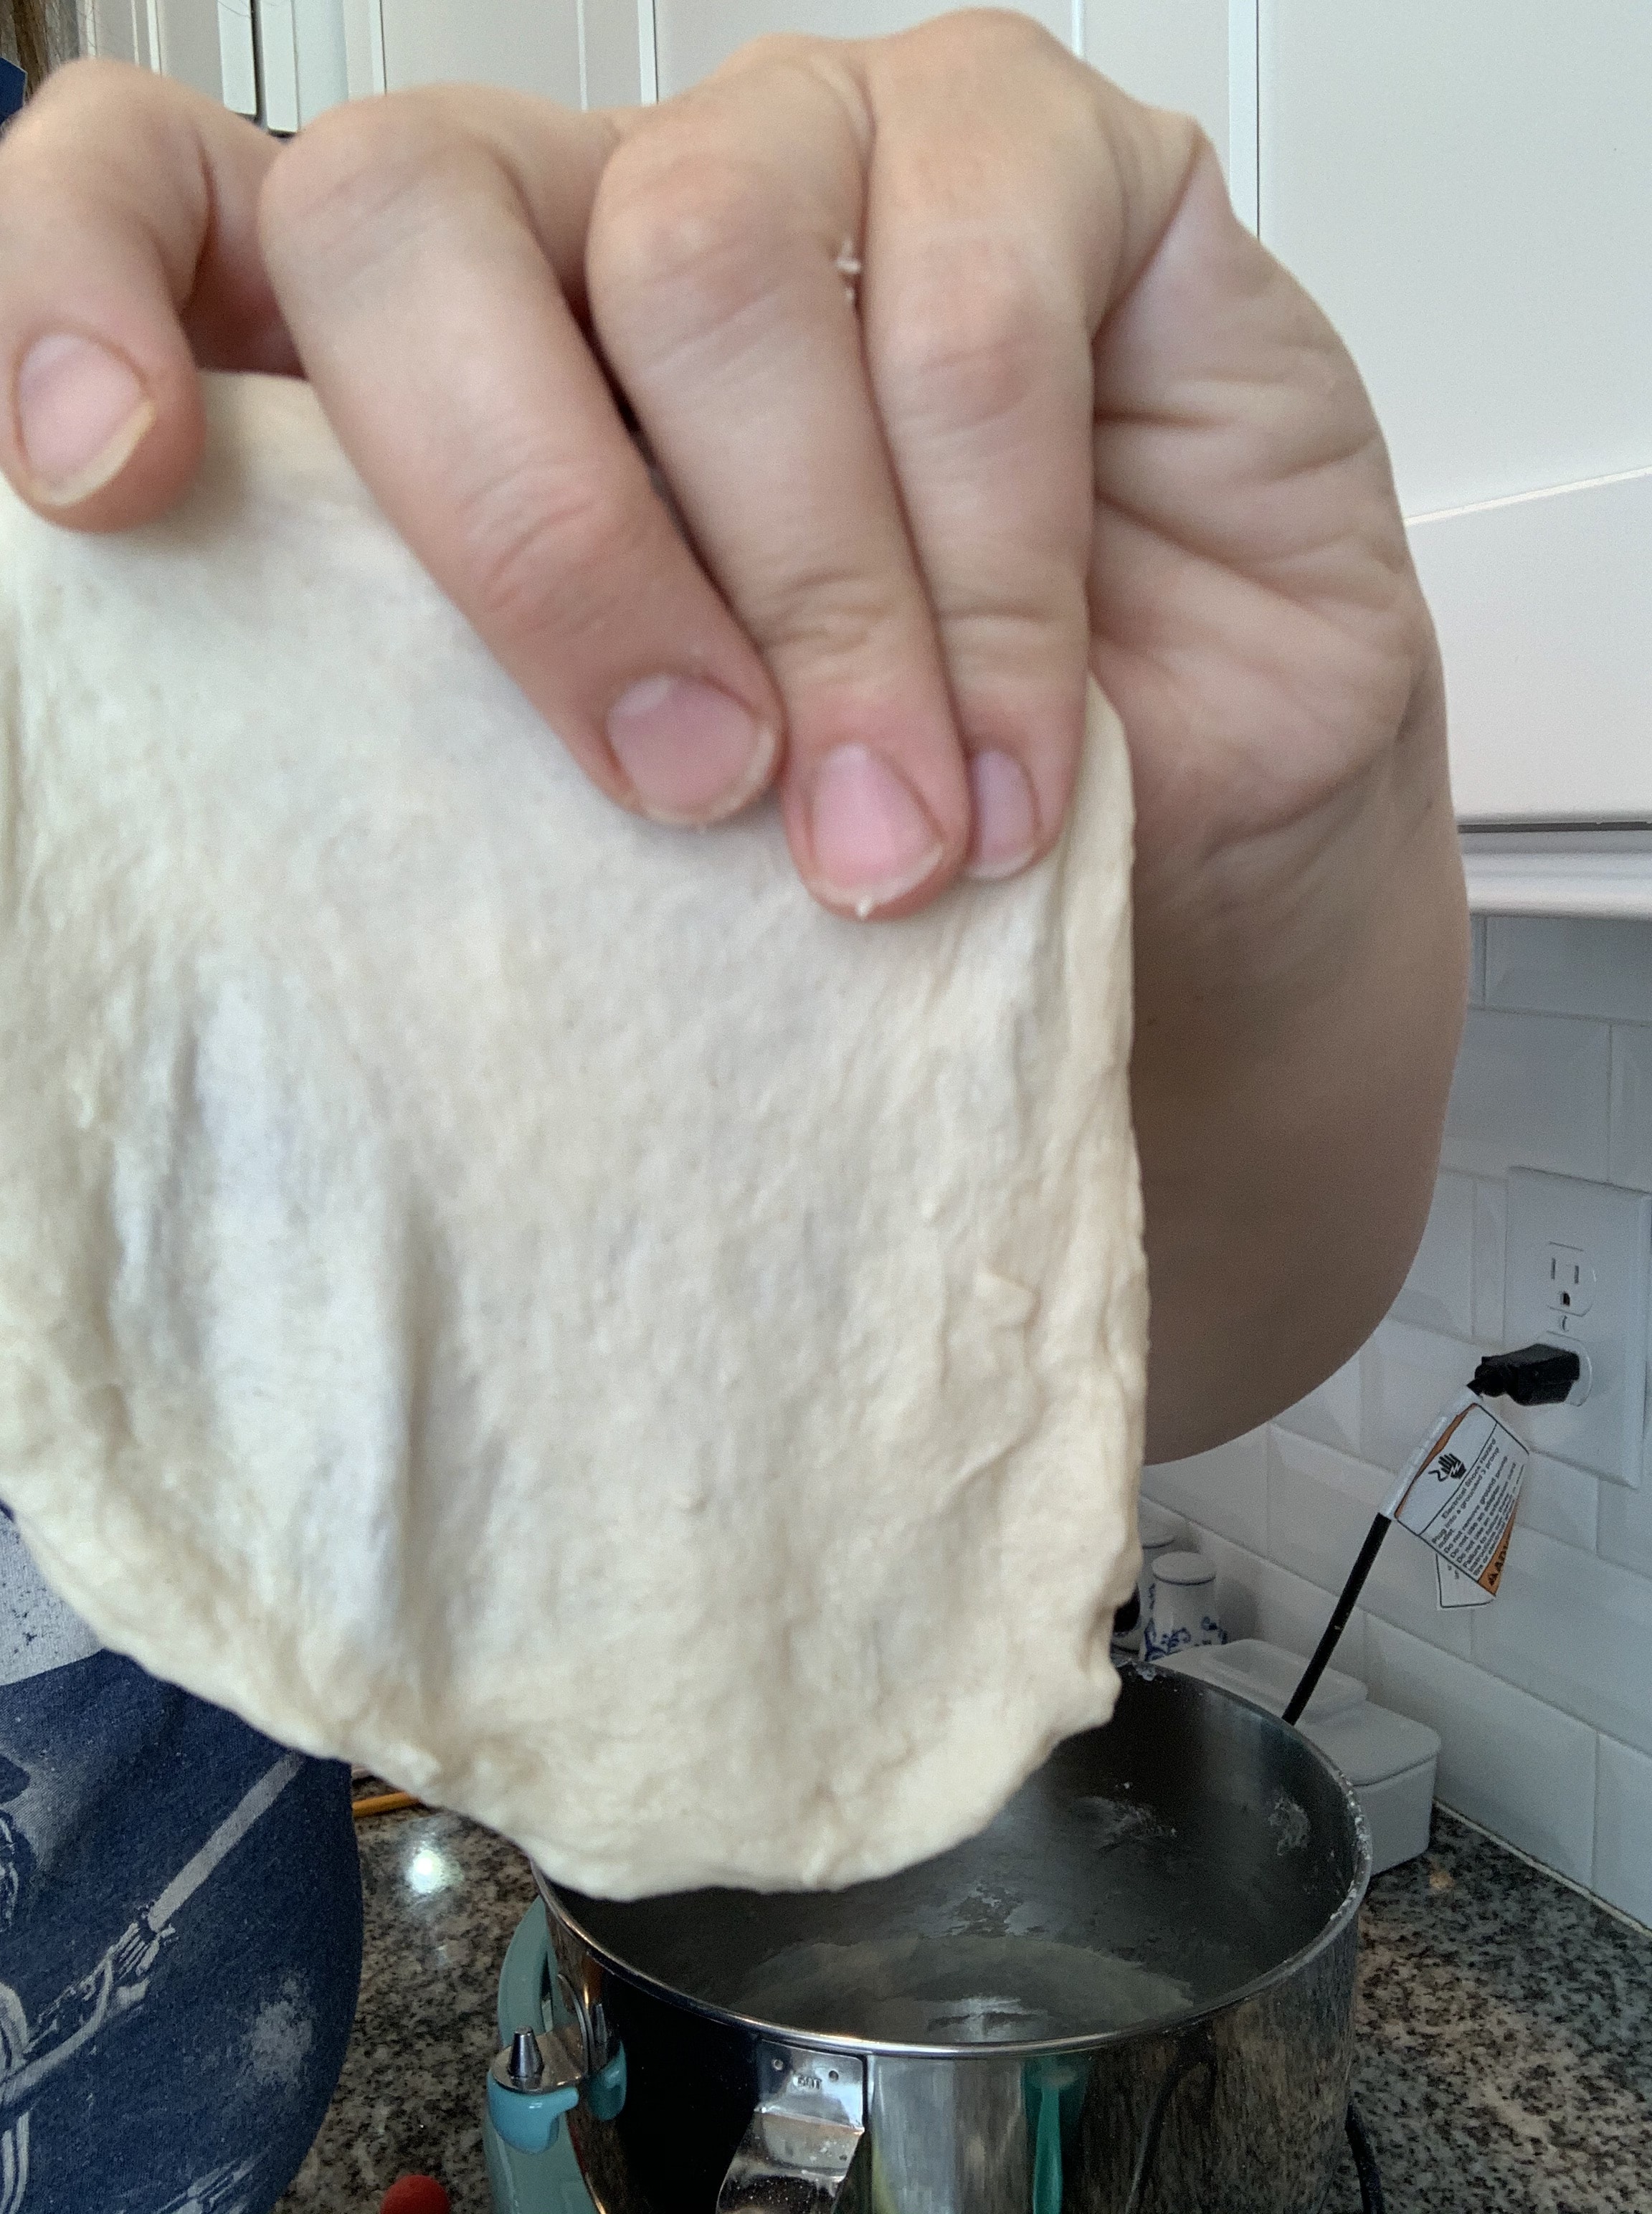
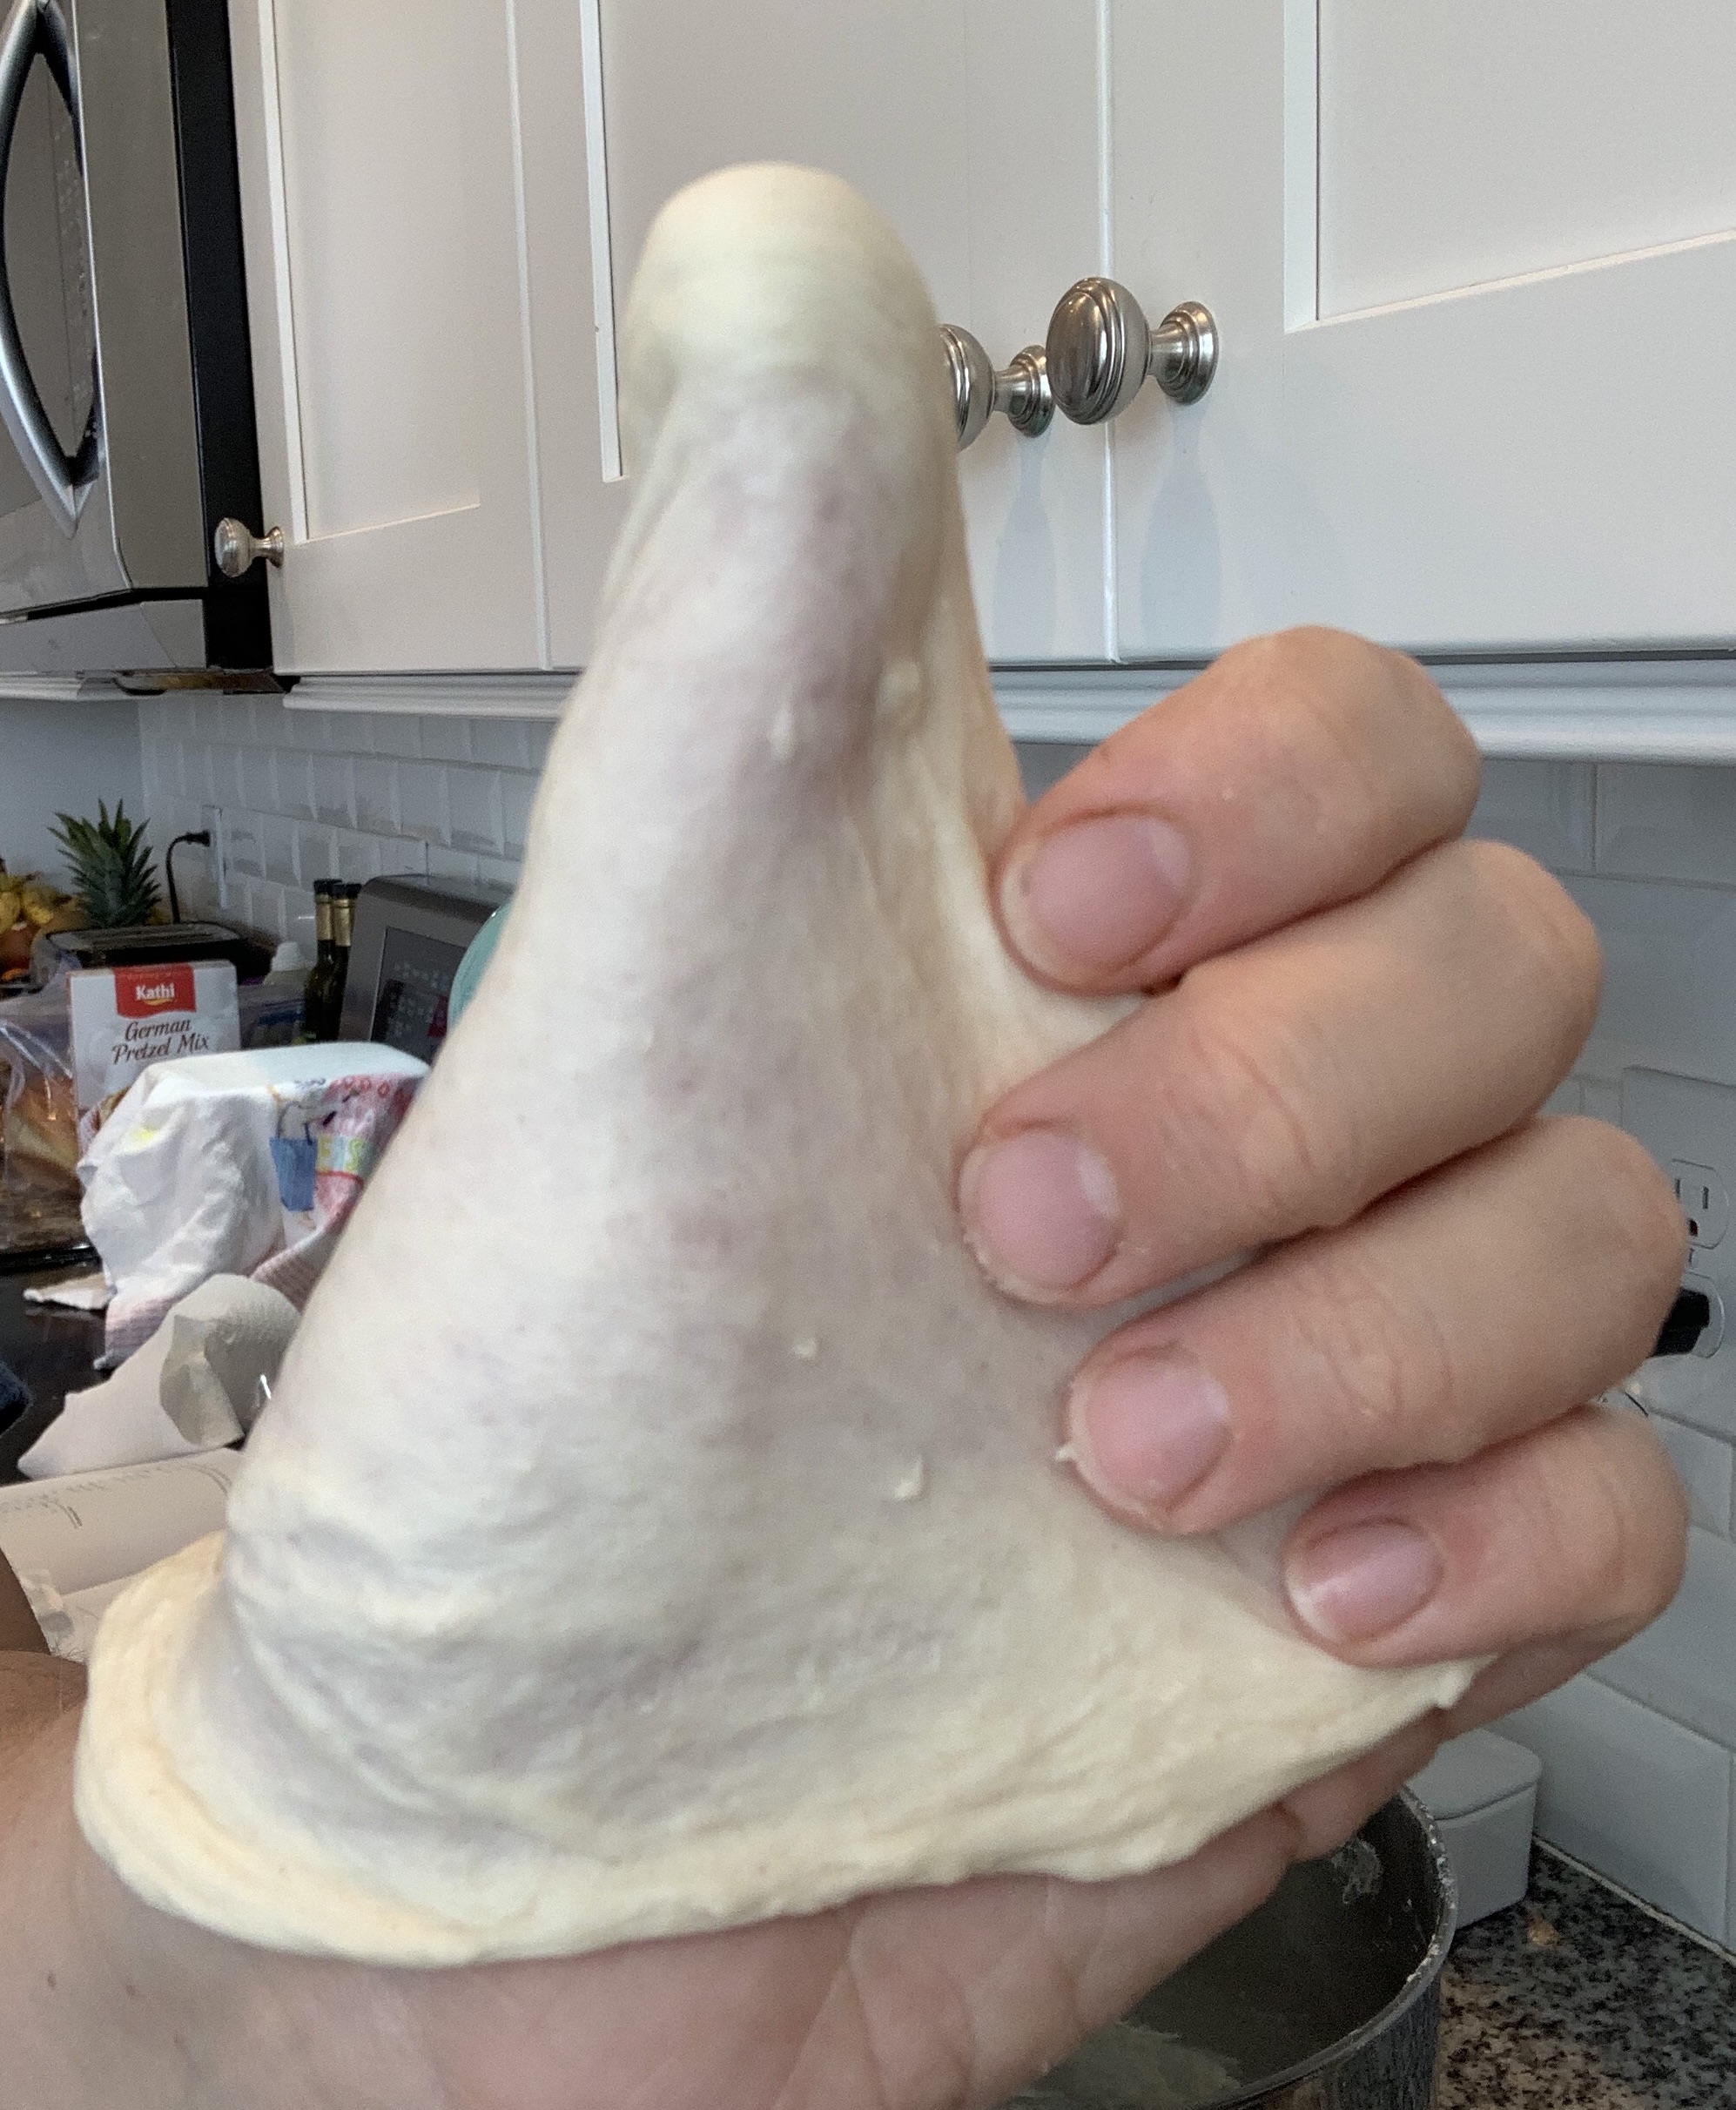
Use the windowpane test
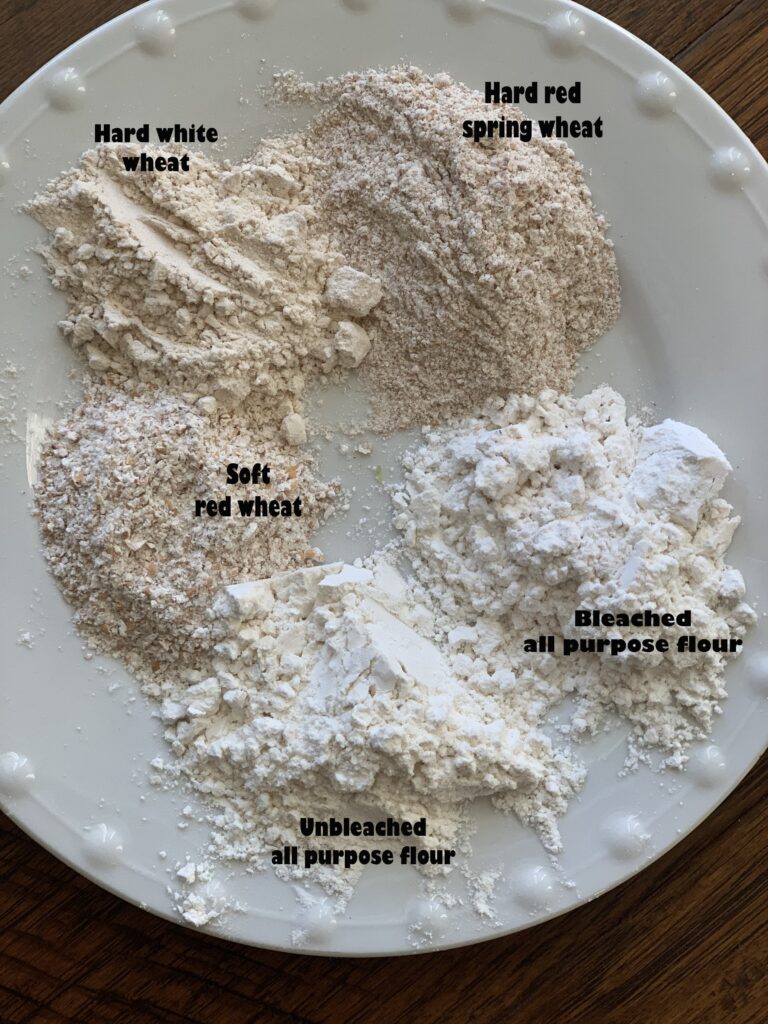
The last test may be one of the most beneficial to gluten development. The windowpane test will tell you if you have activated the gluten thoroughly in the kneading process. To check for readiness, grab a golf-ball sized piece of dough. Stretch the dough with your fingers until the dough becomes translucent and you can see light through it…like a windowpane. If you can stretch the dough without breaking it, the dough is ready to rest and rise for the first rise. If the bread tears a lot, it is not ready and needs to be kneaded some more. Try the test again after a few more minutes of kneading. It is important to note that all dough will tear eventually. If you are using a whole wheat flour or flour other than all-purpose or white bread flour, the dough will tear more easily due to the wheat germ in the flour and this test may not be as accurate.
And there you have it, three ways to check if your dough is ready for a bulk rise. Kneading the dough is a crucial step to how well your loaf of bread is going to come together. It is worth the extra few minutes to make sure that the process is correct so you end up with a beautiful loaf of bread instead of one you take to feed to the ducks (except I’ve heard ducks shouldn’t eat bread…so don’t do that either!).
I hope these little tips help you on your way to making a delicious loaf of home-made bread. If you are looking for a few great beginner recipes, check here and here.
Note: It is also possible to over-knead dough, though it is unlikely if you are following these signs of readiness for dough.
Please share this post if you enjoyed it!
Follow me on Instagram @amybakesbread or like Amy Bakes Bread on Facebook for more baking ideas.


Amy- can I bake this recipe in a Pullman pan? Keeping in mind there are 3 different sizes and 8” or 9” or 13”. I really love the shape and crust on a Pullman and am trying to find a recipe to use as a beginner. Thanks in advance!
This post is about kneading dough, so I’m not sure which recipe you are referring to. But, I would look at the amount of dough the pan holds and then use a recipe or adjust a recipe that calls for that amount of dough.
Amy I’m sorry I thought I was still on your sandwich loaf post. So thanks for answering anyway it helped! Now onto more reading. Love your site!