Chocolate Sourdough Artisan Bread is dangerously delicious! Bloomed cocoa powder and chocolate chips make this bread rich and full chocolatey goodness. I love the addition of the melty chocolate chips with the tender crumb. This is no ordinary sourdough artisan bread; it's a chocolate lover's dream come true.
When it comes to indulgence, this rich chocolate sourdough artisan bread takes the cake. With its decadent flavor and the ability for you to make it in your home oven, it’s dangerously delicious! What sets this recipe apart is the addition of bloomed cocoa powder in warm oil, elevating the bread’s crumb – making it rich and full of chocolatey goodness. I love the addition of the melty chocolate chips with the tender crumb. This is no ordinary sourdough artisan bread; it’s a chocolate lover’s dream come true.
Chocolate Sourdough Artisan Bread is dangerously delicious! Bloomed cocoa powder and chocolate chips make this bread rich and full chocolatey goodness. I love the addition of the melty chocolate chips with the tender crumb. This is no ordinary sourdough artisan bread; it's a chocolate lover's dream come true.
Dutch Processed Cocoa Powder: Using a dark/dutch processed cocoa powder gives this chocolate sourdough artisan bread a rich chocolate flavor.
Coconut Oil: This recipe calls for coconut oil. The coconut oil softens the crumb and helps bloom the cocoa powder when heated. You can substitute any neutral flavored oil.
Sugar: These rolls taste fairly sweet. If you prefer a less sweet roll, cut the sugar in half.
Bread Flour: I almost always use a 12.5% protein bread flour for any bread that I am kneading. The higher protein content and properly activating the gluten results in a lighter/springy baked good.
Salt: Salt enhances the flavor, don’t leave it out!
Milk Chocolate Chips: Milk chocolate makes this chocolate bread sweet. If you prefer to use a semi-sweet or dark chocolate, the bread will not taste as sweet but will still be delicious. Choose your favorite chocolate chips to add to the dough.
Sourdough Sample Schedule for Chocolate Sourdough Artisan Bread
A sample baking schedule helps me when baking with sourdough. Sourdough takes much longer to rise than traditional bread. This schedule helps me plan my bake.
Mix Levain. Let sit at 78 degrees F for about 3-4 hours until doubled/bubbly and ripe.
10:50 AM
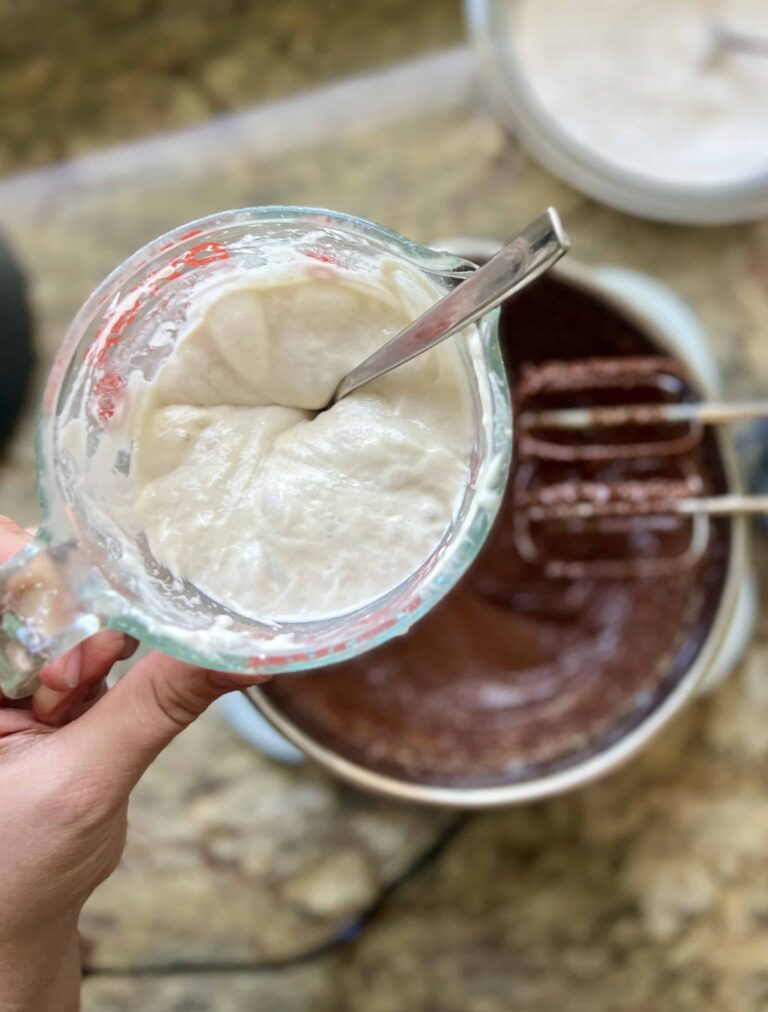
Bloom Cocoa Powder: Mix together coconut oil and cocoa powder. Warm in the microwave or on the stove until bloomed. Let cool before adding to the dough.
11:00 AM
Autolyse: Mix bread flour and water, let sit for 30 minutes to an hour until levain is ready.
11:45 AM
Begin Bulk Fermentation Mix Dough
12:15 PM 12:45PM 1:15 PM 1:45 PM
Stretch and Fold #1 Stretch and Fold #2 Stretch and Fold #3 Laminate Dough and add chocolate chips
3:45 PM
Bench Rest
4:15 PM
Shape Dough Begin Cold Fermentation
Day 2
Bake
9:00 AM
Bake and Enjoy!
Mixing the Levain
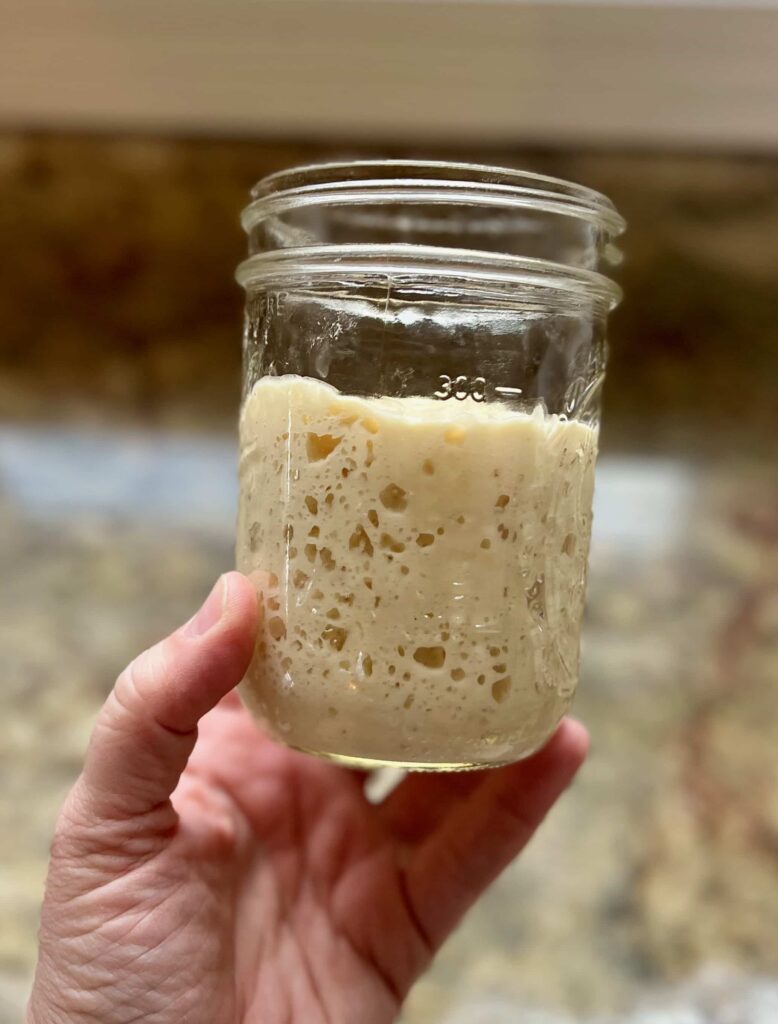
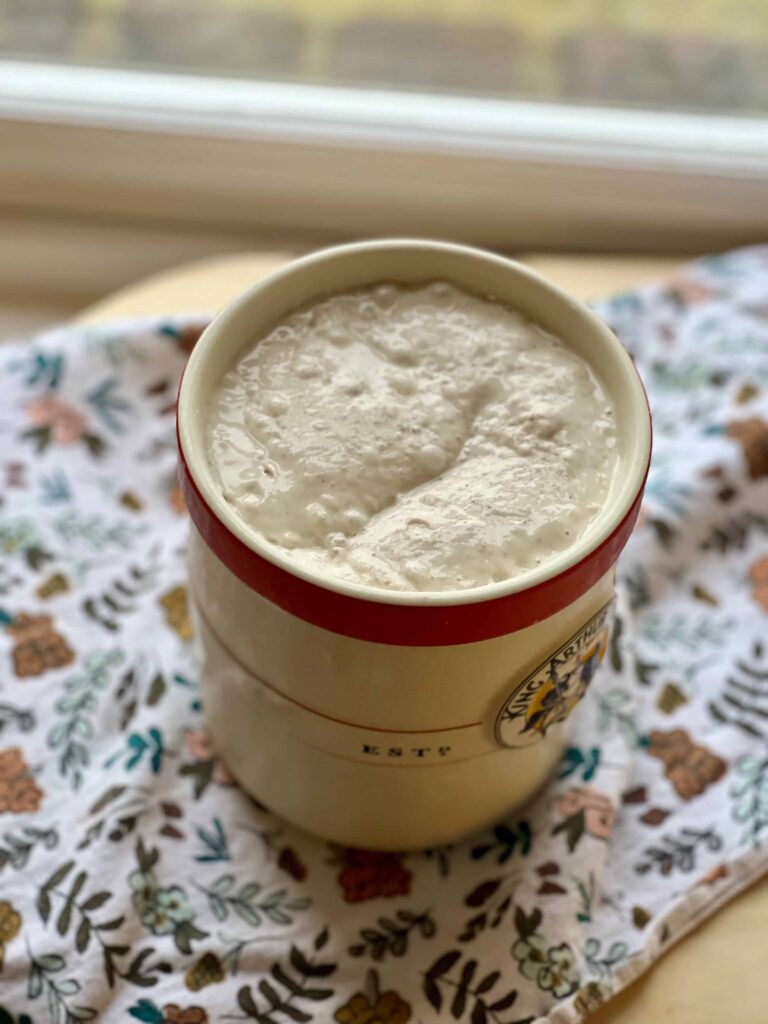
1:1:1 Levain (ready in 3-4 hours/same day): This recipe calls for a levain mixed the same day you mix the dough. It should take 3-4 hours until it’s ready to be mixed with the dough, if you keep the levain temperature at 78 degrees F. Levain is ready when it has doubled in size, has lots of bubbles, a slightly sour aroma and is just about to start going down from its peak height. Mix together:
40 grams of ripe/mature starter
40 grams of warm water
40 grams of bread flour
If you prefer to mix the levain the night before, you can mix a 1:10:10 Levain that is ready in 12 hours or overnight
6 grams of ripe/mature sourdough starter
60 grams white bread flour
60 grams water
Bloom the Cocoa Powder
“Blooming” cocoa powder is a process of mixing hot oil with cocoa powder before adding it to the recipe. This process helps the cocoa powder release its full flavor potential. It deepens and makes the chocolate flavor more intense. About an hour before mixing the dough, warm the coconut oil and cocoa powder together over the stove or in the microwave. It doesn’t need to come to a boil, but should be fairly warm. Stir together into a liquid drizzle. Let cool completely before using in the recipe.
Autolyse the Dough
I use an autolyse method in this chocolate sourdough artisan bread. It helps strengthen the gluten strands in the dough and gives a better overall texture and crumb to this bread. An hour before the levain is ready, mix together the bread flour and water. Cover the dough and let it rest for an hour. As soon as the water hydrates the flour, gluten strands begin aligning and strengthening.
Mixing the Dough
Add the sugar, salt, ripe levain and cooled cocoa mixture to the autolysed dough. Pinch chunks of dough and reincorporate them together gently. Pick up one side of the dough and fold it over on itself. The dough will be sticky. Wet your hands as needed and continue to work with the dough, gently kneading until all the ingredients are incorporated and the dough is smooth. Transfer the dough to a plastic container or a glass bowl if desired.
Bulk Fermentation
The total bulk fermentation time is around 4-5 hours, from the time the levain hits the dough to when the dough is shaped and then put in the refrigerator. During this bulk fermentation, I do some sets of stretch and folds and use the lamination method to add the chocolate chips to the dough.
Stretch and Fold: To “stretch and fold,” wet your hand (so it doesn’t stick to the dough). Reach down to the bottom of the bowl of dough and pull the dough up and over the top of the dough. Turn the bowl 1/4 turn and repeat the stretch and fold. Turn another 1/4 turn and repeat. Perform one more 1/4 turn with stretching and folding the dough. Cover and set aside.
Lamination: On a clean counter top, stretch the dough as thin as you can without tearing it. When the dough is fully stretched, sprinkle 3/4 of the milk chocolate chips over the dough. Fold the dough up and sprinkle the rest of the milk chocolate as you fold the dough up into a little package. This strengthens gluten strands and gives even disbursement to the chocolate.
Bench Rest and Shaping Chocolate Sourdough Artisan Bread
Once the dough has risen about 20-30%, has a few bubbles scattered around the top and feels extensible and aerated, it’s time to shape the dough. Prepare a banneton or small bowl. Place a kitchen towel or hair net in the bowl and liberally flour. If you use the hair net, you may not need to use much flour. Pre-shape the risen dough by dragging it into a circle on the countertop and letting it rest for about 30 minutes uncovered. Then it’s time to shape! Use this post as a guide of shaping.
Cold Fermentation
I almost always use a cold fermentation for my sourdough artisan bread. Cover the dough in the banneton and place in the refrigerator for 12-20 hours. If it goes a little longer than that, it should be okay maybe up to 48 hours depending on the temperature of your refrigerator.
Baking Chocolate Sourdough Artisan Bread
Pre-heat the Oven:Put a dutch oven (top and all) into the oven and preheat to 500 degrees. Allow the dutch oven to heat for about 30 minutes at 500 degrees. This builds up steam, which is necessary to achieve the beautiful oven spring and perfect crust that artisan bread is known for.
Scoring the Dough: Once preheated for 30 minutes, pull the loaf out of the refrigerator. Remove the plastic wrap (this is easy to do straight out of the refrigerator if the dough is chilled –not easy if the dough warms up) and place a piece of parchment paper on top of the bread dough. Flip the dough over so that it is now sitting on the parchment paper. Take off the bowl/banneton and kitchen towel. Smooth the flour over the top of the dough (add a little extra for more contrast if desired) or leave the flour off completely for no contrast. Use a bread lame or very sharp knife to score the dough.
Bake the Bread: Carefully remove the dutch oven from the 500 degree oven with hot pads. Take the top off and place your bread into the dutch oven (including parchment paper – this helps with the transfer). Be very careful not to touch the sides of the dutch oven. Put your hot pads back on before you pick up the lid of the dutch oven and place it on top of the bread. Put the whole dutch oven back into your oven. Lower the temperature to 450 degrees and bake for 25 minutes. Once 25 minutes are up, take the top off the dutch oven and continue baking for 20 minutes until the bread is fully baked.
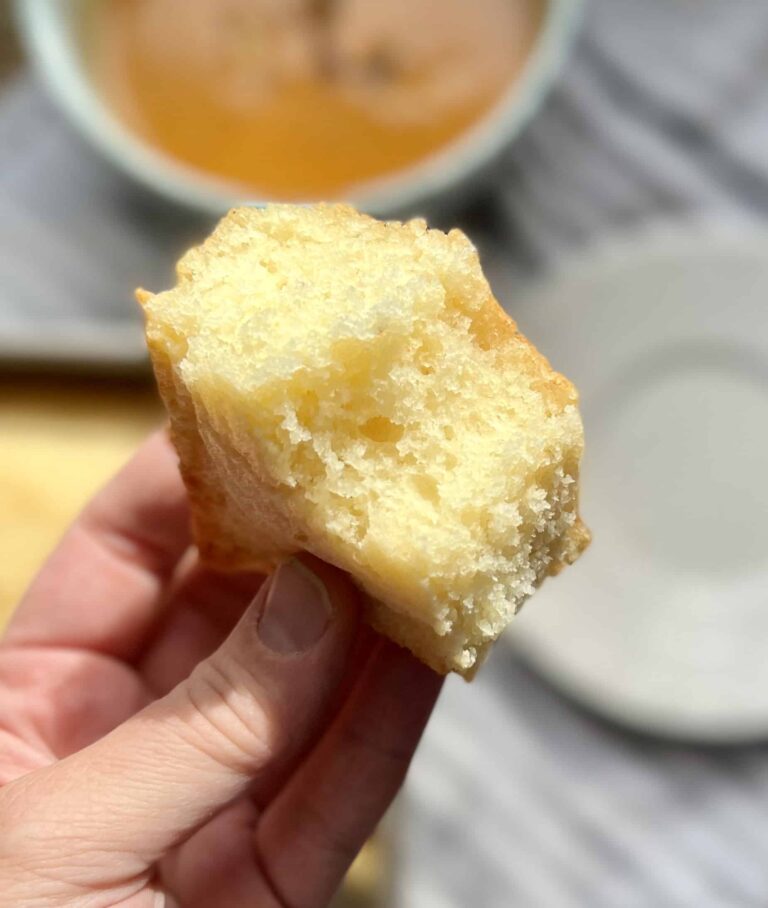
For Best Results: Let the bread cool completely before slicing! This ensures a better crumb structure and keeps the bread from being “gummy.”
Frequently Asked Questions
How do you store leftover chocolate sourdough artisan bread?
I let my loaves cool completely. Then slice them and freeze in an airtight container or ziplock bag for up to 3 months. Bring to room temperature to enjoy or toast from frozen.
I don’t like milk chocolate. Can I use a darker chocolate in this bread?
Yes. You can substitute any flavor of chocolate you like. I usually prefer a darker chocolate but with the rich cocoa flavor in this loaf I like the sweetness the milk chocolate brings.
What can I substitute in place of coconut oil?
Use any neutral-flavored oil in place of the coconut oil. Coconut oil makes the crumb of this loaf extra soft, which I love, but any oil should work.
Have you added other inclusions to this bread?
Yes. I love adding freeze dried chocolate covered raspberries to this chocolate sourdough artisan bread.
Chocolate Sourdough Artisan Bread is dangerously delicious! Bloomed cocoa powder and chocolate chips make this bread rich and full chocolatey goodness. I love the addition of the melty chocolate chips with the tender crumb. This is no ordinary sourdough artisan bread; it's a chocolate lover's dream come true.
40gramsripe sourdough starterbubbly/active/doubled in size
40gramsflour
40gramswater
Chocolate Sourdough Artisan Bread
20gramscoconut oilabout 2 Tablespoons
20gramscocoa powderabout 3 Tablespoons
450gramsbread flour
300gramswater
90gramslevain
20gramsgranulated sugarabout 2 Tablespoons
8gramssaltabout 1 teaspoon
100gramsmilk chocolate chipssee recipe notes, about 2/3 cup
Prevent your screen from going dark
Instructions
Day 1: Levain/Mix/Bulk Fermentation/Shape/Cold Fermentation
Levain: Make levain by mixing together ripe sourdough starter, flour and water. Set aside for 3-4 hours at 78 degrees F.
Autolyse: About an hour before the levain is ready, mix together the bread flour and water. Let rest for about an hour.
Bloom Cocoa Powder: About an hour before mixing the dough, warm the coconut oil and cocoa powder together over the stove or in the microwave. Let cool completely before using in the recipe.
Mixing: Add ripe levain, sugar, salt and bloomed cocoa mixture to the top of the dough. Pinch chunks of dough and reincorporate them together gently. Pick up one side of the dough and fold it over on itself. The dough will be sticky. Wet your hands as needed and continue to work with the dough until it is smooth and all the ingredients are mixed and the dough is smooth. Transfer the dough to a plastic container or a glass bowl if desired.
Bulk Fermentation: Over a total of 3.5-4 hours, perform 3 sets of stretch and folds every half hour.
To “stretch and fold,” wet your hand (so it doesn’t stick to the dough). Reach down to the bottom of the bowl of dough and pull the dough up and over the top of the dough. Turn the bowl 1/4 turn and repeat the stretch and fold. Turn another 1/4 turn and repeat. Perform one more 1/4 turn with stretching and folding the dough. Cover and set aside.
Repeat the stretch and folds every 30 minutes for three times total. After your third set of stretch and folds, wait another half hour and then laminate the dough to add the inclusions.
Lamination: On a clean counter top, stretch the dough as thin as you can without tearing it. See post for pictures and description. When the dough is fully stretched, sprinkle 3/4 of the milk chocolate chips over the dough. Fold the dough up and sprinkle the rest of the milk chocolate as you fold the dough up into a little package. See post for pictures.
Finish the last 1.5 hours of bulk fermentation with the dough covered at 78 degrees F.
Pre-Shape: Tip the bowl upside down, allowing the dough to fall onto a clean counter surface. Be gentle to avoid cutting and degassing the dough as much as possible. Wet your hands and the bench knife. Push the bench knife under the dough while using your free hand to tuck the dough under itself. Repeat this process going around in a circle until you have a tight ball of dough.
Bench Rest: Let the dough rest uncovered for about 30 minutes at room temperature. The dough will flatten a bit during this period of time.
Prepare a banneton: Prepare a banneton or small bowl. Place a kitchen towel or hair net in the bowl and liberally flour.
Shaping: After the dough has rested for about 30 minutes, it is time to shape the bread into a round or oval shape. Sprinkle flour on top of the dough if desired (I use a fine mesh strainer). Using the bench knife, lift the dough up off the counter and place it on top of the countertop – floured side down. This ensures that the flour is staying mainly on the outside of the dough. Going around in a circle, pull the dough sideways towards you and then fold up to the top of the round. Move 90 degrees and repeat the same process, pulling the dough sideways and then folding up to the top. As you continue this process around the dough, increase the tension as you pull. Gather the bread into a circle and use a bench knife to lift the bread and place into your lined bowl.
Cold Fermentation:Cover the dough and store in the refrigerator overnight or for up to 18-20 hours. Alternatively you can let your dough rise outside the fridge for another 3-4 hours and then bake your loaves the same day.
Day 2: Bake
Pre-heat the Oven:Put a dutch oven (top and all) into the oven and preheat to 500 degrees. Allow the dutch oven to heat for about 30 minutes at 500 degrees.
Once preheated for 30 minutes, pull the loaf out of the refrigerator. Remove the plastic wrap (this is easy to do straight out of the refrigerator if the dough is chilled – not easy if the dough warms up) and place a piece of parchment paper on top of the bread dough. Flip the dough over so that the dough is now sitting on the parchment paper. Take off the bowl/banneton and kitchen towel.
Scoring: Smooth the flour over the top of the dough (add a little extra for more contrast if desired) or leave the flour off completely for no contrast. Use a bread lame or very sharp knife to score the dough.
Bake: Carefully remove the dutch oven from the 500 degree oven with hot pads. Take the top off and place your bread into the dutch oven (including parchment paper – this helps with the transfer). Be very careful not to touch the sides of the dutch oven. Put your hot pads back on before you pick up the lid of the dutch oven and place it on top of the bread. Put the whole dutch oven back into your oven. Lower the temperature to 450 degrees and bake for 25 minutes. Once 25 minutes are up, take the top off the dutch oven and continue baking for 20 minutes until the bread is fully baked.
Let cool completely and enjoy!
Notes
Milk Chocolate Chips: Using milk chocolate chips makes this chocolate bread fairly sweet. The milk chocolate complements the rich cocoa powder and enhances the chocolate flavor. For a less sweet loaf, use semi-sweet or dark chocolate chips.Sourdough Tools: You can find all the tools I used for making this chocolate sourdough artisan bread on my Amazon storefront.
Super soft and tender sourdough rolls are twisted into a fun knot and baked to perfection. These sourdough rolls are a family favorite that we love for dinner, Thanksgiving or just when we want incredibly delicious rolls to munch on. Made with 100% sourdough and potato flakes, these rolls are perfection every single bite!
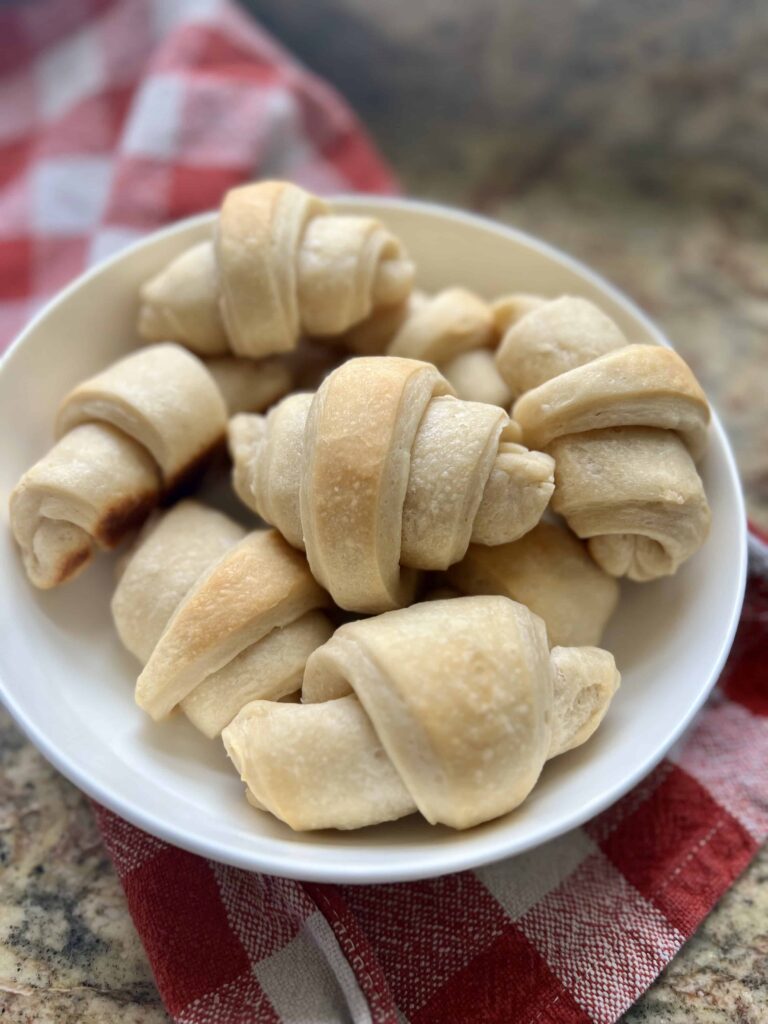
Buttery, sourdough no-knead crescent rolls made with 100% active sourdough–no instant yeast! These are the easiest and most delicious little rolls that are perfect for a special meal or weekend dinner.
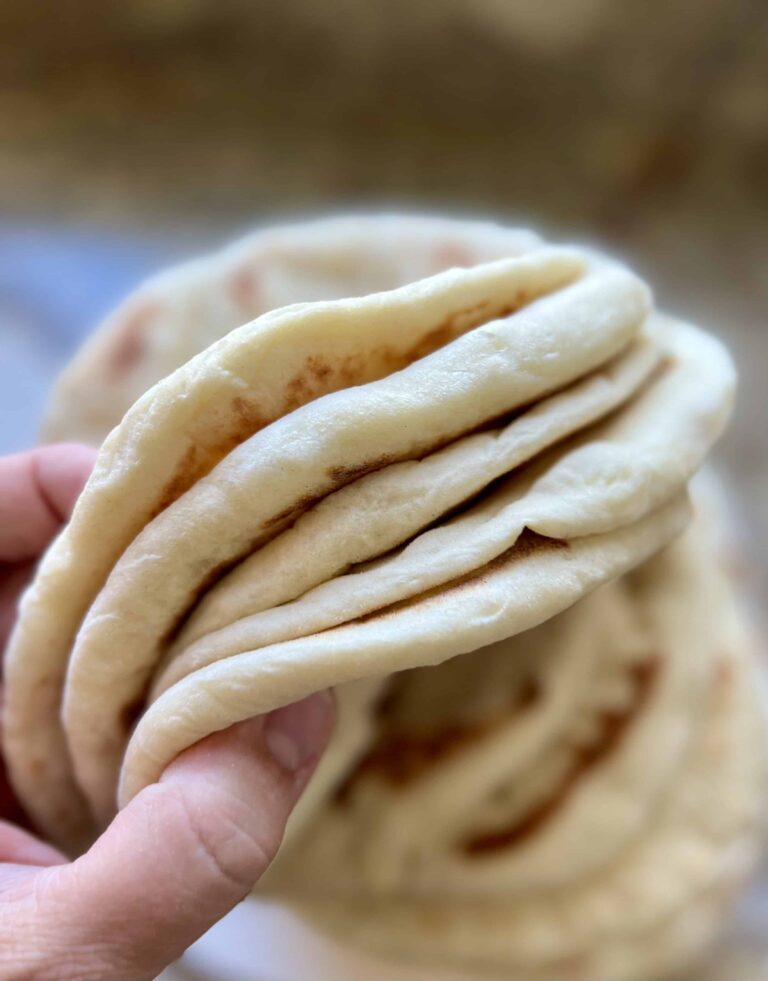
Super soft, pillowy and delicious this soft sourdough discard wrap bread has us all scrambling for seconds. It’s so light and fluffy and perfect to fill with protein or vegetables for lunch/dinner or to dip in something yummy for a snack. This sourdough discard wrap bread uses instant yeast to leaven the bread and sourdough discard for a little extra flavor.
Wow! A combo of my favorite eats: bread and chocolate! I’d be curious to taste the difference between the milk and dark chocolate chips. Looks amazing! 😍🍞🍫😋
I have not tried that. I think it could work – may make the finished loaf taste a little more bitter, but I can’t say for sure. Glad you are enjoying the site!


Wow! A combo of my favorite eats: bread and chocolate! I’d be curious to taste the difference between the milk and dark chocolate chips. Looks amazing! 😍🍞🍫😋
A must try! Coconut oil leaves this loaf so moist and fluffy.
Yes! The coconut oil makes the texture of this loaf so soft and fluffy!
Can you use cacao powder instead of cocoa powder? I am really enjoying your site. Learning a lot!
I have not tried that. I think it could work – may make the finished loaf taste a little more bitter, but I can’t say for sure. Glad you are enjoying the site!
Made this for Valentines week. We loved it! Will be a good recipe to make for gifts.
So glad you loved it. Thanks for sharing!