How to Knead Sourdough Artisan Bread
Updated Dec 21, 2024
Affiliate disclosure: This post may contain affiliate links. Please see our disclosure policy.
What do you think of when you hear the phrase “kneading bread?” Lots of labor with your arms or using a stand mixer come to my mind as you work the dough to develop gluten strands. Traditional Sourdough Bread uses a very different kneading process.
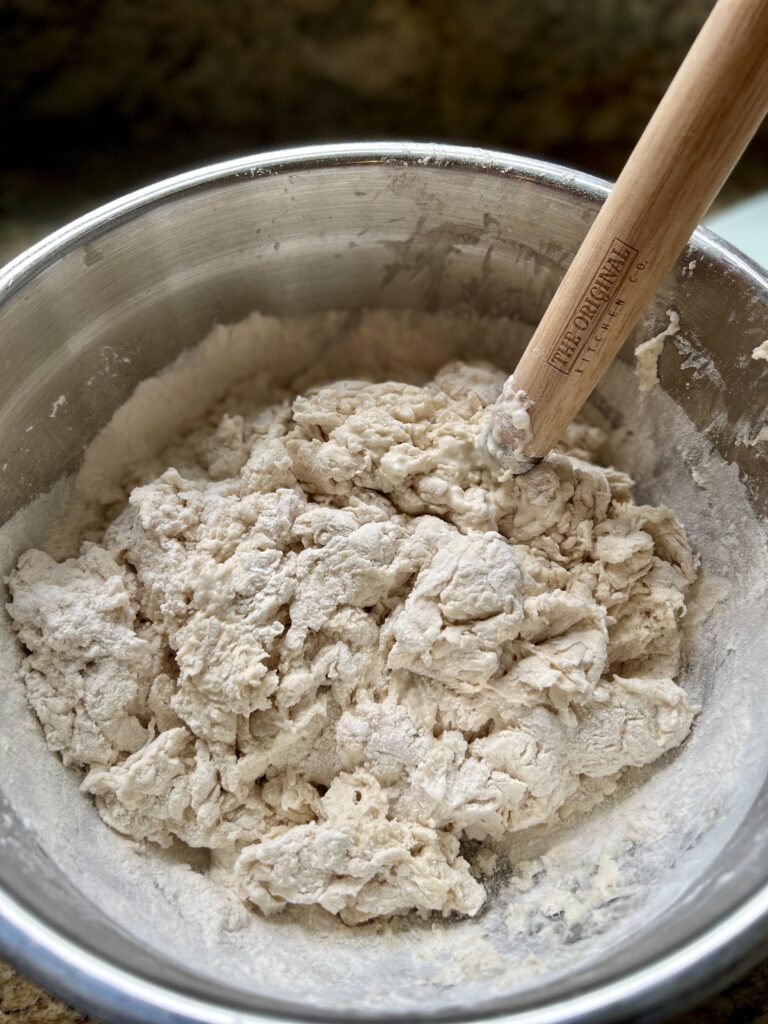
Instead of using the force of a mixer or your hands to align the gluten strands, sourdough bread primarily relies on the long fermentation process to strengthen the gluten strands. As soon as flour and water are mixed, a chemical reaction happens where gluten stands begin aligning, strengthening and forming – all by themselves. The longer the dough sits, the more the gluten strengthens. BUT, we can also help the gluten strands along in this alignment through some simple folds and strengthening
Save this for later!
A Little Sourdough Bread Chemistry
As soon as water and flour are mixed together, the initial structure of a gluten network begins taking place. Many times sourdough artisan bread recipes call for an autolyse or a fermentolyse to begin this process of strengthening the dough before the dough is completely mixed together. Time is an important factor in artisan bread because gluten develops cross-links all by itself with the molecules even without mixing the dough.

What does Kneading do to Dough?
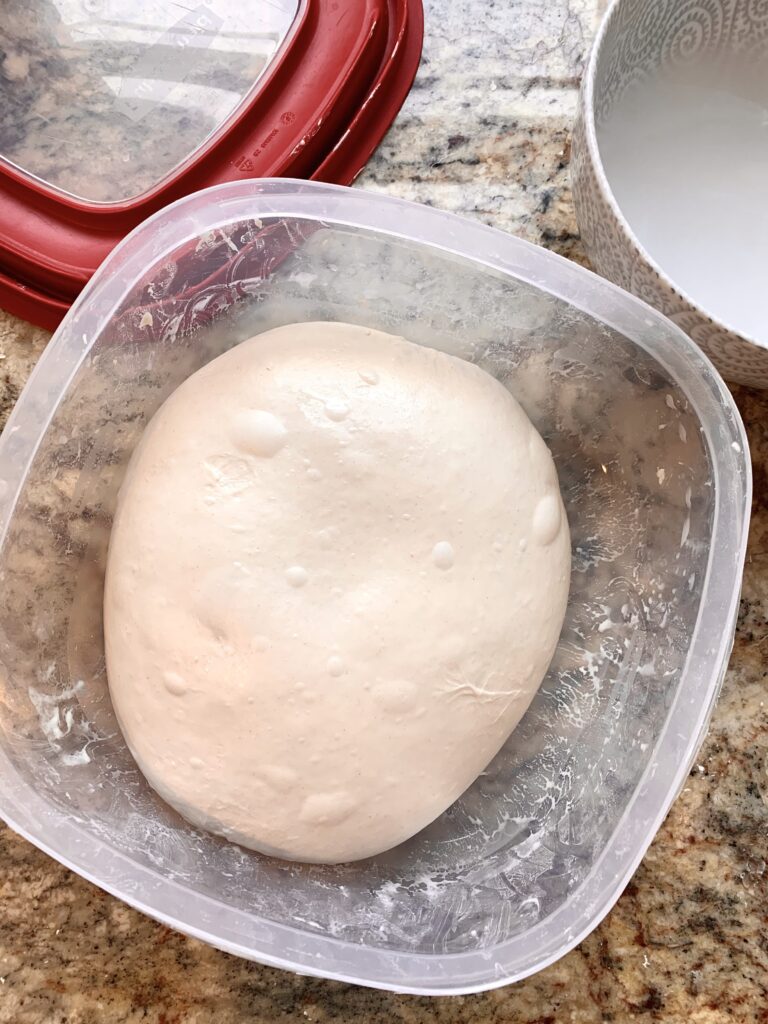
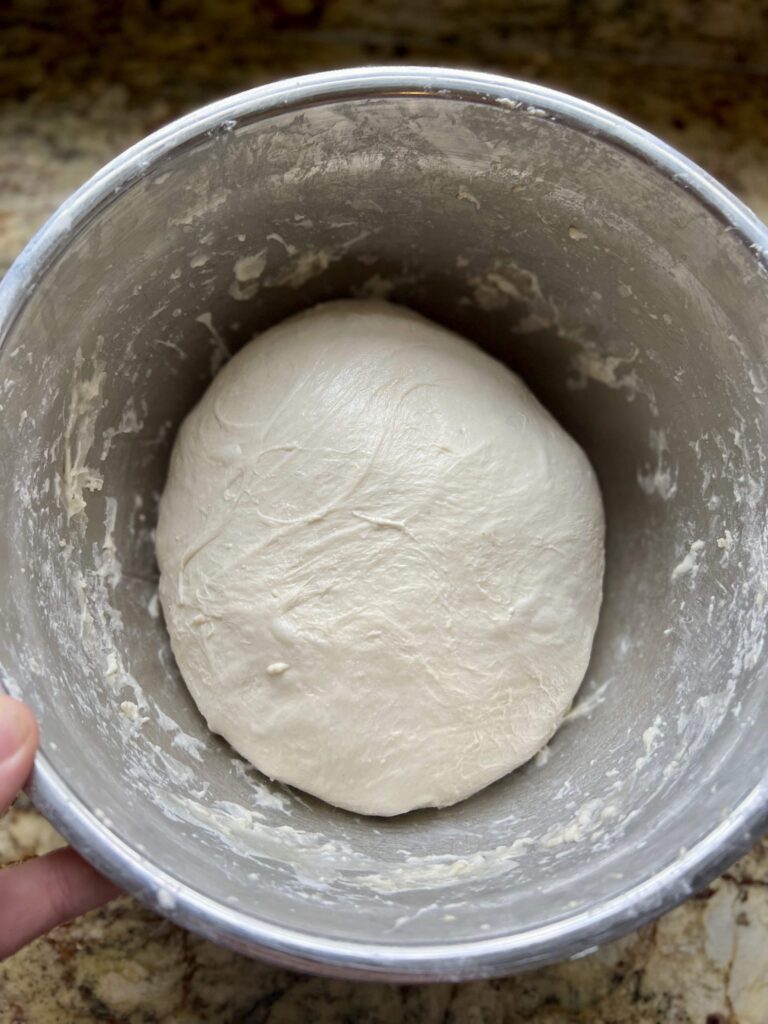
Mixing by machine or by hand develops the gluten molecules even more, aligning them into a network of strands. Stretching increases the strength and elasticity of the dough which is very important as the network of gluten strands traps the air bubbles produced by the wild yeast. This makes for a loaf of bread with good oven spring, nice crumb and great flavor.
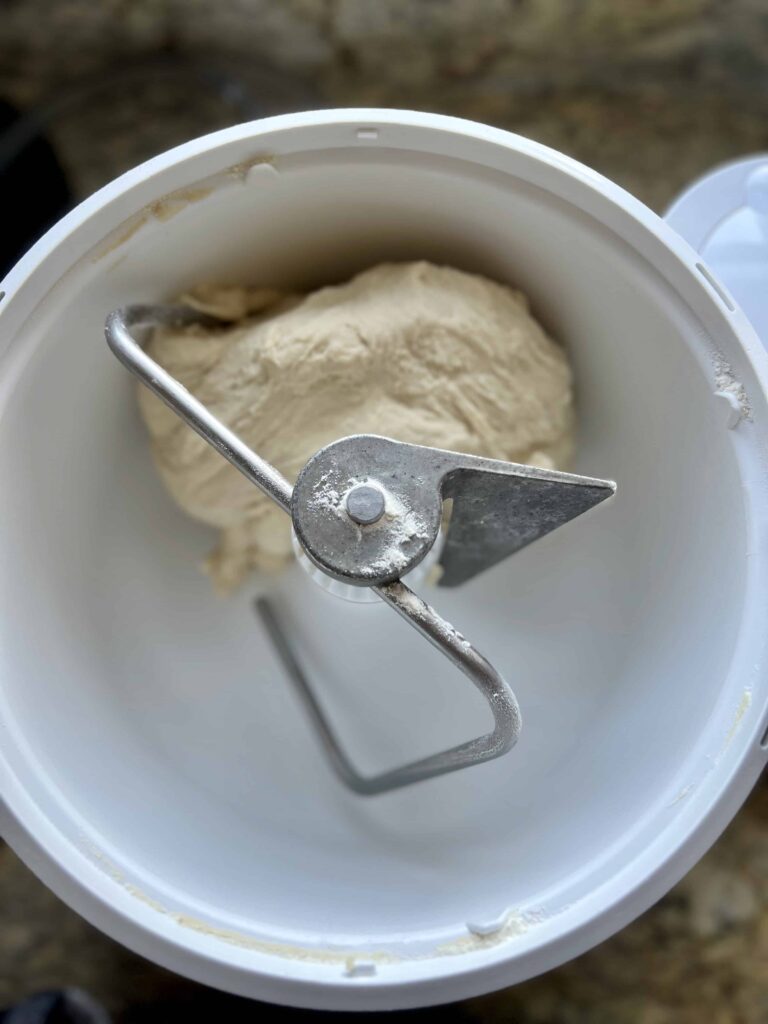
Sourdough Artisan Bread uses a combination of time and folding techniques during bulk fermentation to develop the gluten and strengthen the dough.
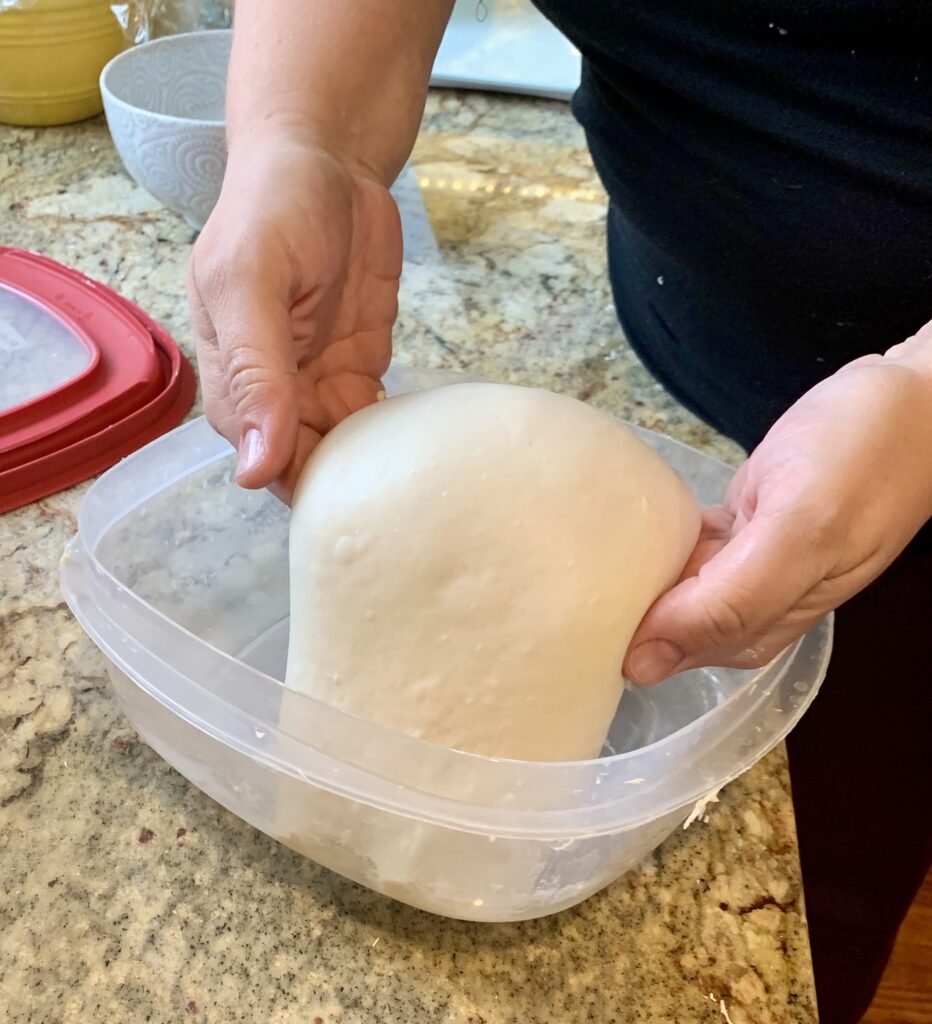
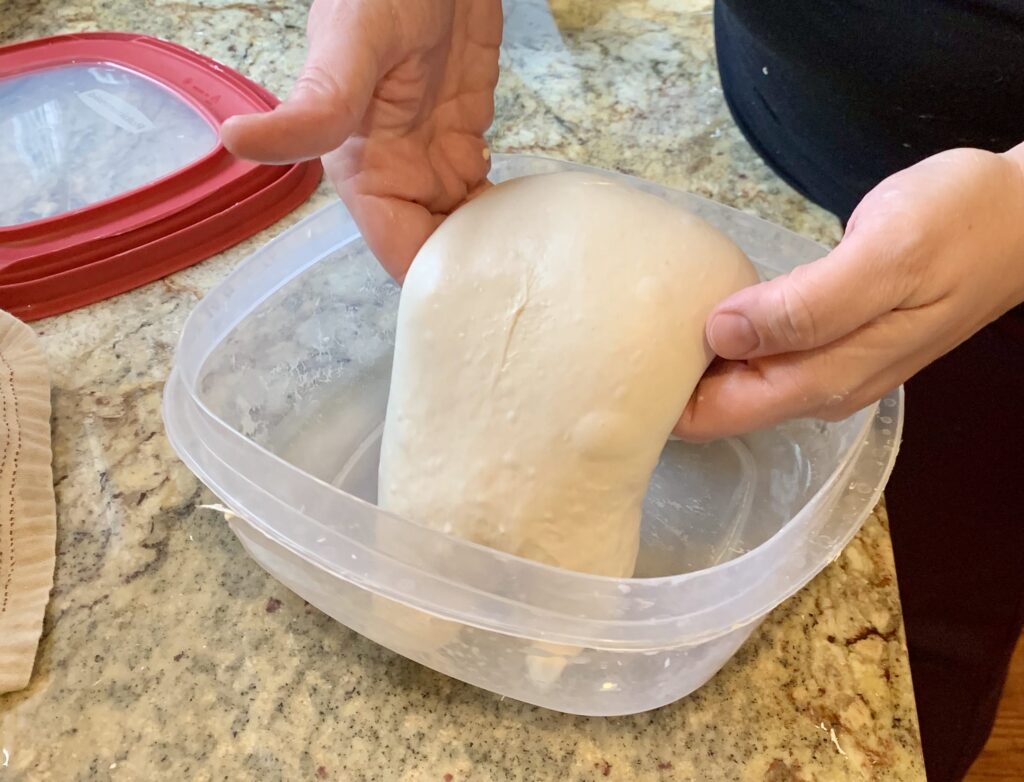
Stretch and Fold
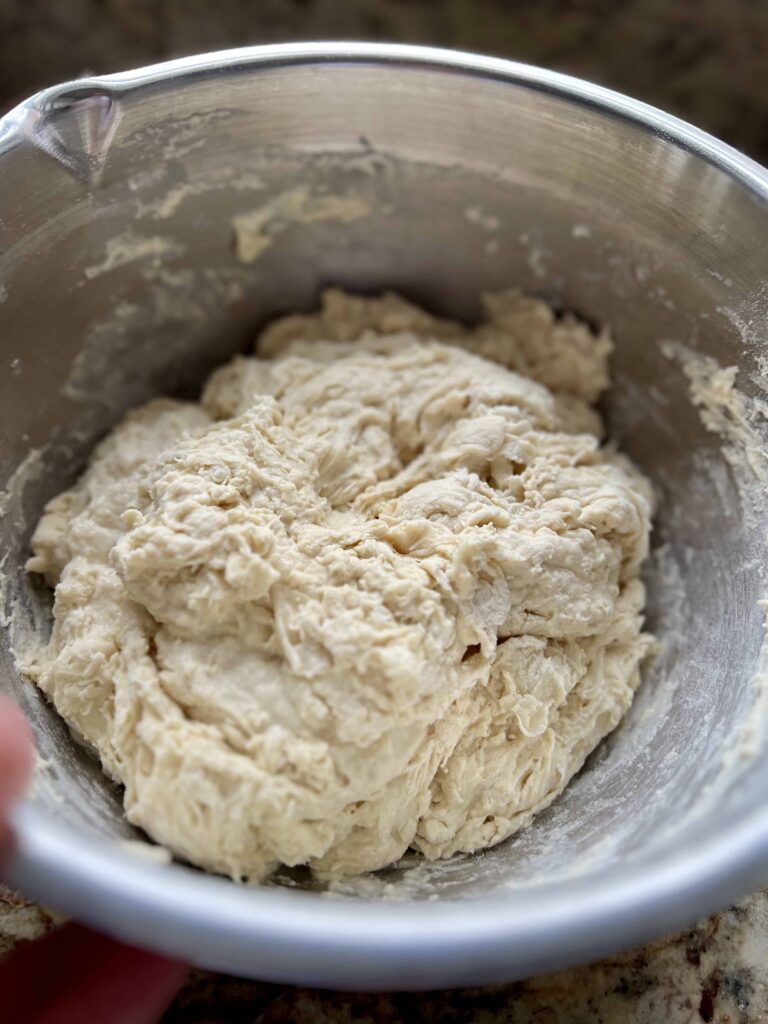
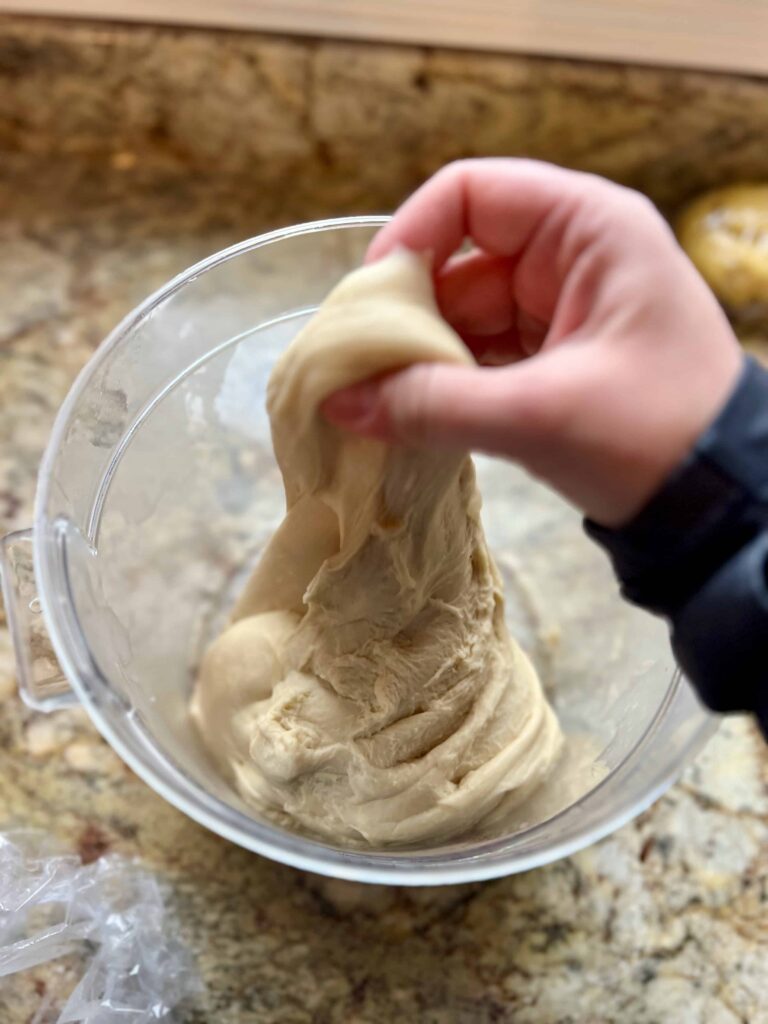
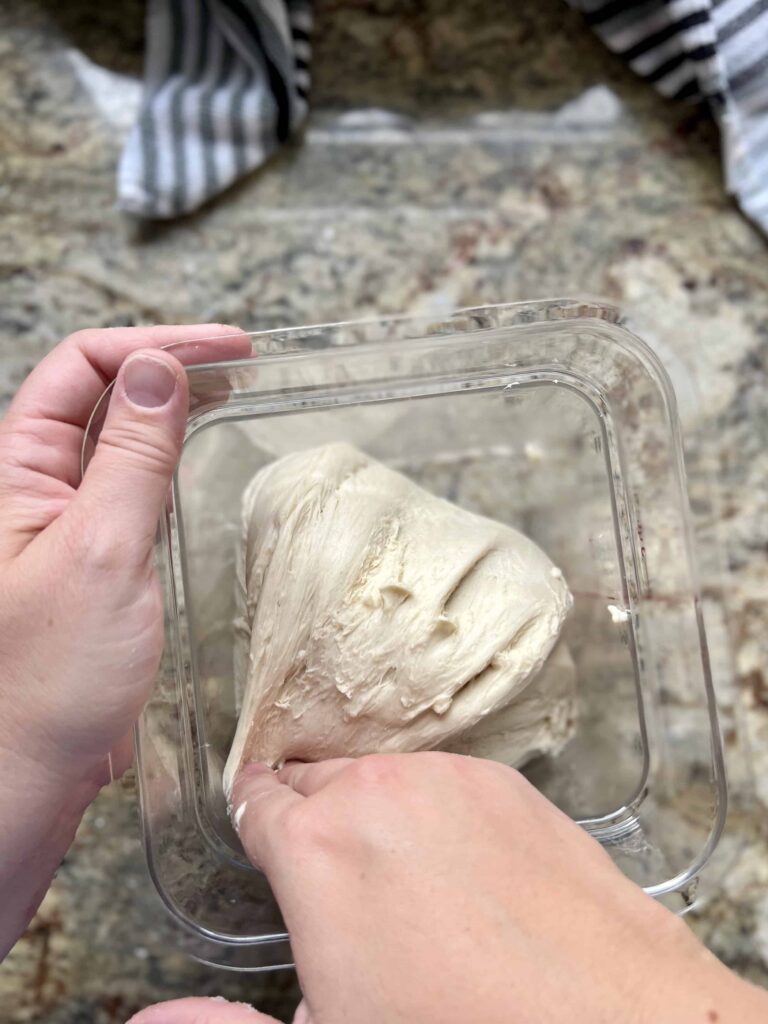
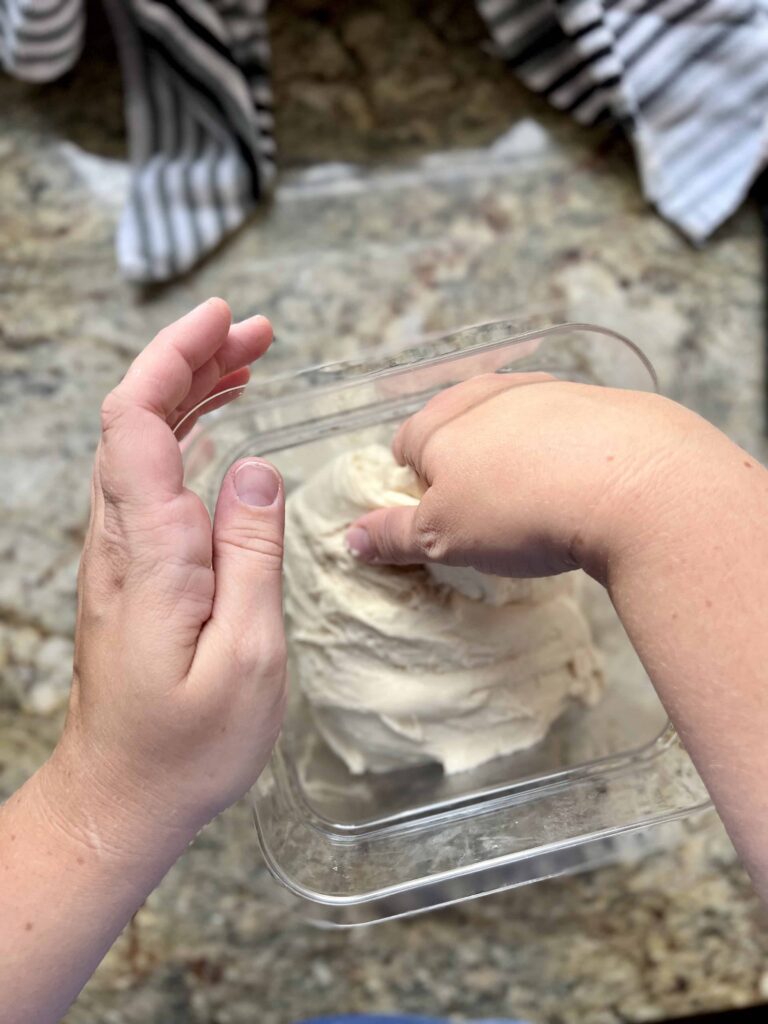
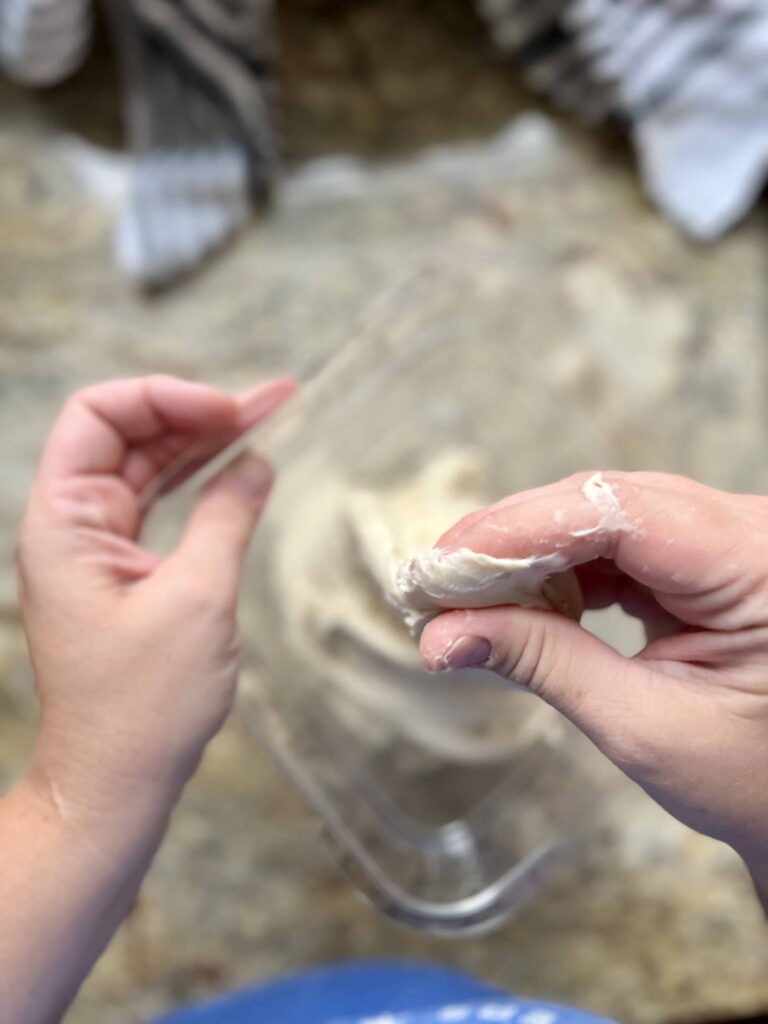
To “stretch and fold” dough, wet your hand (so it doesn’t stick to the dough). Reach down to the bottom of the bowl of dough and pull the dough up and over the top of the dough. Turn the bowl 1/4 turn and repeat the stretch and fold. Turn another quarter turn and repeat. Perform one more 1/4 turn with stretching and folding the dough. Cover and set aside. Take note of how the dough feels through this process. It will go from feeling a little shaggy to smooth and elastic. Watch this video for an example of a stretch and fold.
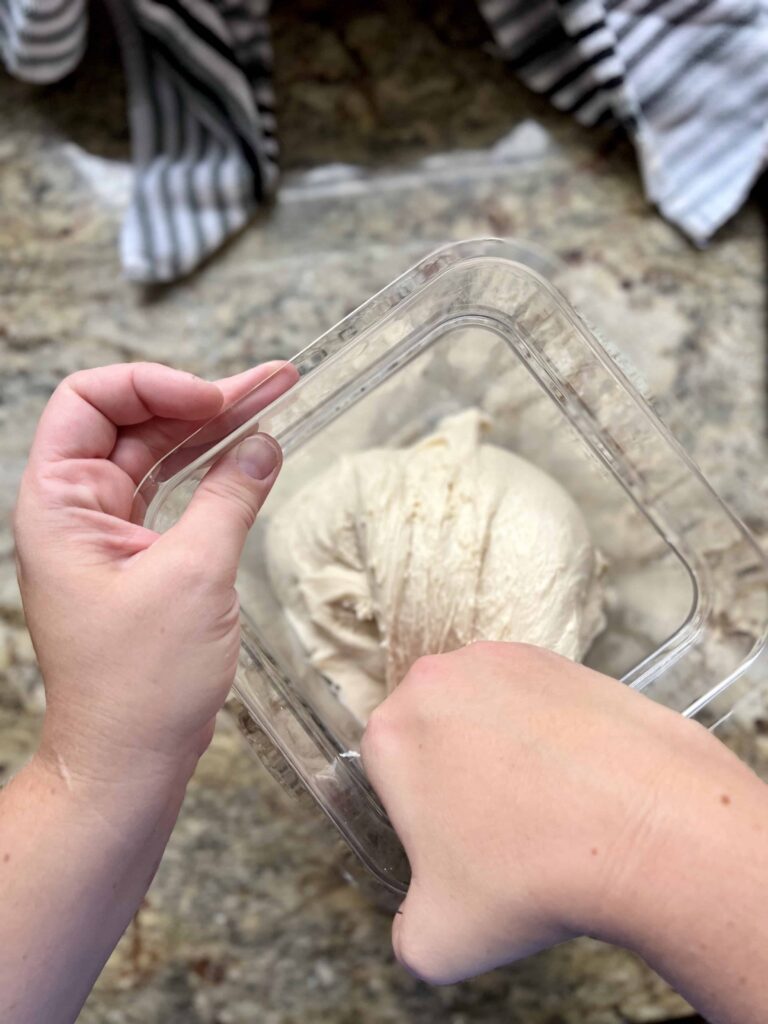
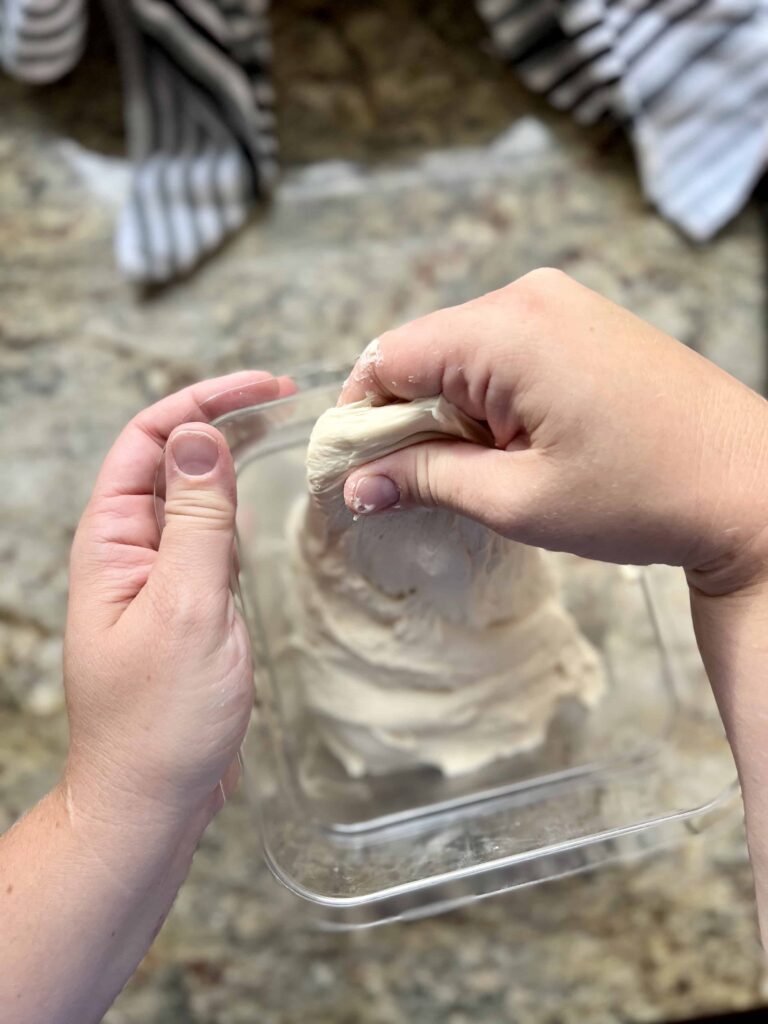
Coil Fold
A coil fold is a technique of picking up the dough from the middle and letting the dough fall down onto and under itself, resulting in a coil. This is typically done with high hydration dough, like this sourdough focaccia bread. Once the dough is initially mixed, it will be very sticky. Place the dough in a rectangular container or glass pan. Cover it and let it sit. After half an hour, open the container and perform 4-6 coil folds. The dough will be very sticky for this first set of coil folds but will strengthen over time. Wet your hands with water. Place your hands under the middle of the dough and pull up. The dough will stretch up (but should not tear) and release from the bottom of the bowl. Once the dough releases, let the dough fall back under itself. Repeat the process for both sides of dough. Then turn the container and repeat the coil fold. Don’t worry if the dough is super sticky for the first one or two coil folds. It will transform into beautiful dough throughout this process. Watch this video to see the coil fold process.
Slap and Fold
For dough that needs some extra strength in developing the gluten strands, a slap and fold is a great method to use. A slap and fold strengthens the dough quickly and efficiently, forcing the gluten strands to align and resulting in a smooth and elastic dough. Over just a few minutes (3-5 is what I usually do), the dough will go from being stringy and “just mixed” to smooth and elastic. To slap and fold, scrape the dough onto a clean countertop. Using WET or DAMP hands pick the dough up and slap it onto the counter. Stretch the dough toward yourself and fold the dough up and over, away from your body. Pick the dough up and repeat this process until the dough strengthens and begins to feel smooth and cohesive. Watch a video of the process here.
Frequently Asked Questions
Lamination is a method to help strengthen dough or add inclusions into sourdough bread. It is frequently used in place of a stretch and fold to help strengthen gluten strands or to add inclusions to bread. You can watch a video of the lamination method here and find my favorite Top 10 Sourdough Add-Ins for sourdough bread.
I use a mechanical mixer for sourdough bread that is NOT artisan. Sourdough cinnamon rolls, babka and this white sandwich bread all benefit from being mixed in a stand mixer. Artisan bread, however, is typically developed over time and with gentle mixing methods.
Fermentation time is powerful! You can make great sourdough bread with very few stretch and folds or mixing at all. My beginner no-knead recipe is a perfect example. The gluten strands will not be quite as developed in this bread and the crumb will be more closed with dough that only uses fermentation time. It will still taste great and is an easy way to make sourdough bread, especially as a beginner.
I love this recipe for sourdough artisan bread. I’ve been making it for many years and it’s still my favorite.
Looking for more delicious sourdough recipes?
Sourdough Artisan Bread Guide
Use this FREE Sourdough Artisan Bread Guide to help you make the best high-hydration loaf of sourdough bread. These articles will help you troubleshoot the entire process of baking a loaf of sourdough bread from start to finish in this free guide.
Sourdough Artisan Bread Guide
 Classic Sourdough Bread
 Essential Tools for Baking with Sourdough
 How to Autolyse and Fermentolyse: Sourdough Artisan Bread
 Bulk Fermentation in Sourdough Artisan Bread
 How to Knead Sourdough Artisan Bread
 Adding Inclusions to Sourdough Artisan Bread
 How to Shape Sourdough Artisan Bread
 How to Score Sourdough Artisan Bread
 How to Bake Sourdough Bread
 How to Bake Sourdough in A Loaf Pan
 Sourdough Artisan Bread Videos
 Sourdough Beginner Guide
Looking for in-depth Sourdough instruction?
You need my online sourdough course.
- Step by Step Instruction on Beginner and Advanced Recipes
- 2+ hours of pre-recorded video instructions
- Community forum to ask questions and help you troubleshoot
- 15+ PDF recipe downloads
- Make incredible sourdough bread today!


Hi Amy! I’m flying to Phoenix from Colorado the day after Thanksgiving, Friday, for a family reunion and potluck. My assignment is sourdough bread/rolls. I’d like to make my bread or rolls ahead of time and freeze it/them, but then I have the flight time, etc. What is your suggestion? Maybe, instead, I bring my starter and make the rolls in Phoenix?
Also, I’d like to use my starter and not the levain. I know I saw a substitution page, but now I can’t find it! Please help!
You can do it either way! Frozen sourdough travels well in a carry-on. It will thaw on the way. You can also bring your starter in either a carry-on or checked bag. I would put it in a ziplock bag (double bag it), and feed it right when you arrive. Good luck!
Hi Amy!!!!!
So glad I found you. I am new to this sour dough bread making and I have questions. I hope this messsge isn’t toooo long!
1st. I use SD starter for 2 different breads:
Paul Hollywoods “English/European” style which KNEADS like you do-but I don’t know how to do that!!!!
The other SD bread I make is more like traditional bread- kneading the way I would if I were making packaged yeast bread. The recipe calls for feeding and rising overnight, then the next morning adding water, oil, salt and 6-7 cups of flour. (And take out for starter)
Let that RISE, then turn out of the bowl and divide into the number of loaves, knead and place in loaf pans and let RISE again. Then bake.
MY QUESTION: Is it necessary to let the bread dough rise after feeding 6/7 c flour, punch down, knead again and let rise again.
I hope that makes sense.
Thank you!
I don’t know these recipes, but from what you described, yes you would need to let the dough rise again if you combine it with more flour. Anytime fresh flour is added, the fermentation process starts again.
This is so helpful! Your photos and descriptions are wonderful…thank you for sharing!! ❤️🙏🏻👩🍳🍞